After the doctoring process, the non-engraved surface of a pad printing plate should be clean, with ink remaining only inside the recessed image areas. When a thin layer of ink, streaks, or smears remain across the plate, the doctoring system is not removing excess ink properly.
This problem can affect more than the appearance of the printing plate. Residual ink may be picked up by the silicone pad, creating unwanted marks, blurred edges, background haze, or inconsistent prints. It can also increase ink consumption and require frequent cleaning.
In most closed ink cup pad printing systems, incomplete doctoring is associated with the ceramic or carbide ring, ink condition, cup contact, or printing plate surface. Open-tray machines have a different mechanism and require inspection of the separate doctor blade.
The key is to identify the pattern of residual ink before changing machine settings or replacing components. A uniform ink film, a single streak, and localized smearing often point to different problems.
What Should a Pad Printing Plate Look Like After Doctoring?
Understanding normal doctoring is the first step in troubleshooting.
In a closed ink cup system, the cup moves across the cliché plate, allowing ink to fill the engraved image. As the cup moves back, its ceramic or carbide ring removes excess ink from the surrounding plate surface.
After a successful doctoring cycle:
- Ink remains inside the engraved image areas.
- The surrounding non-engraved surface appears clean.
- No continuous ink streaks are visible outside the artwork.
- The ink distribution within the engraved image is consistent.
A small amount of ink inside the engraved areas is normal. The problem occurs when ink remains on the flat surface outside the image.
The appearance of this residue can provide useful clues.
| Residual Ink Pattern | Possible Cause | First Component to Inspect |
| Thin, continuous ink film across the plate | High ink viscosity or worn doctoring edge | Ink and ring |
| One or several narrow ink lines | Chipped ring or trapped debris | Ceramic ring edge |
| Uneven smears or patches | Inconsistent contact or ink condition | Cup assembly |
| Ink remaining around the image edges | Incorrect doctoring geometry or plate damage | Ring and cliché |
| Problem develops during long production runs | Solvent evaporation or ink buildup | Ink condition and maintenance |
| Excessive ink in the engraved image | Incorrect etch depth or ink transfer conditions | Cliché and pad |
The following sections explain how to identify and correct the most common causes.
1. The Ceramic Doctor Ring Has Become Worn or Rounded
A worn doctor ring is one of the first things to investigate when a sealed ink cup stops cleaning the printing plate properly.
The ceramic ring has a precision-ground working edge that contacts the cliché surface. Its purpose is to shear away excess ink while allowing the engraved image to retain the required ink volume.
With repeated movement, the working edge gradually wears down. Instead of maintaining a sharp, consistent contact profile, the edge becomes rounded or flattened.
When this happens, the ring may begin smearing ink across the plate rather than removing it cleanly.
What Does a Worn Ring Look Like?
Common indicators include:
- A continuous thin ink film remaining on non-engraved areas.
- Gradually worsening doctoring performance.
- Ink streaks that appear repeatedly during production.
- A visibly widened or flattened working edge.
- Reduced scraping consistency even after cleaning.
A ring can also have localized wear that is difficult to identify without magnification.
How to Fix It
Remove the ink cup following the equipment manufacturer’s maintenance procedure. Clean the ring and inspect its entire working edge under suitable lighting.
If the edge is chipped, excessively rounded, or worn beyond the manufacturer’s service limits, replace it or arrange professional reconditioning where appropriate.
Do not compensate for a worn ring simply by increasing the contact pressure. This can accelerate wear on both the ring and the printing plate.
For replacement options, see ENGYPRINT’s ceramic rings for pad printing ink cups.
The replacement should match the original outer diameter, inner diameter, height, and blade configuration.
2. Dried Ink or Contaminants Are Trapped on the Ring Edge
A doctor ring does not need to be visibly damaged to produce poor scraping results.
Small particles of dried ink, pigment, dust, or other contaminants can accumulate along its working edge.
When a particle becomes trapped between the ring and cliché, it creates a localized gap. The ring can no longer maintain uniform contact with the plate.
As the cup moves, ink passes through this gap and leaves a narrow trail behind it.
This is one of the typical reasons operators see repeated ink lines in the same area of a printing plate.
Contamination can also occur when ink containers are left open or when residual ink from previous production runs is not removed properly.
How to Fix It
Clean the doctor ring and printing plate using a compatible cleaning agent and manufacturer-approved materials.
Pay particular attention to the working edge, the inside of the ink cup, and any areas where dried ink can accumulate.
Avoid metal scraping tools or abrasive materials that could damage the ceramic surface.
If contamination returns quickly after cleaning, investigate the ink preparation and filtration process.
Using properly filtered ink and keeping containers closed can reduce the risk of particles entering the ink cup.
A useful diagnostic clue is the timing: if the machine initially doctors correctly but develops streaks after several production cycles, contamination or ink buildup may be responsible.
3. The Printing Ink Is Too Thick or Has Lost Too Much Solvent
Ink viscosity has a direct influence on doctoring performance.
Pad printing inks are formulated with solvents that control flow, drying speed, and transfer characteristics.
During production, some solvent evaporates. As the ink becomes thicker, its ability to flow and spread changes.
When viscosity becomes too high, the ink may form a persistent film on the plate rather than being cleanly removed by the doctor ring.
This is particularly noticeable during longer production runs or in environments with high temperatures and excessive airflow.
Signs of Incorrect Ink Viscosity
- The plate becomes progressively harder to clean during production.
- Ink begins forming a thicker film outside the engraved image.
- Ink consistency changes noticeably between the beginning and end of a shift.
- The doctoring problem improves temporarily after fresh ink is prepared.
How to Fix It
Check the ink viscosity against the ink manufacturer’s recommended specifications.
If the ink has become too thick, add the specified thinner in controlled quantities and mix thoroughly.
Do not add solvent based on appearance alone. Excessive thinning can create other problems, including unstable ink transfer, poor print definition, and changes in drying behavior.
Also review the production environment. Temperature, airflow, and the time ink remains exposed can influence solvent evaporation.
For operations with frequent viscosity changes, establishing a consistent ink preparation and monitoring procedure is more reliable than repeatedly adjusting the machine.
4. There Is Not Enough Ink Inside the Sealed Ink Cup
This cause is often overlooked because operators naturally assume that using less ink should make the printing process cleaner.
However, insufficient ink inside a sealed ink cup can actually interfere with doctoring.
Ink helps lubricate the contact area between the doctor ring and printing plate. The cup needs enough ink to wet the working area consistently as it moves across the cliché.
When the ink level is too low, the ring may not receive adequate lubrication across its travel path.
The result can be uneven scraping, smearing, and inconsistent ink distribution.
This problem is particularly relevant to short production runs, where operators may reduce the ink quantity to avoid wasting two-component ink after its pot life expires.
How to Fix It
Check the ink level against the equipment manufacturer’s recommended operating range.
Make sure the cup contains enough ink to maintain consistent wetting throughout the working cycle.
Do not overfill the cup, either. Excessive filling can cause other handling and leakage problems.
If doctoring improves after correcting the ink level, review the amount of ink prepared for each production batch.
The objective is not to maximize ink volume but to maintain the quantity required for stable operation.
5. The Ink Cup Does Not Maintain Consistent Contact With the Plate
Even a new ceramic ring cannot doctor a printing plate correctly if the ink cup does not maintain consistent contact.
In magnetic ink cup systems, magnetic attraction helps hold the cup against the steel cliché.
The actual contact depends on the cup assembly, holder geometry, plate positioning, and the distance between the magnetic components and the plate.
If the magnetic attraction is insufficient, the ring may not seat firmly against the plate.
A similar problem can occur when the cup’s flexible O-ring or retaining arrangement becomes swollen, contaminated, or unable to move freely.
The result is inconsistent contact and incomplete removal of excess ink.
What Should You Check?
Inspect the following components:
- Magnetic cup holder and mounting position.
- Cup body for deformation or warping.
- Flexible O-ring for swelling or damage.
- Ring seating and retaining components.
- Plate positioning and support.
For a magnetic system, check whether the cup sits correctly and whether the magnetic force is consistent with the manufacturer’s setup requirements.
Do not immediately increase the machine’s downward force. Excessive pressure can increase friction, damage the doctor ring, and accelerate cliché wear.
If the problem started after replacing an ink cup or ring, verify that the replacement components have the correct dimensions and mounting configuration.
ENGYPRINT provides sealed ink cups for pad printing machines with different ring materials and configurations.
6. The Printing Plate Is Scratched, Dirty, or Not Properly Seated
Doctoring performance depends on the condition of the cliché surface.
A ceramic ring must travel across a sufficiently flat and clean surface to remove excess ink consistently.
If the plate has scratches, dents, raised burrs, or localized surface damage, the ring may fail to maintain continuous contact.
Ink can remain inside these damaged areas even when the doctor ring is functioning correctly.
Plate installation is equally important. A thin steel cliché that is not properly seated on its supporting base may develop uneven contact during operation.
This is especially important when changing plates or using a different mounting arrangement.
How to Fix It
Remove ink residue and inspect the working surface under angled lighting.
Look for scratches crossing the doctor ring’s travel path, damaged areas around the engraved image, and contamination that cannot be removed through normal cleaning.
Check that the plate is securely mounted and properly supported.
If the plate is bent, deeply scratched, or worn, replacing it may be more appropriate than adjusting the ink cup.
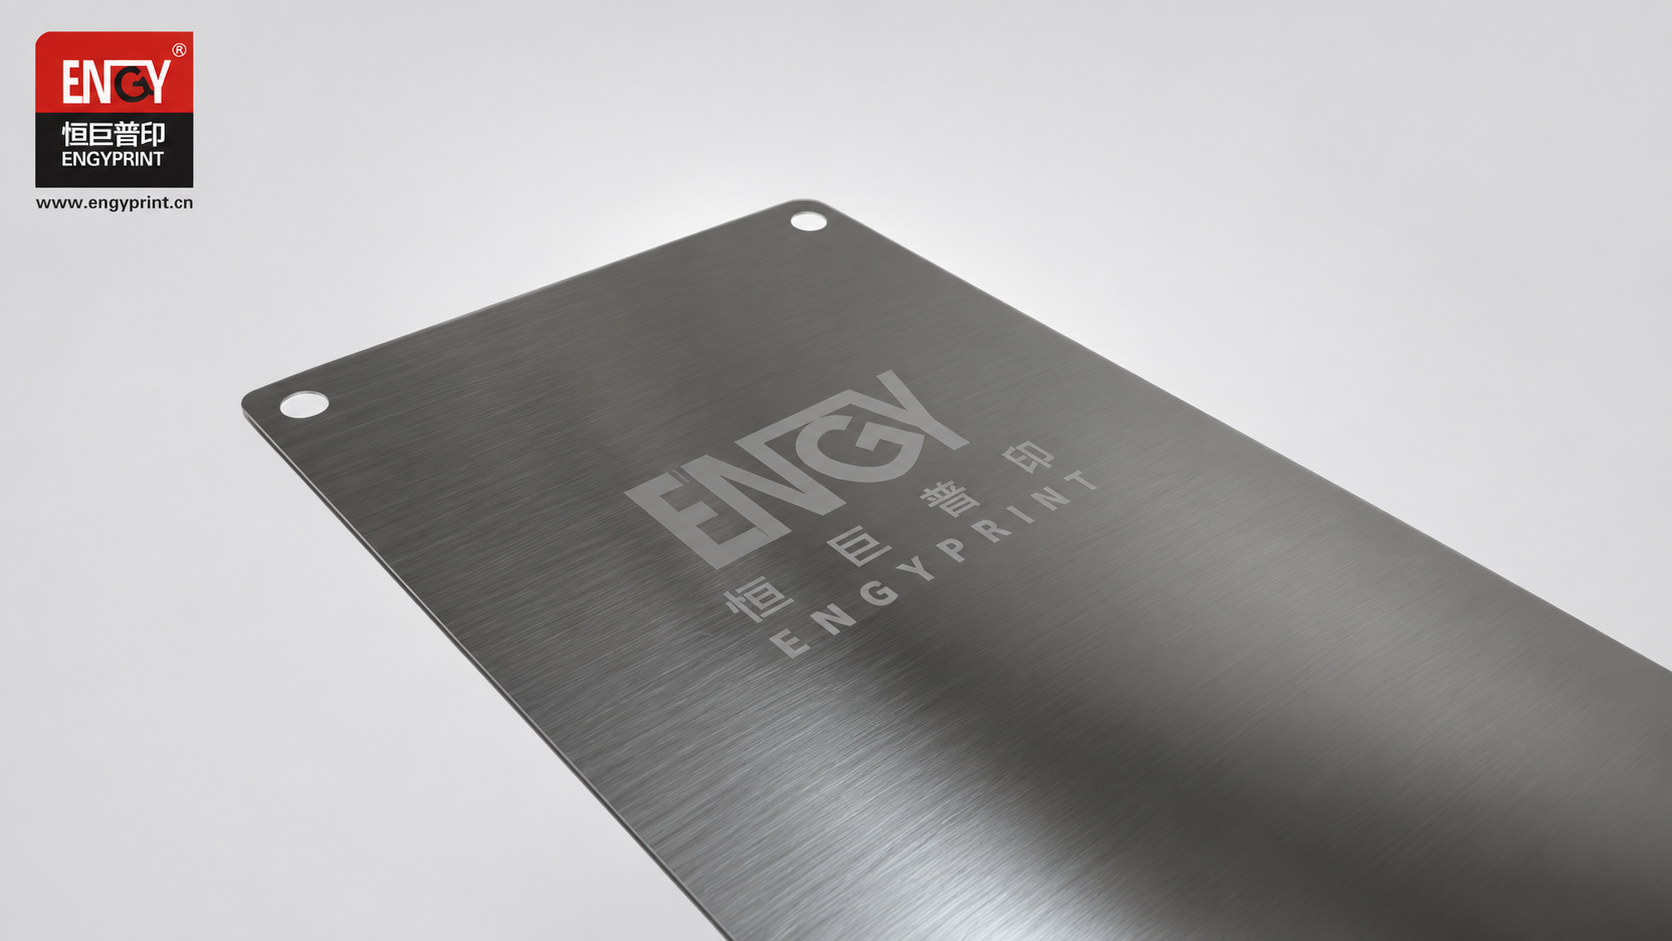
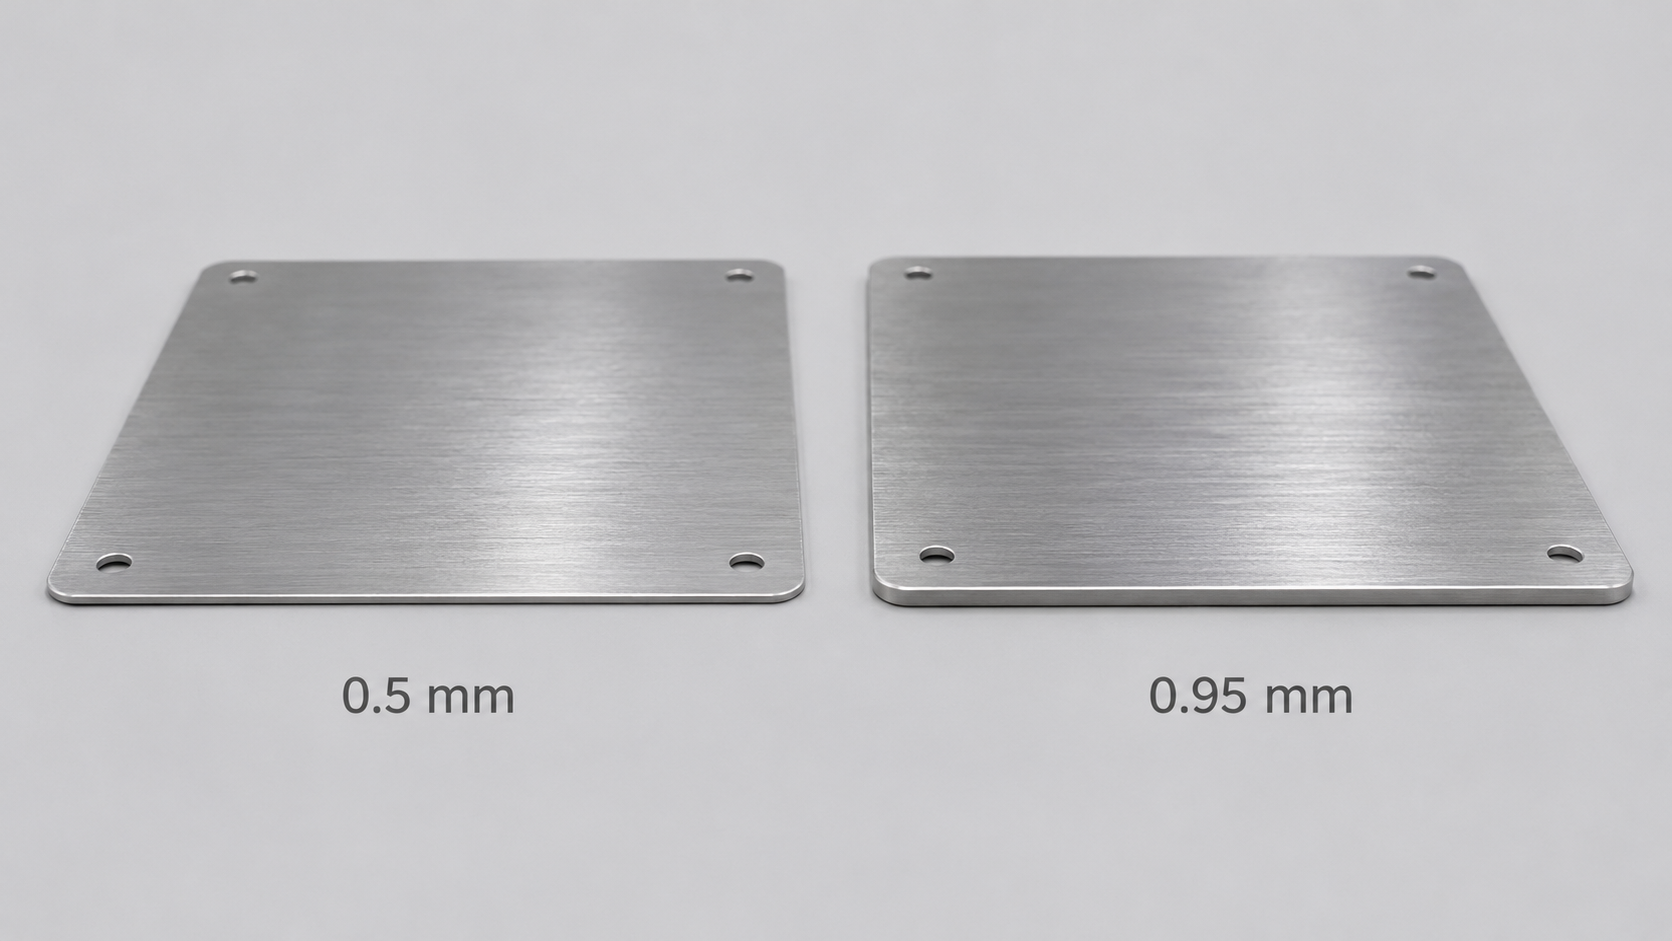
For applications requiring different plate constructions, ENGYPRINT offers thin steel cliché plates and thick steel cliché plates.
The correct plate should be selected according to the machine configuration, printing requirements, and production volume.
7. The Cliché Etch Is Too Deep or Unsuitable for the Ink
Not every doctoring problem originates from the ink cup.
The geometry of the engraved image also influences how effectively excess ink can be removed.
A pad printing cliché contains recessed areas that hold ink before the silicone pad picks it up.
If the engraving is excessively deep or unsuitable for the ink and printing setup, the doctoring system may struggle to shear the ink cleanly at the surface.
This can contribute to excessive ink around the image, poor ink pickup, and inconsistent transfer.
It is important to distinguish two different problems:
- Ink remaining outside the engraved image: This points primarily toward the doctoring system, ink condition, or plate surface.
- Excessive ink retained inside the engraved image: This may involve etch depth, ink volume, and the relationship between the pad and engraving geometry.
How to Fix It
Review the cliché’s specified etch depth and compare it with the ink manufacturer’s recommendations and the application requirements.
If the engraving is too deep, a new plate with a more suitable depth may be necessary.
Also consider the silicone pad hardness. A pad that is too hard may not reach the bottom of a deep engraving effectively, leaving ink behind between printing cycles.
Do not change the etch depth simply because the plate looks dirty. First confirm that the ring, ink, and plate surface are working correctly.
For a more detailed explanation, read ENGYPRINT’s guide on how to choose the correct etch depth for pad printing cliché plates.
What If You Are Using an Open-Tray Pad Printing Machine?
The troubleshooting process is different for an open-tray system.
Unlike a sealed ink cup, an open-tray pad printer uses a separate doctor blade to remove excess ink from the cliché.
If ink remains on the plate after doctoring, inspect the blade rather than looking for a ceramic cup ring.
Common causes include:
Worn or damaged blade edge: A rounded, chipped, or contaminated blade may leave a film of ink behind.
Incorrect blade angle: The blade may not contact the plate at the correct working angle.
Insufficient or uneven blade pressure: Uneven clamping or pressure can produce inconsistent scraping across the plate.
Poor blade alignment: If the blade holder is not parallel to the plate, one side may scrape correctly while the other leaves excess ink.
Incorrect ink condition: High viscosity or partially dried ink can also make clean doctoring difficult.
Check the blade condition, holder alignment, and machine settings before increasing pressure.
Excessive blade pressure can damage the plate, accelerate blade wear, and affect the engraved image.
For more maintenance information, see ENGYPRINT’s open-tray pad printer maintenance checklist.
A Practical Troubleshooting Method: What Should You Check First?
Rather than replacing multiple components at once, use a controlled inspection process.
| Inspection Order | What to Check | What the Result Tells You |
| 1 | Ink viscosity and ink level | Identifies problems related to ink flow and lubrication |
| 2 | Ceramic ring or doctor blade | Identifies worn, chipped, or contaminated working edges |
| 3 | Cup contact and alignment | Identifies inconsistent contact across the plate |
| 4 | Cliché surface and mounting | Identifies scratches, unevenness, or installation problems |
| 5 | Engraving depth and geometry | Identifies issues related to ink volume and image pickup |
After each correction, run a controlled test and inspect the plate before changing another variable.
If the problem disappears after cleaning the ring, there may be no need to replace it.
If a new ring solves the problem temporarily but the residue returns, investigate ink contamination, plate condition, and machine contact settings.
This method helps avoid unnecessary consumable replacement and reduces the risk of creating additional problems through excessive adjustments.
How to Prevent Incomplete Doctoring During Production
Consistent doctoring depends on more than the condition of the ceramic ring.
A preventive maintenance routine should include several checks.
Before production:
- Inspect the doctor ring or blade for visible damage.
- Clean the working edge and cliché surface.
- Check the ink level and viscosity.
- Verify that the cup or blade holder is correctly positioned.
During production:
- Monitor changes in residual ink and scraping performance.
- Check ink viscosity when production conditions change.
- Prevent dried ink and contaminants from accumulating.
- Investigate recurring streaks instead of compensating with excessive pressure.
After production:
- Remove residual ink from the cup and ring.
- Clean components using compatible cleaning materials.
- Inspect the ring edge and plate surface.
- Record any recurring doctoring problems for maintenance follow-up.
For ceramic rings, careful handling is particularly important because accidental impacts can damage the precision-ground edge.
Replacing a worn component before it causes repeated production defects is generally more economical than waiting for complete failure.
Frequently Asked Questions
Why does my pad printing plate have a thin layer of ink after doctoring?
A thin ink film usually indicates incomplete scraping. Common causes include a worn doctor ring, excessive ink viscosity, insufficient contact pressure, or inadequate ink lubrication. Inspect the ring and ink condition before changing machine settings.
Why does my ink cup leave lines on the printing plate?
Repeated lines often indicate a chipped or contaminated doctor ring. A scratch on the cliché can produce a similar pattern. Clean both surfaces and inspect the ring edge under magnification.
Can too much ink cause poor doctoring?
Yes. Excessive ink can contribute to buildup and handling problems, but insufficient ink can also cause poor doctoring because the ring may not receive adequate lubrication. Maintain the ink level within the equipment manufacturer’s recommended range.
Does a worn ceramic ring affect print quality?
Yes. A worn or damaged ring may leave ink on non-engraved areas of the plate. This residual ink can be transferred to the substrate, producing streaks, unwanted background marks, or inconsistent printing.
Should I increase ink cup pressure if the plate is not being cleaned properly?
Not automatically. Increasing pressure may temporarily improve contact in some situations, but it can also accelerate wear on the ceramic ring and cliché. Check ring condition, alignment, magnetic attraction, and ink viscosity first.
Can incorrect etch depth cause doctoring problems?
Yes. An excessively deep engraving can make clean ink shearing and transfer more difficult, depending on the ink and machine configuration. However, ink remaining across the non-engraved plate surface should first be investigated as a doctoring contact or ink-condition problem.
Conclusion
When a pad printing plate remains covered in ink after doctoring, the problem is usually related to how effectively the doctoring system removes excess ink from the non-engraved surface.
For closed ink cup machines, the most important components to inspect are the ceramic or carbide ring, ink condition, cup contact, and cliché surface. For open-tray machines, the doctor blade, its angle, pressure, and alignment require attention.
The most effective troubleshooting approach is to identify the residual ink pattern, inspect the relevant components, and make controlled adjustments rather than immediately increasing pressure or replacing the entire assembly.
ENGYPRINT supplies ceramic rings, carbide rings, sealed ink cups, and pad printing cliché plates for industrial printing applications. Standard and customized specifications are available.
If your current doctoring system continues to leave ink on the printing plate, contact ENGYPRINT with photographs of the residual ink pattern, your machine type, and the existing ring or blade specifications. This information can help identify the likely cause and suitable replacement components.