An open tray pad printer maintenance checklist should cover four things above all: ink viscosity, the doctor blade, the ink tray, and the cliché plate. In day-to-day production that translates into checking ink flow time every one to two hours, wiping and resetting the blade at every shift change, cleaning the tray at the end of each working day, and inspecting both the blade edge and the plate surface once a week.
An open tray pad printer rarely fails suddenly — it drifts. The image gets a little lighter, the edges a little softer, the ink a little stringy, and by the end of the shift the operator is compensating with pressure and dwell time instead of fixing the cause. Because an open inkwell exposes the ink to air across the whole tray surface, that drift happens faster than it does in a sealed ink cup system.
This guide is written for production engineers, line supervisors and operators who already run an open tray (open inkwell) machine and want a maintenance routine they can actually follow. It covers what to check, how often, what a normal reading looks like, and which symptom points to which component. If you are still deciding between machine types, the comparison of when an open tray system fits better than a closed ink cup machine is a more useful starting point.
Why an Open Tray Machine Needs Its Own Maintenance Rhythm
Maintenance advice written for closed ink cup printers does not transfer cleanly to an open inkwell machine. The parts are related, but the failure modes are not the same.
The ink surface is open to the air all day
In a closed cup system, only the small area of ink under the cup is exposed. In an open tray, the whole ink surface is open. Solvent leaves the ink continuously, and the rate depends on room temperature, airflow, the size of the tray, and how volatile the thinner in that particular ink is.
The practical consequence: viscosity on an open tray machine is not a once-a-day setting. It is a variable that moves during the shift, and it moves fastest in warm, draughty workshops and with fast-evaporating thinners.
The doctor blade does the metering work, so it wears
On a sealed system, a ceramic or carbide ring scrapes the plate. On an open tray machine, a doctor blade performs that function. The blade is a wear item in direct contact with an abrasive ink film and a hard plate, and its edge condition determines how cleanly the non-image area is cleared.
A blade that is slightly nicked, slightly tilted or pressed too hard will show up in the print long before it looks visibly damaged. That is why blade inspection belongs in the routine, not in the breakdown list.
Maintenance Schedule at a Glance
The table below is a working baseline for a single-shift operation. Two- and three-shift production compresses the intervals — anything done “per day” effectively becomes “per shift”.
| Interval | Task | Component | What happens if it is skipped |
|---|---|---|---|
| Every 1–2 hours | Check ink flow time, top up thinner in small increments, stir the ink | Ink / tray | Print fades through the shift, fine lines close up, ink turns stringy |
| Every shift change | Wipe the doctor blade, check its angle and clamping pressure | Doctor blade | Streaks and haze in the non-image area, uneven ink film |
| End of each working day | Scrape and return usable ink, clean the tray and blade with the recommended thinner, cover the tray | Tray, blade, plate | Dried ink particles become permanent defects; blade and plate scratch |
| Weekly | Inspect the blade edge under light, check plate surface for scratches and worn etch depth, check pad for swelling and gloss change | Blade, plate, pad | Gradual quality loss misread as an ink problem |
| Monthly | Check pad stroke, pressure and dwell settings against the setup sheet; verify plate clamping and fixture stability | Machine / fixture | Registration drift, higher scrap rate, longer setup times |
| Quarterly | Review consumable consumption, verify spare parts stock, re-check working environment (temperature, humidity, dust) | Whole system | Unplanned downtime when a cheap wear part runs out |
Daily Checklist: Start of Shift, During Production, End of Shift
Start of shift
- Stir the ink before measuring. Pigment settles in an open tray overnight, and a reading taken from an unstirred tray is meaningless.
- Measure flow time with a flow cup and compare it to the target on the ink data sheet, not to how the ink “looks”.
- Add thinner in small increments, mix, and re-measure. Adding thinner is easy; taking it back out is not.
- Wipe the blade edge and confirm it is seated squarely in its holder.
- Check the plate is clean, correctly seated and free of dried ink in the etched areas.
- Print a test piece and compare it with the approved reference sample.
During production
- Re-check flow time on a fixed interval rather than when the print looks wrong. Two hours is a common starting point; shorten it in hot or dry conditions.
- Keep the ink spread evenly across the tray rather than pooled in one corner.
- Watch for the first sign of haze or streaks in the non-image area — that is the earliest blade indicator.
- Record the thinner additions. A tray that needs thinner every 15 minutes is telling you something about temperature, airflow or ink choice.
End of shift
- Scrape usable ink back into its container if the ink is still within its working life; discard ink that has thickened or picked up contamination.
- Wipe the tray and blade with lint-free cloth, then clean with the thinner or cleaner recommended by the ink manufacturer.
- Clean the plate with a soft cloth — never with a scraper or abrasive pad.
- Cover the tray if the machine will stand idle. Overnight exposure is where most dried-ink defects begin.
- Clean the silicone pad and check it for swelling, glazing or a change in surface gloss.
Weekly and Monthly Checks That Prevent Slow Quality Loss
Daily tasks keep the machine printing. Weekly and monthly tasks keep it printing the same way next quarter.
 pad printing ink and a doctor blade during cleaning and ink viscosity control” class=”wp-image-5968″/>
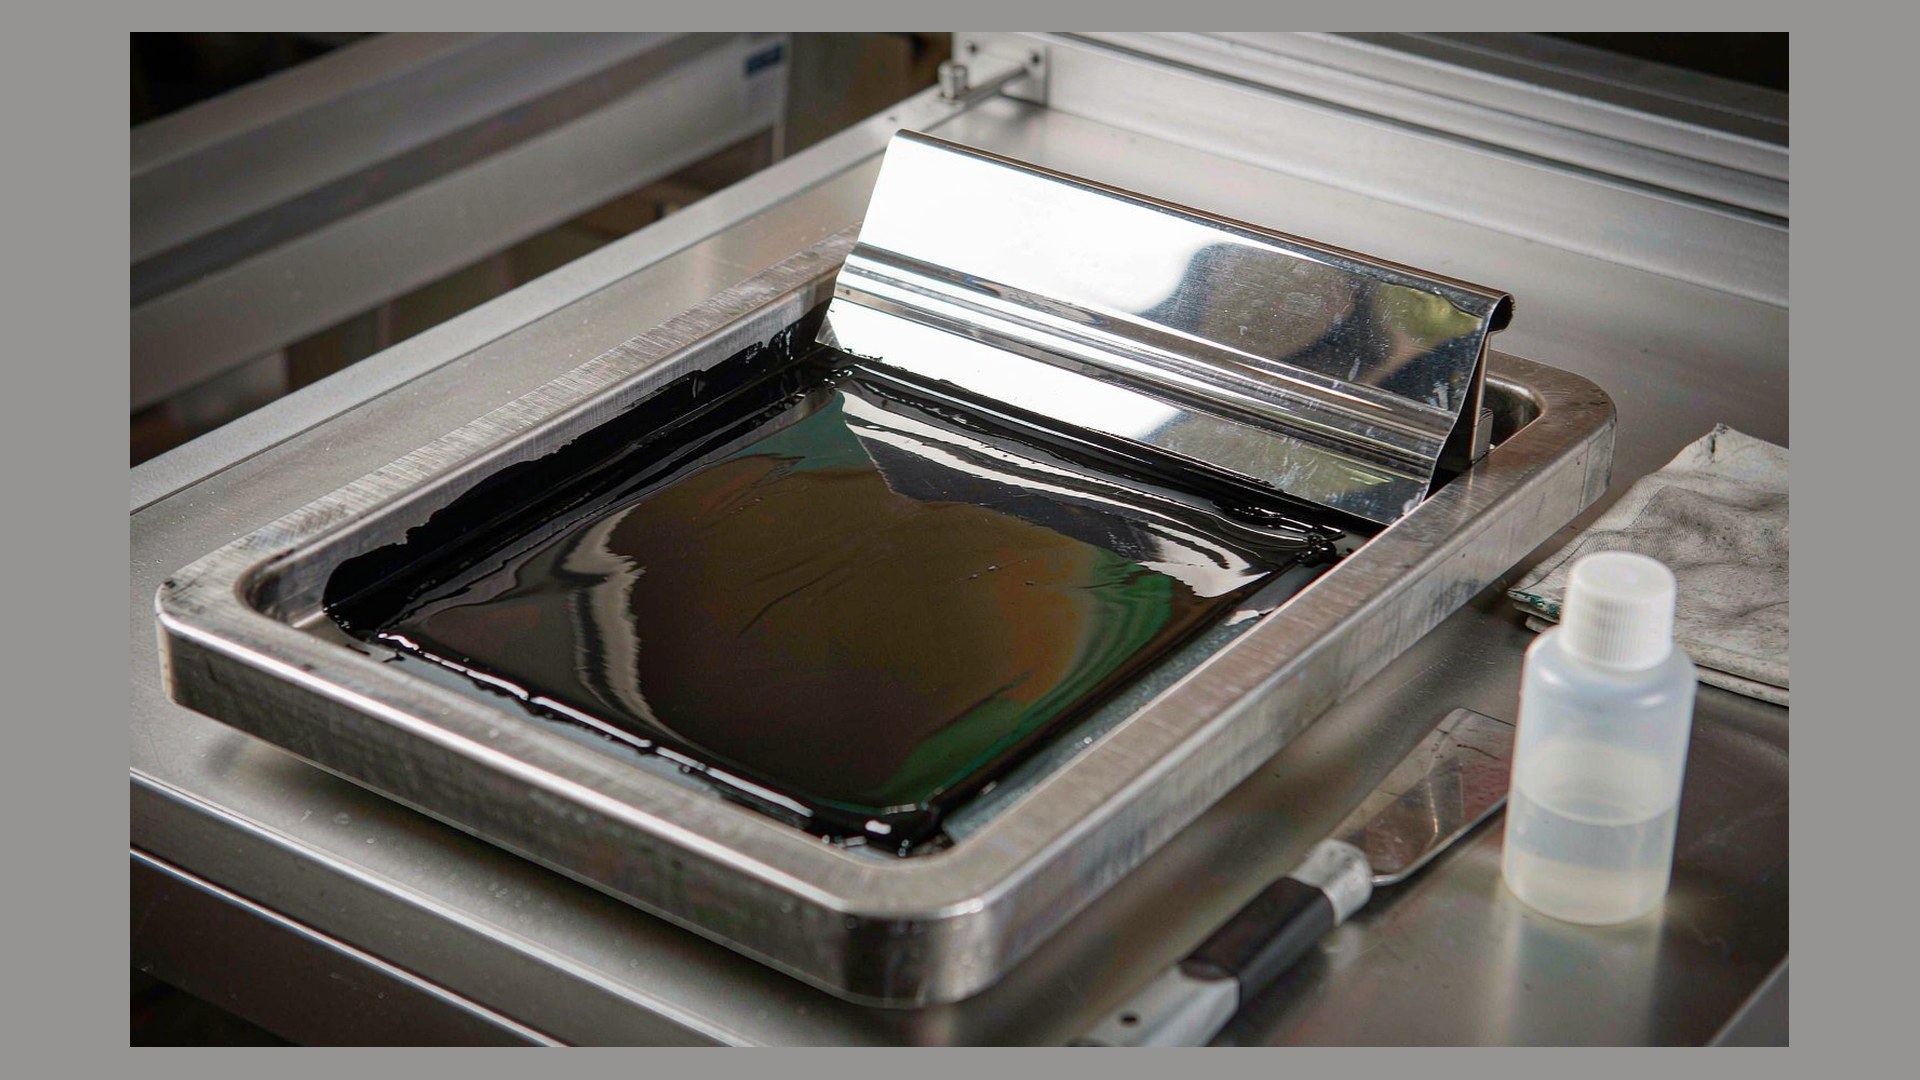
Weekly checks are about condition: the straightness of the blade edge, the depth of the etched image on the plate, the surface of the pad. Hold the blade up to a light source — nicks and rolled edges are far easier to see that way than on the machine. On the plate, look for scratches running in the direction of blade travel, and for image areas that no longer hold ink evenly. Etch depth that has worn down will show as light, thin coverage that no amount of pressure will fix, and steel and polymer plates age differently under the same blade.
Monthly checks are about settings and stability. Pad stroke, pressure and dwell time should still match the setup sheet for that job. Fixture and plate clamping should be re-tightened, because a fixture that has crept by a fraction of a millimetre will produce registration complaints that look like a machine accuracy problem. If you notice that pad selection is being changed frequently to chase quality, the root cause is usually elsewhere — pad shape and hardness should be decided once for a job, not re-chosen every shift.
The Five Variables That Decide Print Quality on an Open Tray Machine
1. Ink viscosity and thinner ratio
Viscosity is the single most frequently adjusted variable in open tray printing, and the one most often adjusted by feel. Measuring it costs less time than scrapping a batch.
| Observation | Likely ink condition | Practical response |
|---|---|---|
| Print looks light, fine lines break up, ink pulls away from the etched area | Ink too thick — solvent has evaporated | Add thinner in small increments (commonly around 1–3% of ink volume at a time), mix, re-measure, allow a short stabilising period before judging the result |
| Image spreads, edges bleed, dots fill in | Ink too thin | Add fresh ink rather than trying to evaporate thinner out; check that the cleaning thinner has not been mixed into the working ink |
| Flow time drifts within the hour | High evaporation rate | Reduce airflow over the tray, lower ambient temperature if possible, or review the thinner grade with the ink supplier |
| Coverage differs between large solid areas and fine detail | Ink not fully homogeneous | Stir thoroughly; settled pigment in metallic and white inks is common |
Many solvent-based pad printing inks are supplied with a recommended flow time measured using a 4 mm flow cup (DIN 4 or an equivalent). A working target often falls somewhere in the region of 20–30 seconds, but the number that matters is the one in your ink supplier’s technical data sheet for that specific ink. Treat any published figure as a starting point to be confirmed on your own machine and substrate.
2. Doctor blade angle, pressure and edge condition
The blade has one job: leave ink only in the etched image and clear everything else. It achieves that with the right angle, even pressure and a clean edge.
- Angle. Follow the machine manufacturer’s specification for the blade holder. Changing the angle to solve a print problem changes ink pickup, and the same adjustment then has to be reversed for the next job.
- Pressure. Enough to scrape cleanly, not enough to wear the plate. Excessive pressure is the most common cause of premature plate wear and blade chipping.
- Edge. A blade with visible nicks, a rolled edge or a rounded profile will leave streaks. Replacement intervals vary widely with ink aggressiveness and plate material — some shops change a blade every few weeks, others get several months — so judge by edge condition rather than by a fixed calendar.
- Cleanliness. Dried ink on the blade acts as an abrasive and as a spacer, tilting the blade slightly off the plate.
Blades are a consumable, and running out of them mid-job is an avoidable stoppage. Keeping a small stock of a compatible doctor blade for open tray pad printers matched to the machine model is cheaper than an unplanned production break.
3. Ink level and distribution in the tray
A tray that is too shallow gives the blade nothing to push, and ink pickup becomes inconsistent towards the end of the stroke. A tray that is overfilled wastes ink, increases the exposed surface area and speeds up evaporation. Keeping a consistent working level, with the ink spread across the tray rather than pooled, makes the rest of the maintenance routine far more predictable.
4. Cliché plate surface and etch depth
Etch depth determines how much ink the plate can hold, and therefore how opaque the printed image can be. Shallow or worn etch shows up first on large solid areas and on fine reverse text. Plate surface condition matters just as much: a scratched plate holds ink where it should not, and produces thin lines of unwanted print that operators often mistake for a pad problem.
5. Silicone pad condition
The pad is the last component in the transfer chain and the one most exposed to aggressive cleaning. Solvent attack shows as swelling, a glossy glazed surface, or a tacky feel. A glazed pad releases ink poorly, so print quality drops even when viscosity and blade settings are correct. Clean the pad with the recommended cleaner, never soak it, and retire it when the surface no longer releases cleanly.
Troubleshooting: Which Component to Check First
| Symptom | Check first | Then check |
|---|---|---|
| Print gradually gets lighter through the shift | Ink viscosity (flow time) | Tray ink level; ambient temperature and airflow; ink container seal |
| Streaks or haze in the non-image area | Doctor blade edge and angle | Blade clamping pressure; dried ink on blade; plate surface condition |
| Fine lines and small text fill in or blur | Ink too thin | Blade pressure too high; pad hardness and shape; plate etch depth |
| Large solid areas print unevenly | Plate etch depth and surface | Ink homogeneity; pad contact and stroke |
| Image position shifts between colours | Fixture and plate clamping | Pad stroke settings; machine settings versus the setup sheet |
| Ink stops transferring cleanly although all settings look correct | Silicone pad surface condition | Ink adhesion on the substrate, including substrate pre-treatment and ink-to-material compatibility |
| Viscosity needs constant correction | Working environment | Thinner grade; tray size and ink volume; ink age |
If the same defect keeps returning after the component has been checked and reset, the problem is usually a process variable rather than a part. Inconsistent ink flow and viscosity control is one of the most frequently misdiagnosed issues in pad printing, and the underlying causes are described in this guide to consistent ink flow and viscosity in pad printer systems.
Spare Parts and Consumables Worth Keeping on the Shelf
| Item | Why it is worth stocking | Typical consumption driver |
|---|---|---|
| Doctor blades | A worn edge degrades quality gradually and is easy to swap | Ink aggressiveness, plate material, blade pressure |
| Thinner / cleaning solvent matched to the ink | Wrong thinner is worse than no thinner | Open tray evaporation, daily cleaning volume |
| Silicone pads | Pad condition is the hardest variable to diagnose in production | Print area, abrasive ink, cleaning habits |
| Cliché plates (steel and polymer) | Plate damage stops the job immediately | Blade pressure, handling, storage |
| Fixtures / jigs | Fixture creep causes registration scrap | Product mix changes, wear on locating features |
| Lint-free cloths and gloves | Cleanliness is the cheapest quality control available | Daily cleaning routine |
Maintenance Mistakes That Age an Open Tray Machine Faster
- Top-up instead of reset. Adding thinner to a tray that already contains thickened ink from yesterday never restores the correct flow time.
- Cleaning with the wrong solvent. A solvent that attacks the pad, the plate coating or the blade holder turns a routine wipe-down into a parts order.
- Adjusting pressure instead of viscosity. More pressure hides a thin ink problem and simultaneously shortens plate life.
- Leaving ink in the tray overnight. Dried particles become abrasive contamination that damages plates and blades for weeks.
- No reference sample. Without an approved golden sample, “quality looks fine” is a judgement call made differently by every operator.
- No record of adjustments. Thinner additions, blade changes and pad replacements are data. Without them, recurring defects get re-diagnosed from scratch every time.
Choosing and Supporting an Open Tray Printer You Can Maintain
Maintenance is easier on machines that were designed to be maintained. Before ordering, it is worth checking how quickly the tray can be removed and cleaned, whether the blade holder allows the edge to be inspected without disturbing the setup, how accessible the plate clamp is, and whether the manufacturer treats blades, pads and rings as standard consumables with predictable lead times.
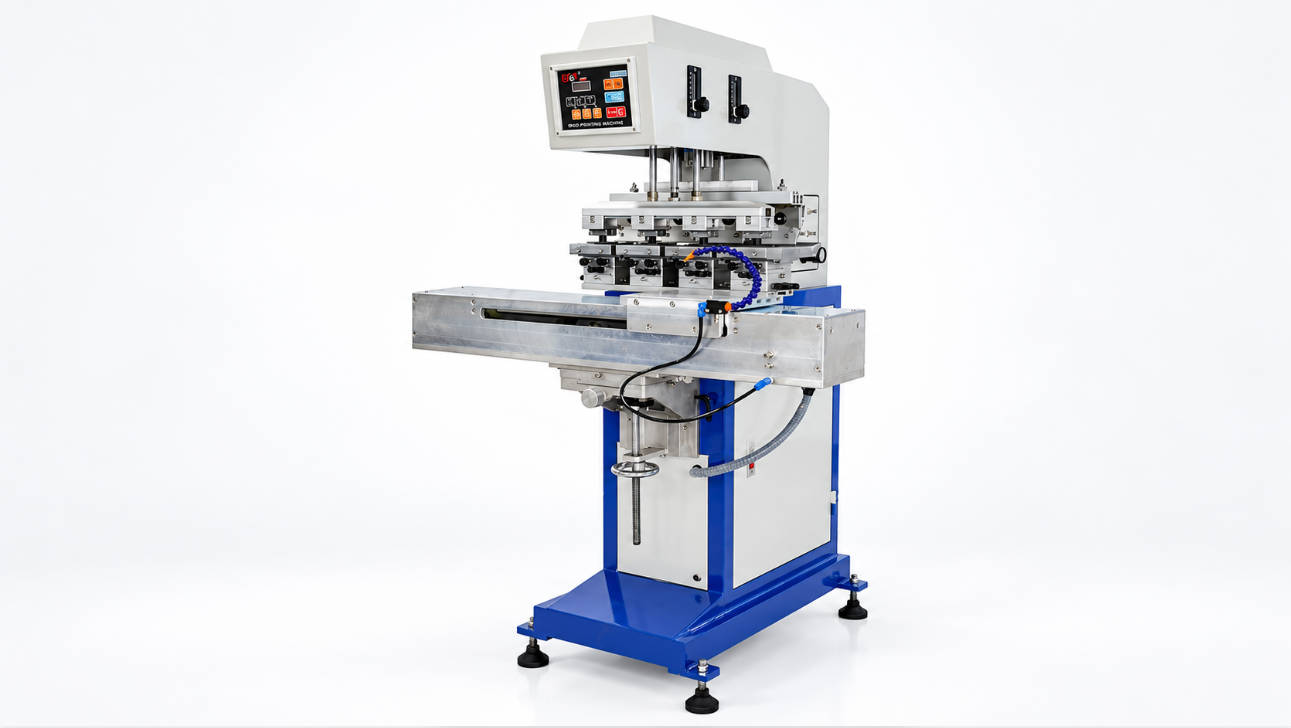
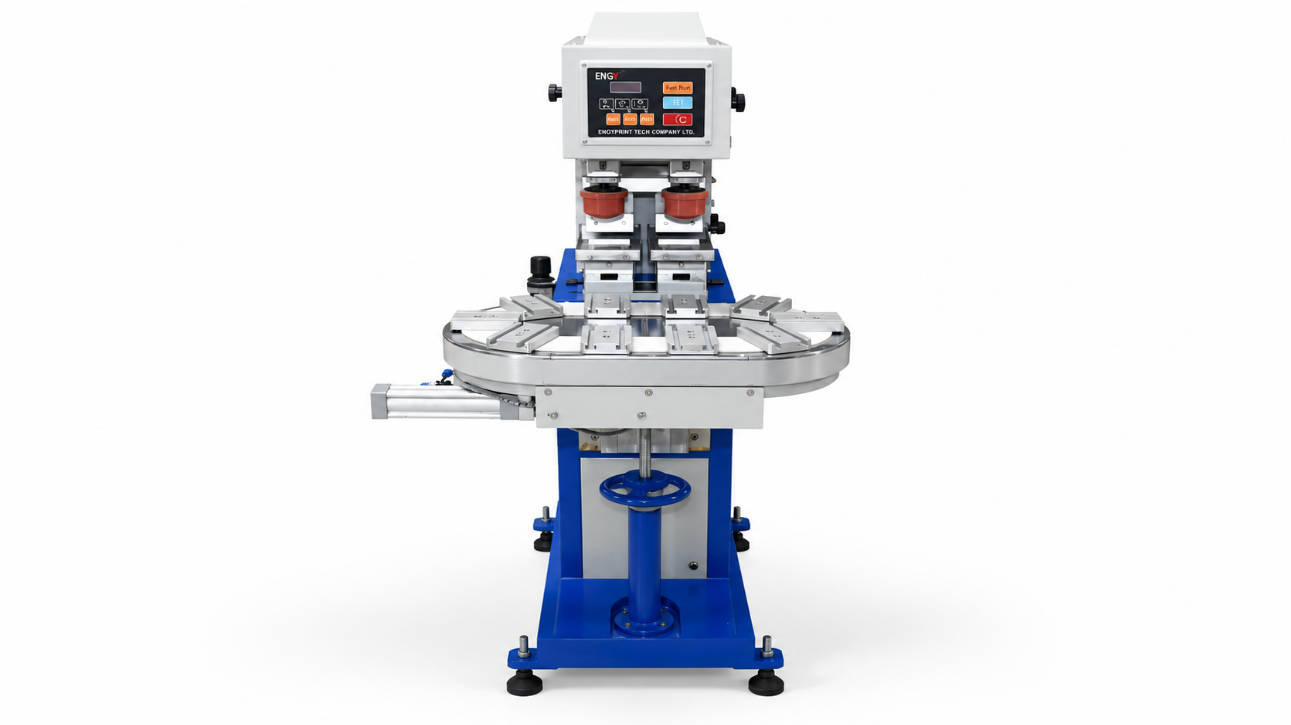
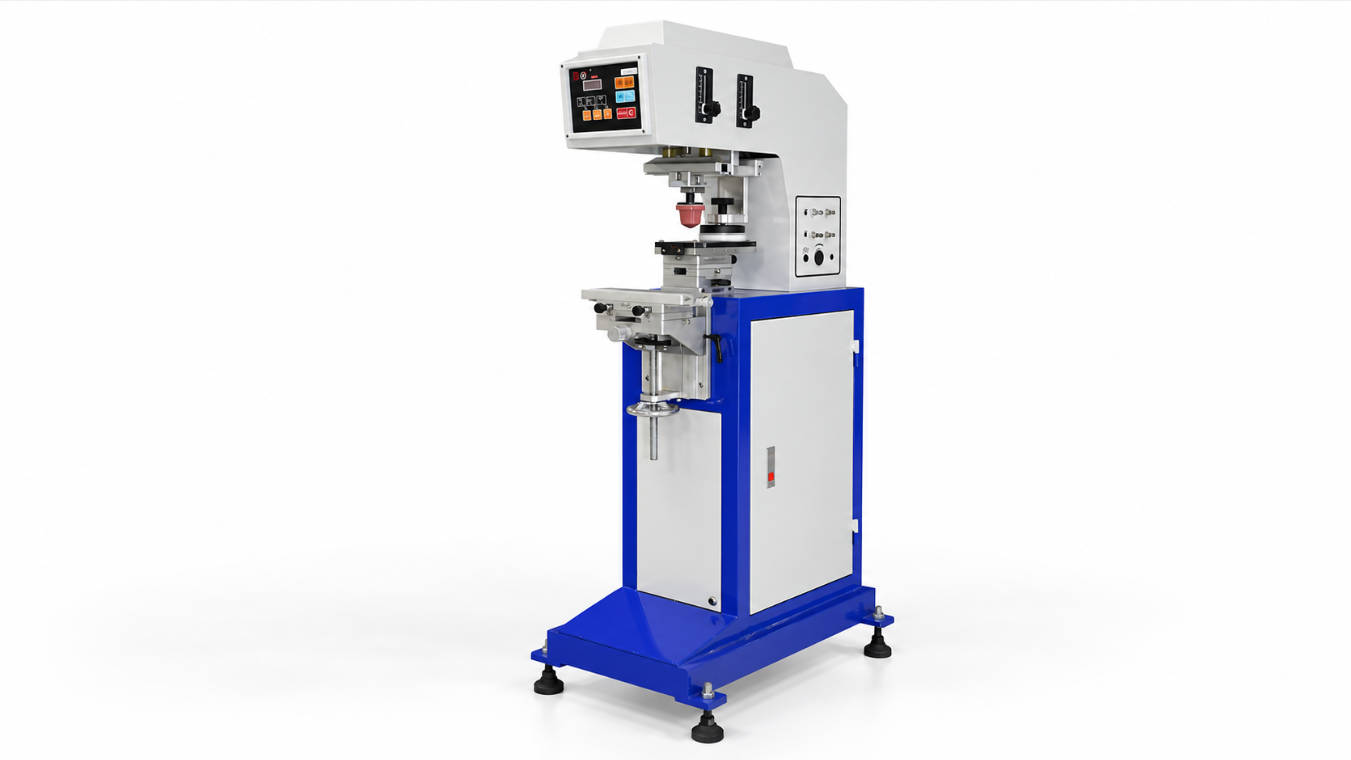
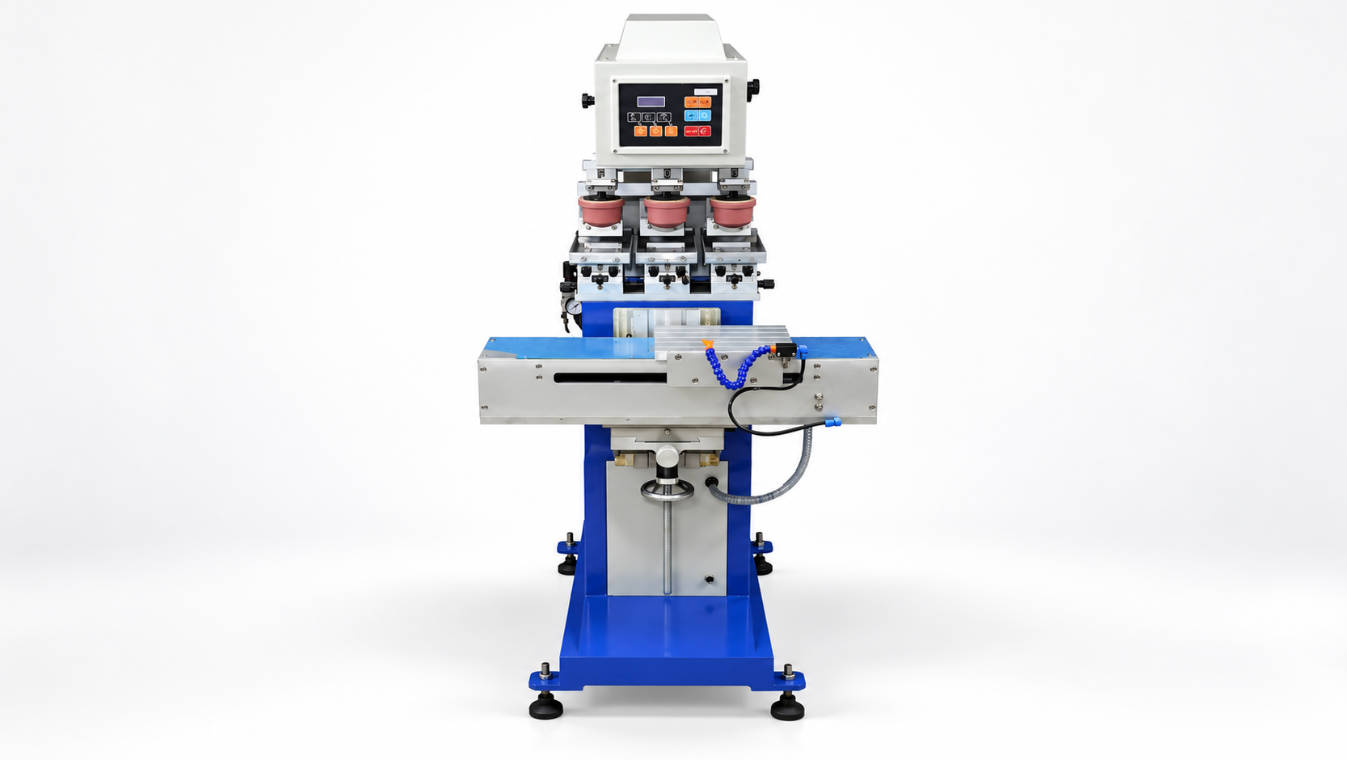
ENGY manufactures pad printing machines and pad printing consumables, and supplies OEM equipment and consumable programmes for industrial decoration lines. Typical open tray configurations include the one color open tray pad printer for single-colour logo and marking work, and the two color open tray pad printing machine for products that need two registered colours in one cycle. If you are setting up a maintenance routine for an existing machine or specifying a new one, send your product details and current setup to the ENGY team and ask for the recommended consumable list and maintenance intervals for your specific configuration.
FAQ: Open Tray Pad Printer Maintenance
How often should ink viscosity be checked on an open tray pad printer?
Every one to two hours during production is a practical starting point for a single-shift operation. Shorten the interval in warm, dry or draughty workshops, or when using a fast-evaporating thinner. If a tray needs thinner much more often than that, treat it as a process warning rather than a routine adjustment and review the environment and the ink grade.
What is the correct doctor blade angle for an open inkwell pad printer?
The correct angle is the one specified by the machine manufacturer for that blade holder, because the holder geometry and the plate position determine it. Changing the angle to chase a print problem makes the adjustment job-specific and hard to repeat. Set it once, verify it with a test print, and return it to that position after every maintenance clean.
Why does the print get lighter as the shift goes on?
In almost all cases it is solvent loss from the open tray, which thickens the ink and reduces its ability to release from the etched image. Check flow time first, then tray ink level, then the working environment. A lighter print that recovers immediately after adding thinner confirms the diagnosis.
Can I use the same thinner for cleaning and for adjusting the ink?
Not necessarily. Many ink systems use a slower thinner for adjusting working ink and a faster, or different, cleaning solvent for tray and plate wash-down. Mixing cleaning solvent into working ink can change drying behaviour and adhesion. Follow the ink supplier’s recommendations and label the containers clearly in the workshop.
How do I know when the doctor blade needs replacing?
Judge by the edge, not by a fixed schedule. Replace the blade when nicks or a rolled edge are visible under light, when it can no longer clear the non-image area cleanly, when streaks appear that survive a clean and a re-clamp, or when the plate begins to show wear marks caused by excessive pressure. Keep at least one spare blade per machine on the shelf.
Is an open tray pad printer harder to maintain than a closed ink cup machine?
It requires more frequent attention to ink, but not necessarily more skill. An open tray machine asks for regular viscosity checks, tray cleaning and blade care; a closed ink cup machine asks for ring inspection, seal care and cup cleaning on a different rhythm. Which one is easier depends on your production volume, ink type and shift pattern more than on the technology itself.
What working environment is best for consistent open tray printing?
Most pad printing shops aim for a stable, moderate workshop temperature and moderate humidity, with the machine kept away from direct airflow from doors, fans or air conditioning vents. Stability matters more than any single number: a tray that sits in a constant environment holds viscosity far better than one that is alternately warmed and cooled.
Conclusion
Stable printing quality on an open tray pad printer comes from a short list of habits repeated consistently: measure ink flow time instead of guessing, keep the doctor blade clean and correctly seated, clean the tray and plate at the end of every working day, and inspect blades, plates and pads before they fail rather than after.
None of these tasks require special equipment. What they require is a written checklist, an approved reference sample, and a record of adjustments so that recurring defects can be traced instead of re-diagnosed. For teams running multiple machines or a mixed product range, the same checklist also makes it far easier to decide when a component has genuinely reached the end of its life.
If you would like maintenance intervals and a consumable list tailored to your machine model, ink system and production volumes, contact ENGY with your current setup and we will put together a recommendation for your line.