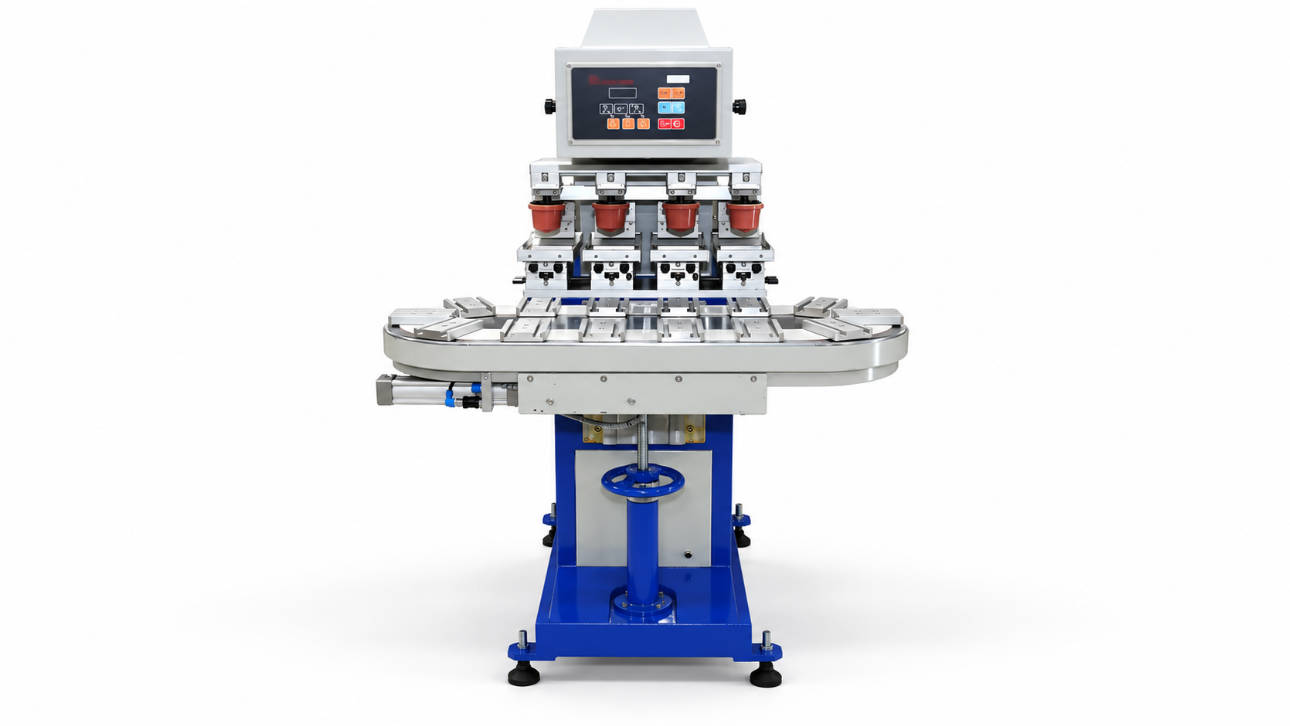
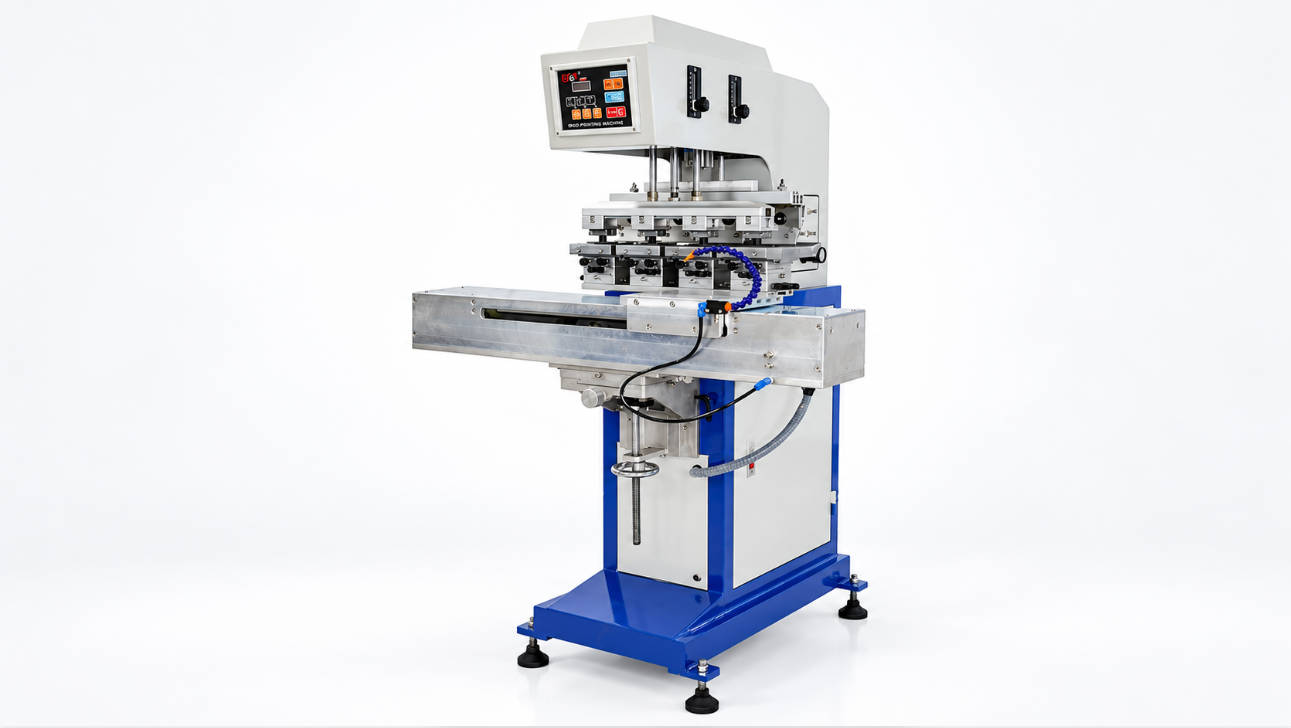
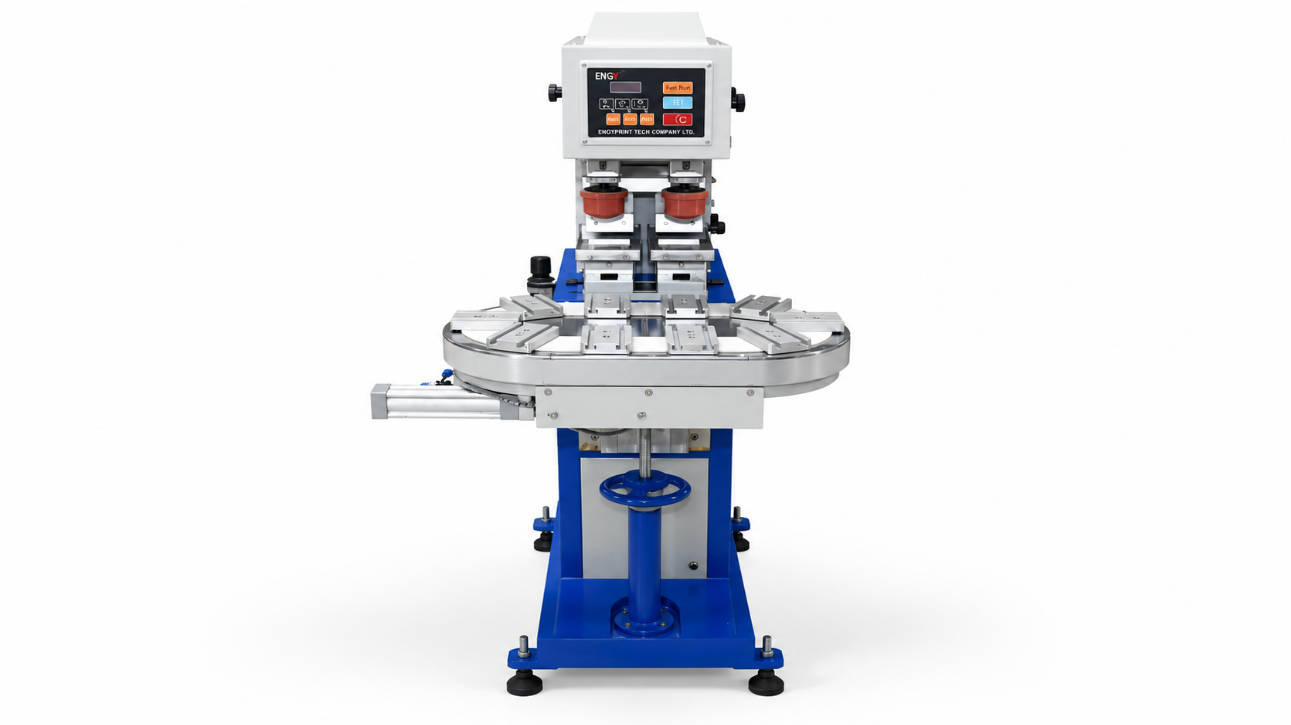
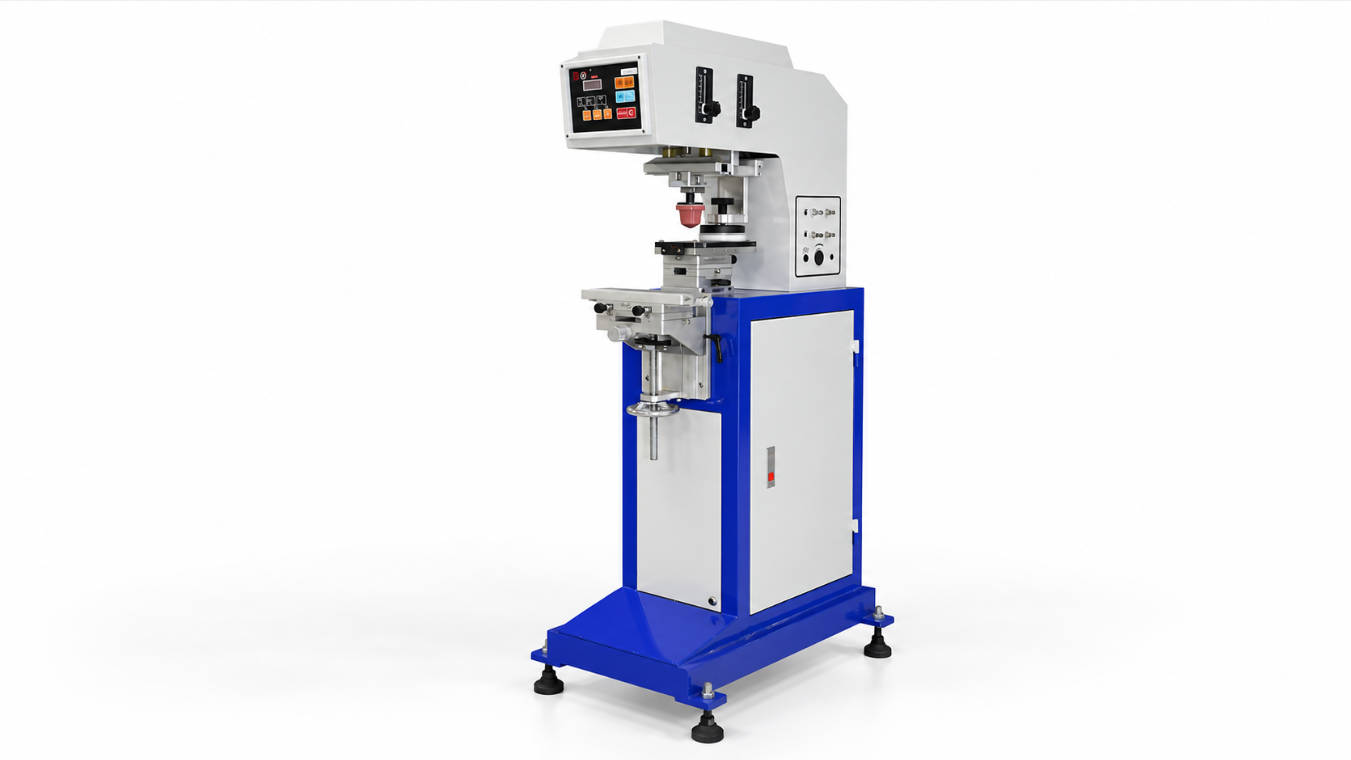
To adjust a pad printing machine for better print quality, work in a fixed order: set ink viscosity and the ink film first, then pad pickup, then pad pressure and dwell on the part, then fixture height, and only then registration and speed. Change one variable at a time, print a test piece after every change, and compare it against an approved sample — adjusting several settings at once is why most tuning sessions end up worse than they started.
Most pad printing quality problems are not solved by “more pressure”. Pressure is the adjustment operators reach for first, and it is usually the fourth or fifth variable in the chain. If the ink film is wrong or the pad is not picking up cleanly, changing pressure hides the symptom and shortens pad and plate life at the same time.
This guide is written for operators, process technicians and production engineers who need a repeatable way to bring a pad printing machine back into specification — after a job change, after a plate or pad swap, or when quality has drifted during a shift. It sets out the order to work in, what each adjustment actually controls, how to read the result, and when the correct answer is a new part rather than a new setting.
Why the Order of Adjustment Matters
Pad printing is a chain of transfers: ink is metered onto the cliché, the pad picks it up, and the pad releases it onto the part. Every downstream adjustment is judged by the result it produces, so if an upstream variable is unstable, you are tuning against noise.
A concrete example: if the ink is slightly too thick, the pad picks up less ink than it should. The operator increases pad pressure to compensate, the image gets bolder, and the problem appears solved. An hour later the ink has thickened further, pressure is increased again, and by the end of the shift the pad is over-compressed and the plate is wearing. The real adjustment was at the ink cup, one step earlier in the chain.
Working in a fixed order turns tuning into a sequence with a known endpoint instead of a search.
Before You Touch Any Setting: Four Preconditions
Skipping these is the single most common cause of a long, unsuccessful tuning session. Confirm all four before adjusting anything.
- The plate is clean and undamaged. Dried ink in the etched area, a scratch, or worn etch depth changes how much ink is available regardless of machine settings.
- The pad is in good condition. A glazed, swollen or torn pad does not release ink consistently. No amount of pressure tuning fixes a pad that has reached the end of its life.
- Ink is mixed and within its working viscosity. Stir before measuring; compare the reading against the ink supplier’s recommendation rather than against how the ink looks.
- The fixture holds the part repeatably. If the part moves between cycles, you are measuring fixture error, not print quality.
If any of these is not true, fix it first. The rest of this guide assumes they are.
The Adjustment Sequence, Step by Step
Work through the steps in this order. Do not move to the next step until the current one produces a consistent result across several consecutive prints.
| Step | What you adjust | What it controls | Signs it is wrong |
|---|---|---|---|
| 1 | Ink viscosity and ink film (closed cup: cup pressure and ring; open tray: doctor blade) | How much ink is available in the etched image | Too much: image spreads, edges bleed. Too little: coverage light, fine lines break up |
| 2 | Pad pickup — pad height over the plate and dwell time on the plate | How completely the pad lifts ink out of the etch | Incomplete image, missing fine detail, or a pad that visibly skids rather than rolls |
| 3 | Pad transfer — pressure on the part and dwell time on the part | How completely ink leaves the pad and contacts the surface | Too little: patchy, thin coverage. Too much: squash, trapped air, blurred edges |
| 4 | Fixture height and level | Whether the pad meets the surface evenly across the whole image | One side of the image bolder than the other; coverage fading towards an edge |
| 5 | Registration — plate or fixture position in X, Y and rotation | Where the image lands relative to the part | Consistent offset in one direction, or rotation on curved parts |
| 6 | Cycle speed | Time available for pickup, transfer and solvent behaviour | Running faster than the process tolerates reintroduces defects that were just tuned out |
Step 1 — Ink film and doctoring
The doctoring stage decides how much ink remains in the etched image, so everything downstream inherits it. On a closed cup machine this is cup pressure and the condition of the sealing ring; on an open tray machine it is the doctor blade angle, pressure and edge condition.
Judge it by looking at the plate after the cup or blade has passed: the non-image area should be cleared cleanly, and the etched area should look evenly filled rather than smeared or starved. If the non-image area shows haze or streaks, the problem is a wear item — a ring, a blade edge or a plate surface — not a machine setting. Viscosity and ink condition are the other half of this step, and the causes of drift are set out in this guide to consistent ink flow and viscosity in pad printer systems.
Step 2 — Pad pickup
The pad has to compress onto the plate enough to contact the full image area, dwell long enough to lift the ink, and lift away cleanly. Set the down-stop so the pad compresses the intended amount, then set the dwell on the plate.
If the printed image is incomplete but the plate is fully inked, the problem is almost always pickup, not transfer. Look at the pad after it leaves the plate: it should carry the complete image. If it does not, increasing pressure on the part will not help.
Step 3 — Pad pressure and dwell on the part
This is where most operators start, and it should be the third step. Pressure controls how completely the pad conforms to the surface; dwell controls how long ink has to transfer.
- Too little pressure or dwell: patchy coverage, thin edges, ink left visible on the pad after printing.
- Too much pressure: ink squashes outward, fine detail closes up, air can be trapped on concave surfaces, and pad and plate wear accelerate.
- Too much dwell: ink begins to set on the pad between cycles and the print becomes hazy or shows a doubled edge.
Pad hardness interacts with this step directly — a harder pad holds fine detail on flat surfaces, a softer pad conforms to curvature and texture. If you find yourself re-tuning pressure for every part geometry, the pad specification is probably wrong for the job rather than the machine being out of adjustment; pad shape, hardness and size selection is covered in the guide to choosing the right silicone pad.
Step 4 — Fixture height and level
An uneven contact shows as a density gradient across the image — bold at one end, weak at the other. That is a levelling problem, not an ink or pressure problem. Check that the part sits flat and at a consistent height, and that the pad meets the surface squarely rather than at an angle.
Step 5 — Registration
Only adjust registration once the image is transferring completely; a partial image makes the position look wrong when it is not. On multi-colour work, tune each station’s pickup and transfer first, then set the relationship between stations. Multi-colour registration has its own variables and is worth handling as a separate procedure — see the multi color pad printing machine color registration guide.
Step 6 — Speed
Speed is set last because it tests whether the settings above hold when the cycle is shortened. A job that prints well slowly and fails at production speed is telling you that one of the dwell times or the ink’s transfer behaviour is marginal. Slow down, find which step degrades first, and correct that step rather than running the line slower than planned for ever.
Symptom-to-Setting Reference
| Symptom | Most likely adjustment | Direction | If it does not improve |
|---|---|---|---|
| Image incomplete, fine lines missing | Pad pickup — height and dwell on plate | Increase compression / dwell slightly | Check ink film in the etch and etch depth; check pad surface condition |
| Coverage light over the whole image | Ink film, then transfer dwell | More ink available; slightly longer dwell | Check viscosity and plate etch wear |
| Edges bleed, detail fills in | Ink film, then pad pressure | Less ink; reduce pressure | Ink may be too thin, or pressure already excessive |
| Density varies across the image | Fixture height and level | Level the part and square the pad contact | Check pad is not worn unevenly and the plate is seated flat |
| Haze or residue where nothing should print | Doctoring — cup ring or blade | Inspect and replace the wear item | Plate surface damage; ink drying on the plate too fast |
| Print becomes hazy after several cycles | Dwell on the part / pad condition | Shorten dwell; clean or replace pad | Ink drying too fast for the cycle time |
| Image position drifts during the run | Fixture clamping, then registration | Re-clamp and re-set registration | Fixture wear or locating features worn |
| Good at slow speed, fails at production speed | Cycle speed against dwell times | Find the step that degrades first | Ink transfer behaviour may not suit the cycle time |
When Adjustment Is the Wrong Answer
Some problems look like setting problems and are not. Recognising these saves a tuning session and, more importantly, avoids masking a failing component until it damages something else.
- Worn etch depth. If the plate no longer holds enough ink, pressure increases will not restore opacity. Compare against a known-good plate or review whether the etch depth suits the ink and coverage required.
- Pad at end of life. Glazing, swelling, surface damage or permanent compression set all reduce release. Replace rather than re-tune.
- Worn doctoring components. A ceramic or carbide ring with a chipped edge, or a doctor blade with nicks, cannot be adjusted into good condition.
- Adhesion failure. Ink that rubs off, or that will not wet the surface at all, is a substrate and pre-treatment question, not a machine setting. The causes are covered in why pad printing ink does not stick.
- Plate specification mismatch. If coverage is consistently thin on large solid areas, the etch depth may simply be too shallow for that artwork and ink.
Etch depth is worth understanding properly here, because it sets the ceiling on how much ink any setting can deliver. The trade-offs are explained in the guide to choosing the correct etch depth for pad printing cliché plates.
Discipline: How to Make the Result Repeatable
A machine that prints well today and badly next week usually has a documentation problem, not a mechanical one. Three habits make tuning results stick.
- Keep a written setup sheet per job. Record pad specification, pad height, pressure, dwell times, plate reference, ink batch and viscosity target. A job that has been tuned once should not need tuning from scratch again.
- Keep an approved reference sample. “Looks about right” is judged differently by every operator and every shift. A physical golden sample removes the argument.
- Change one variable at a time and print after each change. It feels slower and is faster. Two simultaneous changes that produce a worse result tell you nothing about which one to undo.
It is also worth recording which adjustments were needed after a plate or pad change. If the same job needs progressively more pressure each time the plate is refitted, that trend is usually plate or pad wear, and it is cheaper to catch as a trend than as a failed batch.
FAQ: Adjusting a Pad Printing Machine
What is the first thing to adjust on a pad printing machine?
The ink film, not the pressure. Confirm the plate is clean, the ink is mixed and within its working viscosity, and the doctoring stage is leaving the non-image area clear. Everything downstream depends on how much ink is actually available in the etched image.
How do I know if the problem is pad pickup or pad transfer?
Look at the pad. If the pad does not carry the complete image after leaving the plate, the problem is pickup — height and dwell on the plate. If the pad carries a good image but the print is patchy, the problem is transfer — pressure and dwell on the part.
Why does increasing pad pressure not improve coverage?
Because pressure cannot create ink that was never picked up. If viscosity, ink film or etch depth are limiting the amount of ink, more pressure only spreads a thinner film further and adds wear. Check the ink side of the chain first, then pad pickup, and only then pressure.
How much dwell time does a pad printing machine need?
There is no universal figure — it depends on the ink, the pad, the image area and the substrate. Start from the value that was validated when the job was first set up, then change it in small increments and print after each change. Too little dwell gives incomplete transfer; too much lets ink begin to set on the pad.
Should I adjust one setting at a time on a pad printer?
Yes. Adjusting two settings together and getting a worse result tells you nothing about which change to undo. Change one variable, print a test piece, compare it with the approved sample, then decide on the next change.
Why does print quality drift during a shift?
Most commonly solvent loss from an open ink system, which thickens the ink and reduces transfer; second most commonly a pad that is glazing or a plate that is collecting dried ink. Both are checked at the ink and pad stages, before any machine setting is touched.
When should I stop adjusting and replace a part?
When the adjustment needed to hold quality keeps moving in one direction. Progressively more pressure, progressively longer dwell, or progressively more thinner are all signs of wear — in the pad, the plate etch, the doctoring ring or blade, or the fixture — rather than of a machine that is out of adjustment.
Do I need to re-adjust after changing the pad or plate?
Usually a small correction, yes — pad height and transfer dwell in particular, because a new pad has slightly different compression behaviour. Fit the part, confirm the preconditions, then work through pickup and transfer again rather than assuming the previous settings still apply.
Conclusion
Adjusting a pad printing machine is not a search for the right setting; it is a sequence. Ink film first, then pickup, then transfer, then fixture, then registration, then speed — one variable at a time, with a test print and an approved sample after every change.
The second half of the skill is knowing when to stop turning knobs. If quality only holds by pushing pressure, dwell or thinner further each time, the machine is telling you that a component has worn out. Reading that signal early is what keeps a tuning session short and a production run consistent.
If you are commissioning a new machine, bringing an existing job back into specification, or want the recommended starting parameters and consumables for your configuration, contact ENGY with your machine model, ink system and part details and we will work through the setup with you.