When pad printing ink does not stick to a product surface, the problem is usually not caused by one factor alone. Poor adhesion can result from low substrate surface energy, surface contamination, incompatible ink, insufficient pretreatment, incorrect curing conditions, or unstable printing parameters.
If pad printing ink scratches, peels, or wipes off easily, start by checking the substrate material and surface condition before adjusting the printing machine.
This is particularly important when printing plastic components. Two parts that look almost identical can behave very differently because PP, PE, ABS, PC, nylon, coated plastics, and other materials have different surface properties and ink compatibility.
For industrial manufacturers, solving pad printing ink adhesion problems requires treating the process as a complete system:
substrate → surface preparation → ink → printing process → drying or curing → adhesion testing
Changing only one machine setting rarely solves a fundamental material compatibility problem.
This guide explains how to identify the cause of poor pad printing adhesion and how manufacturers can establish a more reliable printing process.

Start With the Failure: What Does “Ink Does Not Stick” Actually Mean?
Before changing ink, pads, plates, or machine settings, determine what type of adhesion failure is occurring.
Different symptoms often point to different causes.
| Adhesion Problem | Typical Symptom | Areas to Check First |
| Poor initial adhesion | Ink wipes off shortly after printing | Ink compatibility, pretreatment, drying |
| Ink scratches off | Print looks normal but fails abrasion test | Surface energy, curing, ink selection |
| Ink peels from surface | Ink film separates from substrate | Contamination, coating, material compatibility |
| Patchy ink coverage | Ink does not wet the entire surface | Surface energy, oil, mold release agent |
| Adhesion varies between batches | Some components print well and others fail | Material formulation, surface contamination, pretreatment consistency |
| Ink remains soft | Surface stays tacky longer than expected | Ink mixture, hardener, solvent, curing conditions |
This distinction matters because print transfer and print adhesion are not the same problem.
A silicone pad may successfully transfer a clear image onto the component while the ink still fails to bond with the substrate.
Therefore, if the image looks good but can easily be removed after curing, the investigation should focus primarily on material preparation, ink compatibility, and curing rather than simply increasing printing pressure.
Why Plastic Is Often the Main Source of Pad Printing Adhesion Problems
Plastic is widely used in pad printing applications because the process can decorate small, curved, recessed, and irregular parts.
However, “plastic” is not one material.
A housing made from ABS may require a different printing process from a polypropylene cap, polyethylene component, nylon part, or coated plastic surface.
The chemical composition of the substrate influences how easily liquid ink wets and bonds to its surface.
This is why one of the first questions a pad printing equipment supplier or ink technician should ask is:
What exactly is the part made from?
“Plastic” is not enough information for process development.
Whenever possible, identify:
- Material type
- Material grade
- Surface coating
- Mold release agent
- Additives
- Previous surface treatment
- Required abrasion resistance
- Chemical resistance requirements
- Expected operating environment
This information becomes especially important when developing a repeatable industrial pad printing process.
Cause 1: Low Surface Energy Prevents Proper Ink Adhesion
One of the most important concepts in plastic pad printing is surface energy.
For ink to adhere effectively, it first needs to wet the substrate rather than pull away from it.
Some plastics naturally have relatively low surface energy. Polyolefin materials such as polyethylene and polypropylene are common examples that may require pretreatment before printing. Technical pad-printing references likewise emphasize pretreatment and surface-energy testing for these substrates.
What Happens When Surface Energy Is Too Low?
Ink may:
- Bead up on the surface
- Produce uneven coverage
- Transfer but fail adhesion tests
- Scratch off after drying
- Peel away under mechanical stress
Low surface energy can allow an image to be transferred successfully while still preventing strong ink-to-substrate bonding.
This explains why visually acceptable prints can later fail during tape, scratch, assembly, or handling tests.
What Is Dyne Level in Pad Printing?
Surface energy is commonly evaluated using dyne testing as part of process development.
However, manufacturers should avoid treating one dyne value as a universal pass/fail number.
The appropriate surface condition depends on:
- Substrate
- Ink formulation
- Pretreatment process
- Product requirements
- Testing method
Different technical sources may specify different working thresholds for different systems, so the practical approach is to confirm the required surface condition with the selected ink system and validate it on actual production parts.
In production, consistency is often more important than chasing a theoretical number.
If one batch passes adhesion testing and another fails, dyne testing can help determine whether the surface condition has changed.
Cause 2: Mold Release Agents, Oil, Dust, or Other Surface Contamination
A plastic substrate may have sufficient surface energy and still produce poor adhesion because the ink is bonding to contamination rather than directly to the substrate.
Common contaminants include:
- Mold release agents
- Grease
- Fingerprints
- Silicone contamination
- Dust
- Plasticizer migration
- Processing residues
- Condensation
- Oils from upstream manufacturing
Some contaminants are difficult to see with the naked eye.
This creates a common troubleshooting mistake: operators assume the material is clean because the surface looks clean.
Technical printing guidance notes that additives, plasticizers, oils, and mold-release contamination can create a separation layer between the ink and substrate.
How to Check
Compare several controlled samples:
- Print an untreated component.
- Clean another component using the approved process.
- Apply the required pretreatment to another sample.
- Print all samples under the same machine settings.
- Allow the ink to cure under the specified conditions.
- Perform the same adhesion test.
This method helps separate contamination problems from material compatibility problems.
Cause 3: The Ink Is Not Compatible With the Substrate
There is no single pad printing ink suitable for every material.
Ink selection should be based primarily on substrate chemistry and performance requirements.
For example, a printing process may need to consider:
- Plastic type
- Metal or coated metal
- Glass
- Painted surfaces
- Rubber-like materials
- Required abrasion resistance
- Chemical resistance
- Outdoor exposure
- Flexibility
- Production curing conditions
Ink compatibility should be confirmed against the actual substrate, not selected only by color or print appearance.
A common production mistake is assuming that an ink that works on one plastic component will automatically work on another.
Even when two materials look similar, their formulations can differ significantly.
For B2B buyers developing a new pad printing line, sending representative production samples before equipment configuration can reduce uncertainty during process setup.
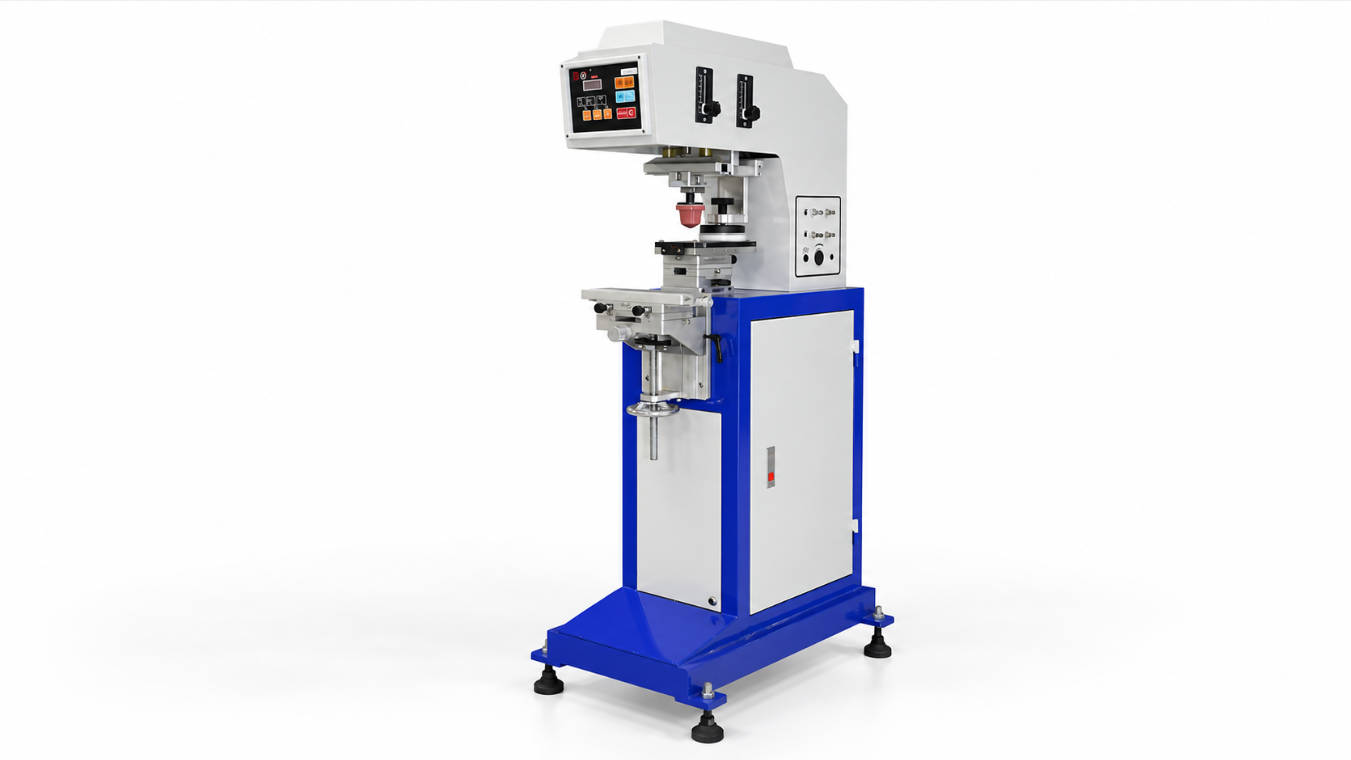
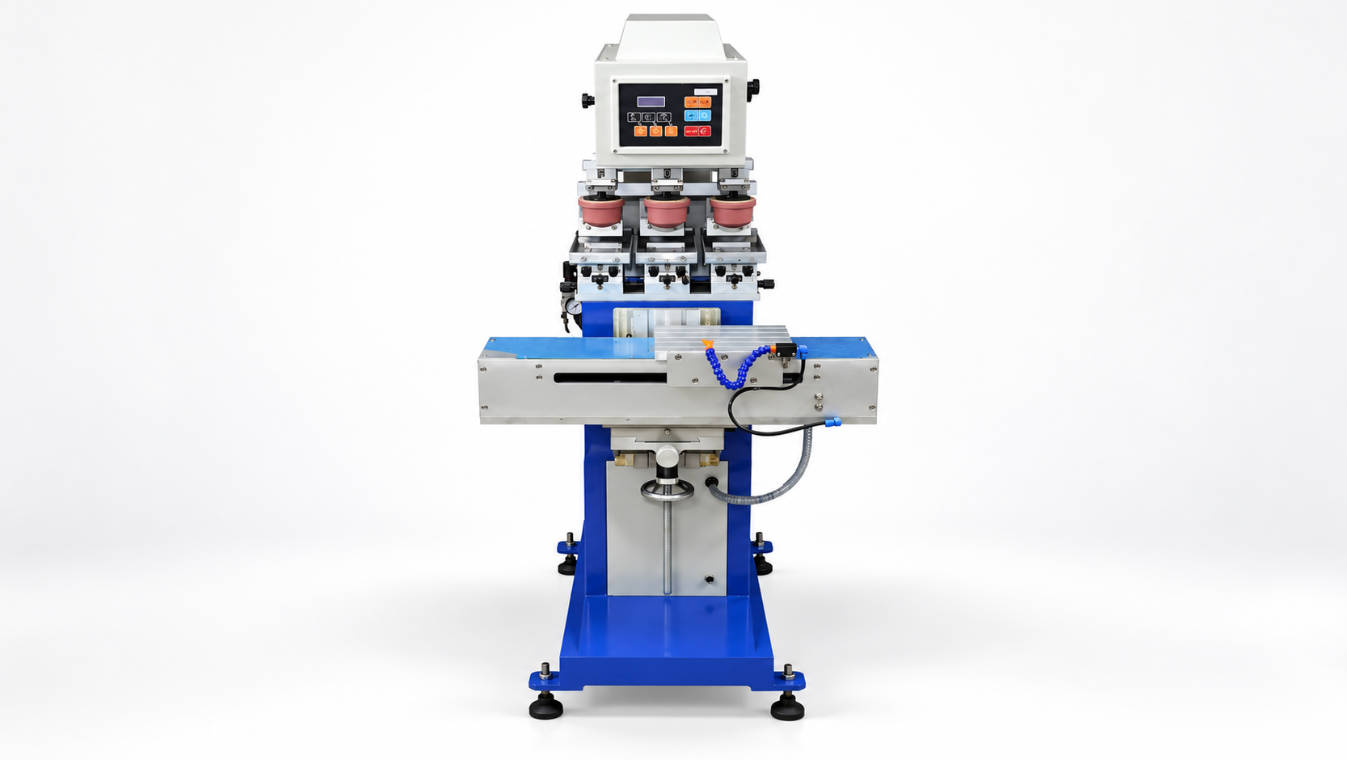
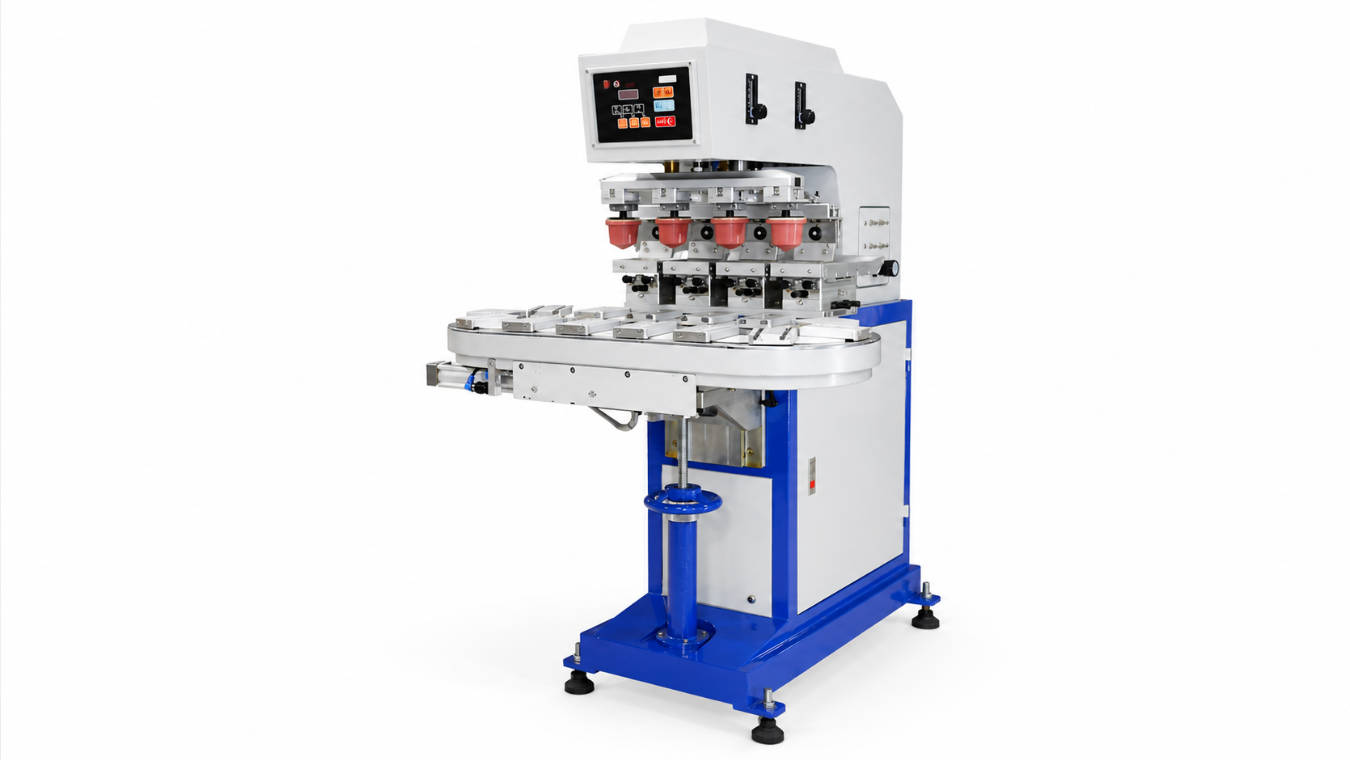
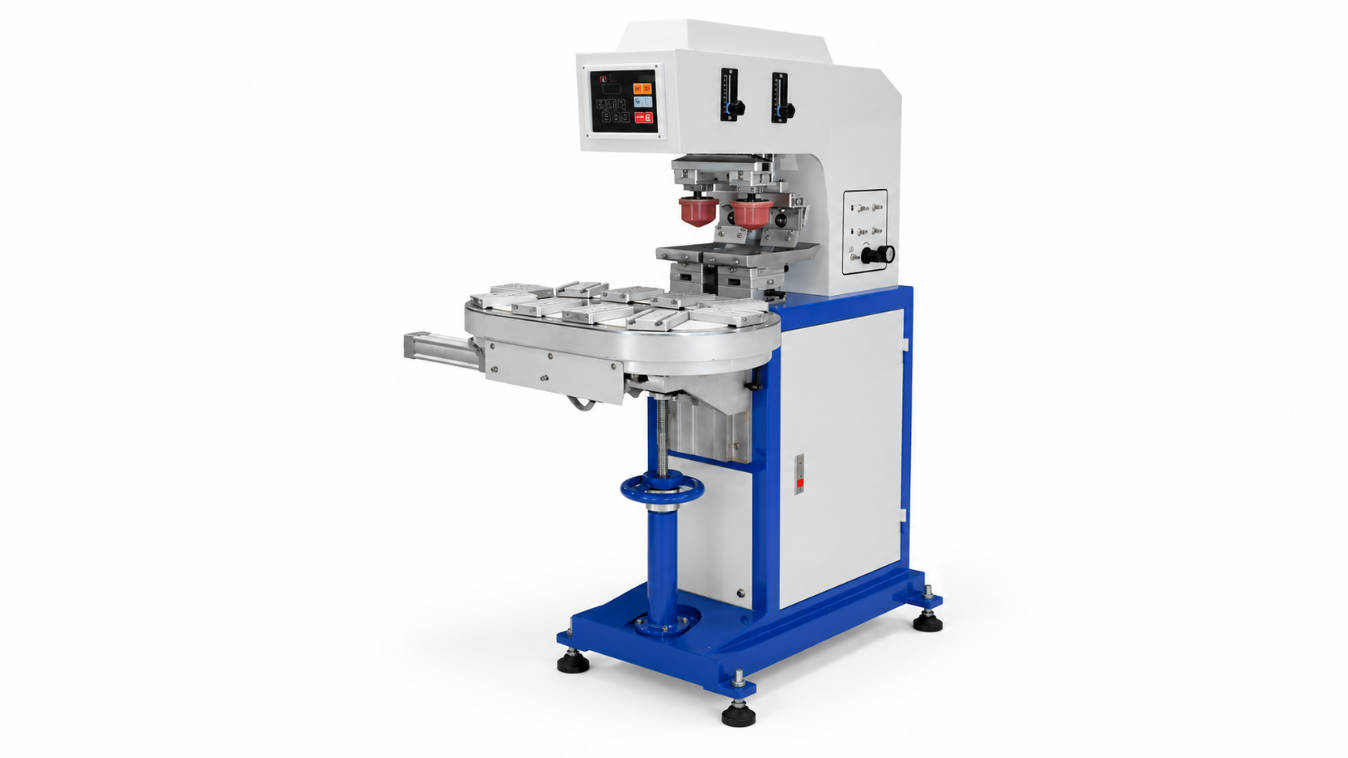
ENGY offers different industrial pad printing machine configurations for varying printing requirements, including closed ink cup equipment and customized production configurations.
Cause 4: The Plastic Requires Surface Pretreatment
When cleaning alone does not provide sufficient adhesion, the substrate may require pretreatment.
Common industrial pretreatment methods include:
- Flame treatment
- Corona treatment
- Plasma treatment
- Approved chemical primer or surface treatment
The correct process depends on the substrate and application.
ENGY’s pad printing machine range includes configurations where pretreatment functions can be incorporated for relevant applications, including flame treatment or electrical surface treatment options for selected plastic printing requirements.
Flame Treatment
Flame treatment modifies the outer surface of certain plastics and can improve wettability before printing.
It is commonly associated with difficult-to-print polyolefin materials.
The important variables include:
- Flame condition
- Treatment distance
- Treatment speed
- Exposure time
- Part geometry
- Time between treatment and printing
Too little treatment may be ineffective, while uncontrolled treatment may damage or deform sensitive products.
Therefore, pretreatment parameters should be validated rather than adjusted by appearance alone.
Corona or Plasma Treatment
Corona and plasma treatment can also modify the surface characteristics of difficult substrates.
These methods can be useful when manufacturers need:
- Controlled surface activation
- Integration into automated production
- Treatment of particular component geometries
- Repeatable process control
The correct solution depends on part geometry, throughput, substrate, and production layout.
For companies purchasing an automated pad printing machine, pretreatment should therefore be considered during equipment planning rather than added only after adhesion problems appear.
Cause 5: Incorrect Ink Mixing, Thinner, or Hardener Ratio
Pad printing inks may require specific mixing procedures.
Depending on the ink system, preparation may involve:
- Base ink
- Hardener
- Thinner
- Other approved additives
Incorrect ratios may affect:
- Viscosity
- Transfer characteristics
- Drying
- Chemical curing
- Final adhesion
- Abrasion resistance
For two-component systems, the hardener plays a functional role in the curing process.
Operators should therefore follow the specifications of the selected ink system rather than mixing by visual judgment.
Another important factor is pot life.
Once components are mixed, some ink systems have a limited usable period. Ink that remains printable from a viscosity perspective may no longer provide the intended final properties if it has exceeded its specified working time.
Cause 6: Ink Has Not Fully Dried or Cured
A print can feel dry on the surface without being fully cured.
This is particularly important when adhesion is tested too soon.
Drying and curing depend on factors such as:
- Ink system
- Hardener
- Layer thickness
- Substrate
- Ambient temperature
- Airflow
- Humidity
- Post-treatment
- Time
Some inks primarily dry through solvent evaporation, while other systems also rely on chemical curing.
Do not judge final ink adhesion only a few minutes after printing unless the ink specification explicitly supports that test condition.
If the print fails immediately but passes after the specified curing period, the original problem may have been premature testing rather than true adhesion failure.
Cause 7: Pretreatment Is Working, but the Process Is Not Consistent
A process can work during sampling and still fail during mass production.
Why?
Because industrial printing requires repeatability.
For example:
- Flame distance changes
- Treatment speed varies
- Operator cleaning methods differ
- Components come from different molding batches
- Mold release usage changes
- Parts are stored for different periods
- Ink mixture changes between shifts
These variations can produce different adhesion results even when the pad printing machine settings remain unchanged.
For high-volume manufacturing, pretreatment should therefore be treated as a controlled production parameter.
A documented process might include:
| Process Stage | Variable to Control |
| Incoming parts | Material and supplier batch |
| Cleaning | Cleaner, method, drying time |
| Pretreatment | Energy level, speed, distance or exposure |
| Ink preparation | Mixing ratio and preparation time |
| Printing | Pressure, speed, stroke, pad |
| Drying/curing | Time and environmental conditions |
| Inspection | Agreed adhesion test |
Cause 8: Printing Parameters Are Affecting Ink Transfer
Not every adhesion problem is purely chemical.
Machine settings can indirectly affect the deposited ink film.
Important parameters include:
- Pad pressure
- Printing speed
- Pad shape
- Pad hardness
- Cliché condition
- Etch characteristics
- Ink viscosity
- Pick-up timing
- Transfer timing
If too little ink reaches the product or the ink film is irregular, the resulting print may appear to have an adhesion problem.
However, operators should be cautious about continuously increasing pad pressure.
More pressure does not compensate for incorrect ink chemistry or low surface energy.
A properly configured pad printing machine for industrial production should be evaluated together with the pad, plate, ink, fixture, substrate, and required production cycle.
A Practical Troubleshooting Sequence for Pad Printing Ink Adhesion Problems
Randomly changing multiple parameters at once makes the root cause difficult to identify.
A better method is to troubleshoot systematically.
Step 1: Identify the Exact Substrate
Do not record only “plastic.”
Determine whether the material is:
- PP
- PE
- ABS
- PC
- Nylon
- POM
- Coated plastic
- Another engineering material
Also record the material grade whenever possible.
Step 2: Clean the Surface
Remove visible and invisible contamination using a cleaning process compatible with the component.
Then perform a controlled printing test.
If adhesion improves significantly, the original cause may be surface contamination.
Step 3: Evaluate Surface Energy
For materials known to have difficult surface characteristics, test whether pretreatment is required.
Do not rely only on the generic material name.
Actual parts can behave differently because of additives, molding conditions, coatings, or storage history.
Step 4: Verify Ink Compatibility
Confirm whether the ink system is intended for the target substrate and application.
Consider not only adhesion but also:
- Abrasion
- Chemical exposure
- Flexibility
- Outdoor conditions
- Required finish
Step 5: Verify Ink Preparation
Check:
- Mixing ratio
- Thinner
- Hardener
- Mixing time
- Working time
- Storage condition
If different operators mix ink differently, standardize the preparation process.
Step 6: Check Pretreatment
If the substrate requires activation, verify that the treatment is both effective and repeatable.
Test parts before and after treatment under identical printing conditions.
Step 7: Confirm Drying and Curing
Allow the specified curing process to complete before making the final adhesion judgment.
Step 8: Perform an Adhesion Test
Possible testing methods include:
- Tape test
- Scratch test
- Cross-hatch evaluation where appropriate
- Abrasion test
- Customer-specific durability test
The appropriate method depends on the product requirement.
For industrial production, define the acceptance method before mass production begins.
Quick Diagnostic Table: Why Is My Pad Printing Ink Not Sticking?
| Symptom | Likely Cause | First Action |
| Ink beads on plastic | Low surface energy | Check surface condition and pretreatment |
| Ink wipes off easily | Incompatible ink or insufficient cure | Verify ink system and curing |
| Ink scratches off after drying | Weak substrate bonding | Check pretreatment and ink compatibility |
| Adhesion varies by batch | Material or contamination variation | Compare substrate batches |
| Printing is patchy | Contamination or poor wetting | Clean and evaluate surface |
| Print stays soft | Ink preparation or curing issue | Check mixture and curing conditions |
| Adhesion passes after longer waiting | Premature testing | Follow full curing schedule |
| Good transfer but poor adhesion | Chemical bonding problem | Focus on substrate, ink and pretreatment |
Common Mistakes When Troubleshooting Pad Printing Adhesion
Changing the Silicone Pad First
A pad can influence image transfer, but replacing the pad will not solve a low-surface-energy substrate.
If the print transfers clearly but scratches off easily, investigate adhesion rather than transfer.
Increasing Printing Pressure
Higher pressure is sometimes used as a quick response to print defects.
However, pressure cannot create chemical compatibility between the ink and substrate.
Excessive pressure can also create other transfer problems.
Assuming All PP, PE, ABS, or PC Parts Behave the Same
Commercial plastic formulations contain different additives, fillers, coatings, and processing aids.
Test the actual production material.
Testing Adhesion Immediately
If the ink has not completed its intended curing cycle, an early test may produce a false failure.
Changing Several Variables at Once
If an operator changes:
- Thinner
- Pad pressure
- Pretreatment
- Ink ratio
- Drying conditions
at the same time, it becomes impossible to identify which variable solved or caused the problem.
Use controlled A/B testing whenever possible.
What B2B Buyers Should Provide Before Choosing a Pad Printing Solution
If you are purchasing an industrial pad printing machine for a new product, the discussion should begin with the application rather than only machine size or number of colors.
Provide the equipment supplier with as much information as possible.
Product Information
- Product photos
- Product dimensions
- Material
- Printing position
- Surface geometry
- Printing artwork
- Number of colors
Production Requirements
- Expected production volume
- Required cycle
- Manual or automatic loading
- Existing upstream/downstream equipment
- Available factory space
Print Performance Requirements
- Adhesion requirement
- Abrasion resistance
- Chemical resistance
- Appearance requirement
- Inspection method
Material Samples
Actual samples are particularly valuable when printing on difficult plastics.
A pre-production sample test can reveal whether the application requires:
- Surface cleaning
- Pretreatment
- Different ink
- Different silicone pad
- Fixture optimization
- Drying assistance
- Additional automation
For B2B pad printing projects, sample testing can identify material and process requirements before the final machine configuration is determined.
ENGY provides pad printing equipment solutions covering different machine configurations and production requirements.
When Is the Pad Printing Machine Actually the Problem?
Because ink adhesion is strongly influenced by materials and chemistry, the machine is sometimes blamed too early.
However, machine-related factors should be investigated when you see:
- Unstable pad movement
- Inconsistent printing pressure
- Poor fixture positioning
- Irregular ink transfer
- Unstable printing cycles
- Inconsistent plate contact
- Repeatability problems between cycles
For mass production, the equipment must repeatedly reproduce the validated printing process.
That is why machine selection should consider more than whether the printer can physically reach the printing area.
A suitable industrial system should match:
- Part geometry
- Print size
- Number of colors
- Required output
- Ink system
- Pretreatment requirements
- Drying requirements
- Loading method
- Automation level
Manufacturers developing a new printing process can explore ENGY’s pad printing machine solutions or visit the ENGY pad printing equipment website for additional product and application information.
Frequently Asked Questions
Why does pad printing ink not stick to plastic?
Pad printing ink may not stick to plastic because of low surface energy, mold release agents, oils, incompatible ink, insufficient pretreatment, or incomplete curing. Identify the exact plastic material before changing machine settings.
Why does pad printing ink scratch off after drying?
If the ink scratches off after drying, the ink may not have developed sufficient adhesion to the substrate. Check material compatibility, surface cleanliness, pretreatment, ink preparation, and whether the complete curing period has been reached.
Do PP and PE need pretreatment before pad printing?
PP and PE commonly require surface pretreatment because their untreated surfaces can be difficult for printing inks to wet and bond to. The required process should be verified using the actual material, selected ink, and adhesion test.
What dyne level is required for pad printing?
There is no single dyne value that should be applied universally to every ink and substrate combination. Determine the target surface condition according to the selected ink system, substrate, pretreatment method, and required adhesion performance.
How can I improve pad printing ink adhesion?
Start by confirming the substrate, cleaning the surface, checking surface energy, selecting a compatible ink, applying pretreatment where required, controlling ink preparation, and allowing the correct curing process before testing adhesion.
Can flame treatment improve pad printing adhesion on plastic?
Flame treatment can improve the surface characteristics of certain difficult-to-print plastics and is commonly used for selected polyolefin applications. Treatment parameters should be controlled and validated on actual parts.
How do you test pad printing ink adhesion?
Common methods include tape testing, scratch testing, cross-hatch evaluation where appropriate, and application-specific abrasion or chemical resistance testing. Always allow the ink to complete its specified curing process before final evaluation.
Can a pad printing machine cause poor ink adhesion?
Machine parameters can affect ink transfer and film consistency, but fundamental adhesion problems are often related to the substrate, surface preparation, ink compatibility, or curing. Troubleshoot these factors systematically before assuming the machine is the primary cause.
Conclusion
Pad printing ink adhesion problems should be approached as a process issue rather than simply an ink or machine problem.
When ink does not stick, scratches off, or peels from a product, investigate the process in this order:
identify the substrate → clean the surface → evaluate surface energy → confirm ink compatibility → apply pretreatment if necessary → control printing parameters → complete curing → test adhesion
This sequence reduces unnecessary parameter changes and makes troubleshooting easier to document.
For manufacturers planning a new pad printing line, material testing should ideally take place before the equipment configuration is finalized. Product material, print area, ink requirements, pretreatment, cycle time, and automation requirements all influence the final solution.
ENGY provides industrial pad printing equipment for different production applications. Buyers can provide product samples, material information, artwork, and production requirements to evaluate an appropriate pad printing configuration.