It can be frustrating to discover that carefully prepared ink has dried too quickly on my pad printer, causing clogs and inconsistent results. I recall rushing to fulfill an urgent order and ending up with dried ink cups. I needed reliable fixes to avoid downtime.
Ink drying issues in pad printers come from factors like environmental conditions, incorrect machine settings, and poor-quality pad printing supplies. Preventing them requires regulating temperature and humidity, maintaining proper ink viscosity, and using reliable equipment. A stable production environment goes a long way toward stopping unwanted drying.
I once struggled with dried ink every morning. In my haste, I neglected simple measures to keep the workspace stable. That motivated me to research deeper into pad printing machines, automatic systems, and the best ways to store ink.
[Table of Contents]
- Why Does Ink Drying Even Matter in Pad Printing?
- What Environmental Factors Contribute to Ink Drying Issues?
- How Do Machine Settings Affect Ink Drying Problems?
- Which Pad Printing Supplies Can Help Mitigate Ink Drying?
- Are There Best Practices to Extend Ink Pot Life?
- When Is an Automatic Pad Printing Machine the Right Choice?
- What Are Simple Troubleshooting Steps to Prevent Ink Drying Mishaps?
- Conclusion
Why Does Ink Drying Even Matter in Pad Printing?
I used to think ink drying was just a minor inconvenience. But I soon learned it can ruin productivity, lead to blurred prints, and cause constant cleaning. Dried ink disrupts overall efficiency.
Ink drying is crucial because improperly dried ink may either clog the pad printing machine’s cups or prevent consistent transfer to the substrate. When ink dries prematurely, you risk smudging, uneven prints, and a time-consuming cleanup process that slows production.

Let’s explore the deeper reasons that make ink drying a top priority. Over the years, I have seen how dryness affects each step of the pad printing process. Whether it’s a quick-dry solvent or an incompatible additive, each element plays a role in how quickly the ink stiffens.
In my first year, I tried to compensate by adding more solvent or retarder to slow drying. Unfortunately, I discovered that overshooting the ratio results in poor adhesion once transferred onto products. So, it became a balancing act.
A crucial aspect is the pad transfer motion. If the ink is already drying on the pad before it makes contact with the part, the image becomes incomplete. Sometimes, a dried film forms on the pad, causing further misprints.
Conversely, if the ink is too slow-drying, it can become tacky and smear during transfer. The perfect dryness must be maintained so that ink is stable in the cup, fluid in the plate, and only sets once on the product.
Understanding how dryness affects print clarity and color consistency has helped me plan production runs more efficiently. I now keep a close eye on my pad printing machine settings, the environment, and the pad printing supplies I choose.
What Environmental Factors Contribute to Ink Drying Issues?
Sometimes, we overlook the environment, assuming that a simple workspace is enough. But temperature, humidity, and airflow can each hasten or delay ink drying in unexpected ways.
Temperature fluctuations accelerate or slow down the evaporation of solvents in pad printing inks. Likewise, high airflow can dry ink too rapidly. Humidity changes how well the ink settles on the pad. A stable, moderate setting is essential for predictable results.
I remember working in a small warehouse without climate control. One day, it was scorching hot, so the ink dried in the cup very fast. The next day, the weather changed, and I ended up with sticky ink that wouldn’t set properly.
Temperature Effects
When it’s hot, solvents evaporate quickly, meaning your pad printing equipment needs constant monitoring. If you fail to add retarder or adjust the ink mixture, the ink forms a skin in the ink cup, clogging your pad printer.
On the flip side, cold temperatures slow the evaporation, leaving you with a sluggish, tacky ink. Prints can smudge or transfer unevenly. Balancing the temperature is about maintaining a controlled range—often between 20°C to 25°C (68°F to 77°F)—to keep the drying pace consistent.
Humidity Impact
High humidity can delay drying because the ambient moisture stops the solvent from evaporating as quickly. However, extremely low humidity can dry ink on the cliché before the pad even contacts it. Either scenario poses a risk for consistent prints.
I try to maintain moderate humidity levels, using a humidifier or dehumidifier as necessary. I’ve found that 40% to 60% humidity is often a safe target for pad printing supplies and processes.
Airflow and Ventilation
Proper ventilation is critical. While you need airflow to remove fumes, too much circulation can dry the ink prematurely. If your fans or air conditioners blow directly over the printing station, the ink solvent will evaporate faster than expected.
In my own workspace, I redirect air vents away from the pad printer to ensure that only gentle air movement is present.
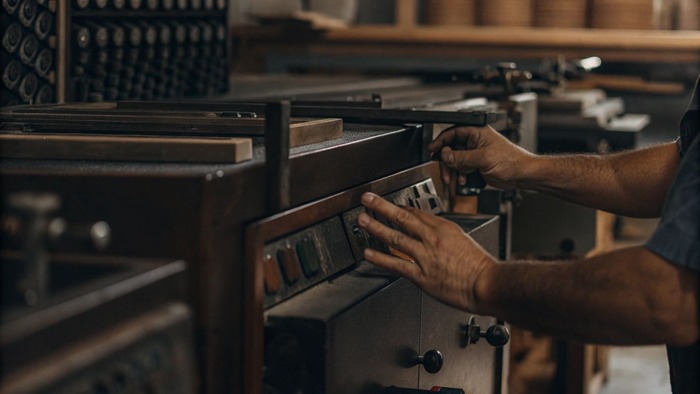
How Do Machine Settings Affect Ink Drying Problems?
My experience taught me that even the best pad printing supplies fail if the machine’s settings are off. Adjusting the doctor blade, cycle speed, and pad pressure can drastically influence ink drying time.
Machine settings like pad travel speed and dwell time directly impact how long the ink remains on the cliché and the pad. Overly slow cycles may allow the ink to dry prematurely. Fast cycles risk incomplete pick-up or transfer. Calibrating these variables is key.
Let’s examine the mechanics of a pad printer. The doctor blade (or ink cup) applies ink evenly onto the cliché, then scrapes away the excess. The open areas of the plate hold the ink that the pad will pick up.
If the doctor blade is misaligned, it might not remove enough ink, causing extra layers that take longer to dry. Or, if the blade scrapes too cleanly, the ink deposit might be too thin, drying immediately and preventing a proper transfer.
Cycle Speed and Dwell Time
The cycle speed determines how quickly the pad moves between the cliché and the product. A slow speed often increases the exposure time, allowing the solvent to evaporate. This can be beneficial if the ink is too wet, but detrimental if you already struggle with dryness.
Meanwhile, dwell time—the moment the pad rests on the plate or the product—impacts how much ink gets released. Too long of a dwell might cause the pad to pick up partially dried ink. Too short and the ink might not adhere well.
Pressure Adjustments
The pressure with which the pad presses on the cliché and later onto the product also matters. If the pressure is too high, you may distort or spread the ink film more than intended. If it’s too low, the ink might not transfer fully before it begins drying.
I once ran a series of test prints, systematically altering pressure, speed, and dwell. I kept a log of each setting. This helped me discover a sweet spot for my pad printing machine that minimized dryness issues without sacrificing print clarity.
Open Cup vs. Sealed Cup Systems
Open cup systems expose the ink to air, increasing evaporation. Sealed cup systems can slow the rate of solvent loss, giving you a bit more leeway before dryness becomes an issue. Depending on your printer design, switching from open cup to sealed cup might help if dryness is a recurring problem.
Which Pad Printing Supplies Can Help Mitigate Ink Drying?
The choice of pad printing equipment and consumables directly influences dryness. Ink formulations, silicone pad quality, and cleaning solvents each affect the speed and quality of the transfer.
Prevent dryness by selecting inks with the right solvent blend for your environment, investing in silicone pads that hold ink properly, and using reliable cleaning agents. High-grade pad printing supplies ensure controlled drying and consistent results during each production run.
Long ago, I picked the cheapest inks, believing it would cut costs. But the inks dried unpredictably, resulting in wasted prints and frustrated customers. I learned that reputable brands often provide better formulations that resist premature dryness.
Ink Formulations
Some inks contain fast evaporating solvents, ideal for quick production lines, but they demand precise handling. Others have slower solvents, offering more workable time in the cup. I choose an ink designed for my typical temperature and humidity conditions.
Modern inks sometimes include retarders, which slow solvent evaporation, or hardeners that influence how quickly the ink cures once transferred. Reviewing a product’s technical data sheet helps me determine the best match for my pad printing machine.
Silicone Pad Quality
Pads vary in durometer (hardness) and silicone blend. A worn or low-grade pad might absorb or repel ink in ways that accelerate drying. High-quality silicone pads enable a clean pickup and release, which in turn keeps the ink from forming a crust before transfer.
Periodically, I rotate through fresh pads, especially on large projects. A pad with micro-tears or contamination drastically alters how ink behaves.
Cleaning Solvents and Maintenance Products
Using the correct cleaning products is another piece of the puzzle. Some strong solvents can degrade the silicone pad or cause ink residue to gum up. The result might be an uneven surface where ink can dry in patches.
A balanced solvent that thoroughly cleans but doesn’t damage the pad printing equipment is essential. I also keep a mild cleaning schedule between runs, preventing leftover ink from drying in the cup or the plate.
Are There Best Practices to Extend Ink Pot Life?
I used to waste ink by throwing out partially dried leftovers. Then I realized that simple strategies could keep ink fresher longer, saving me money and reducing the headache of constant mixing.
Best practices include sealing your ink containers when not in use, monitoring solvent ratios, and minimizing exposure to open air. Using sealed cup systems and adding retarder when needed also helps preserve the ink’s viability during extended production runs.
In my early days, I left ink cups open for hours while switching between product batches. Naturally, the top layer dried, forming a crust. I’d skim it off, but the damage was done—my ratio was thrown off, and the remaining ink often printed poorly.
To counter this, I developed a routine: whenever a pad printer is idle for longer than a few minutes, I cover the cup. If using an open ink cup, I keep a fitted lid or plastic wrap handy to slow evaporation.
Also, maintaining a log of the initial ink mixture helps me replenish solvent consistently. When production volume is high, I prefer to measure new ink in smaller batches so I don’t let large quantities sit unused and exposed for too long.
Using a Sealed Cup System
As noted, sealed cup systems drastically reduce solvent evaporation. These cups come with a ceramic ring or doctor ring that glides across the plate, keeping the ink contained. While it may be slightly more expensive up front, the cost savings over time can be significant because you waste less ink.
Adding Retarders Carefully
Retarders can slow down the drying of solvent-based inks. However, too much retarder can affect adhesion or print clarity. I always add in small increments, conducting test prints after each adjustment to ensure I don’t overshoot the ideal ratio.
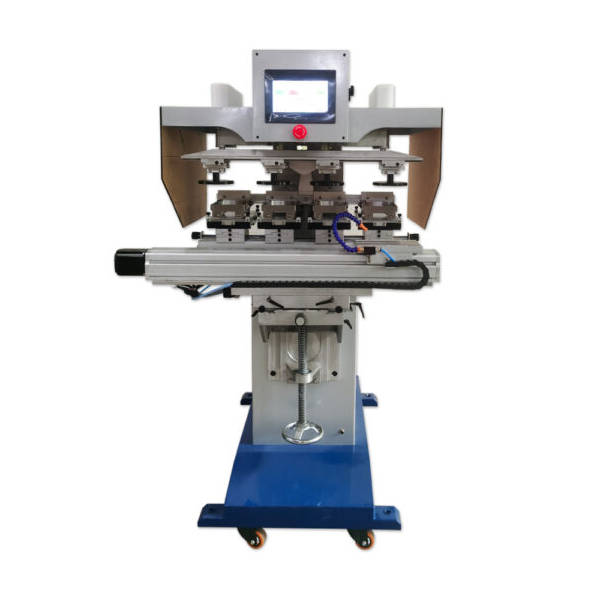
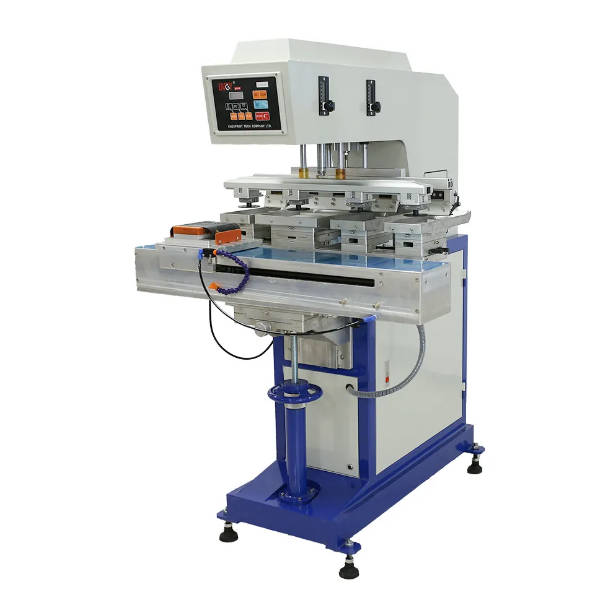
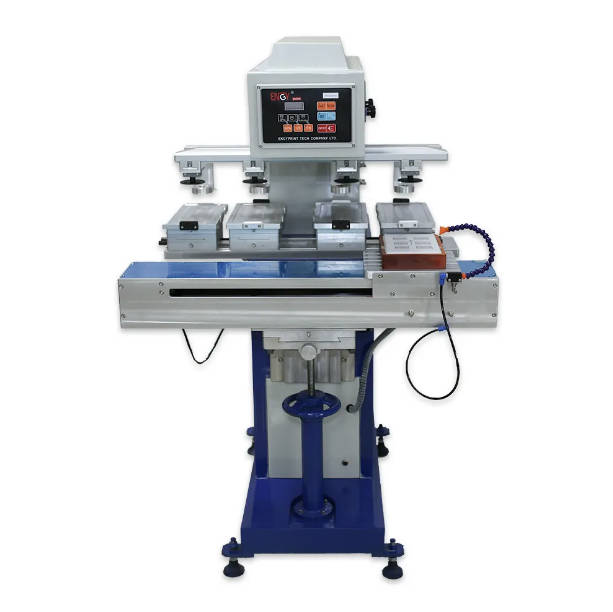
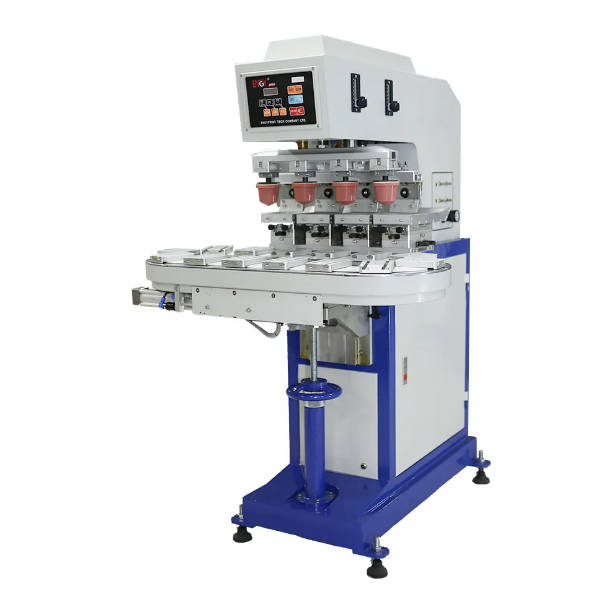
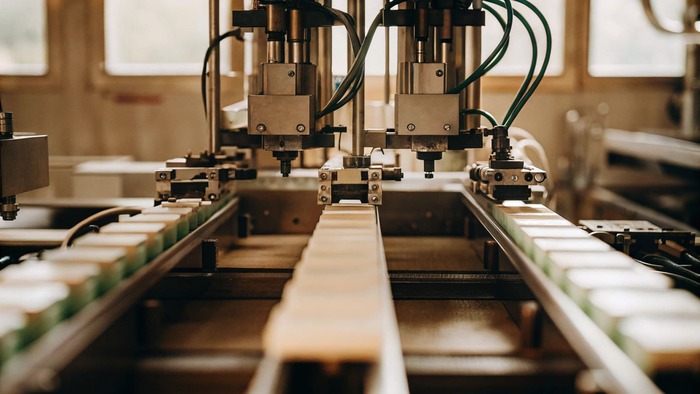
When Is an Automatic Pad Printing Machine the Right Choice?
Manual operation can be slow, and differences in operator skill may cause ink drying inconsistencies. Automatic pad printing machines offer consistent speed, pressure, and cycle times that help control drying variables.
An automatic pad printing machine is ideal for large production runs, where steady cycle times and uniform pad travel reduce the chance of premature ink drying. It removes the variation introduced by manual operations, ensuring more predictable outcomes.
My transition to an automatic pad printing machine came after a large order from a global client. I couldn’t afford downtime from dried ink in the middle of the run. Automation provided synchronized movements, repeating each cycle with the same timing.
This consistent motion helps because the ink experiences the same environment and contact time each pass. If the machine cycles every three seconds, the pad’s contact with open air is uniform. That means you’re less likely to end up with unexpected dryness.
Benefits of Automation
1. Repeatable Cycles: The machine’s programmed pace means every pad impression is the same.
2. Reduced Operator Error: Operators mainly load and unload, while the machine handles cycle speed.
3. Integration Options: Many automatic models can integrate temperature or humidity controls, further mitigating dryness issues.
PLC Controls and Advanced Features
Some automatic models come with a PLC (Programmable Logic Controller) that allows me to store several printing programs. I can set dwell times, pad pressures, or multi-color sequences. Once dialed in, the PLC ensures each run is consistent, reducing dryness surprises.
However, automation isn’t always a cure-all. If your environment is extremely hot or cold, dryness can still happen. But with an automatic pad printing machine, you at least remove the variable of manual cycle times.
What Are Simple Troubleshooting Steps to Prevent Ink Drying Mishaps?
Sometimes, dryness sneaks up on you during a busy day. Quick checks and simple fixes can reduce downtime. I rely on a brief checklist every morning before turning on my pad printer.
Start by verifying ink consistency, ensuring you have the right ratio of solvent. Next, inspect your pad for residue or damage. Maintain moderate temperature and humidity, and adjust machine speed if needed. Small, frequent interventions prevent larger issues down the line.
I’d like to share a short daily routine that has saved me countless headaches:
Morning Setup
– Check Environmental Controls: Ensure the workspace is neither too hot nor too cold. Adjust ventilation if the airflow is direct and strong.
– Prepare Ink: If mixing new ink, follow the recommended ratio precisely. Keep lids on when possible.
– Examine the Pad: Look for tears or dried residue from previous runs.
Mid-Day Check
– Monitor Ink Cup: If you see a film or skin forming, remove it and add a small amount of solvent.
– Record Settings: Note any adjustments made to dwell time or cycle speed. This helps replicate successful runs.
– Wipe Down Surroundings: Clean any excess ink or debris near the pad printing equipment to maintain hygiene.
End-of-Day Routine
– Remove Unused Ink: Transfer leftover ink into a sealed container if it’s still viable.
– Clean Thoroughly: Use proper solvents to wipe the pad, clichés, and any contact surfaces.
– Store Supplies Safely: Put all pad printing supplies, including inks and pads, in a controlled environment.
This schedule helps me stay one step ahead of dryness issues and ensures my pad printing machine is ready for the next round.
Can Advanced Pad Printing Equipment Reduce Ink Drying Incidents Significantly?
In a constantly evolving market, companies like mine invest in advanced pad printing equipment to stay competitive. Modern pad printers often come with features such as adjustable inking systems, integrated temperature controls, and even software that monitors environmental conditions around the press. These improvements can significantly reduce the likelihood of ink drying mishaps.
For example, I once visited a facility that utilized fully automated and sensor-monitored pad printing lines. Each station was enclosed, maintaining a consistent temperature. The result was a production line that ran for hours without having to stop and replenish the ink as frequently. This was a game-changer for large-scale operations.
However, I’ve also seen smaller companies successfully address dryness issues without high-end machinery. The difference often comes down to proper training and consistent procedures. But there is no denying that advanced features offer an extra layer of security against drying surprises.
Which Features Matter Most?
– Enclosed Printing Environment: Some high-end machines isolate the printing area, controlling airflow and humidity.
– Inline Solvent Add-On System: This feature allows minimal, precise solvent additions during the print run without stopping the process.
– Automatic Pad Cleaning: Built-in pad cleaning cycles remove any dried residues, reducing the chance of dryness issues mid-run.
Such modern solutions can significantly boost consistency. Yet, they come at a higher cost. Weighing this investment against your production volume, error rates, and rework expenses is critical when deciding if advanced pad printing equipment is worth it.
How Do Different Industries Handle Pad Printing Ink Drying?
In my experience, each sector has a unique approach. Electronics manufacturers demand ultra-precise prints on small components, so dryness and clarity are paramount. They often employ a tightly controlled environment, with air filtration and temperature regulation.
Automotive parts suppliers may invest in larger, automatic pad printing machines for massive volumes, focusing on streamlined processes. They might incorporate conveyor systems that pass each part under a well-timed pad printer. Because production lines run continuously, dryness issues must be minimized through robust machine settings and carefully selected pad printing supplies.
Cosmetics companies aim for vibrant, detailed prints on curved surfaces (like lipstick tubes or compact cases). Here, dryness can lead to color shifts or incomplete transfers. They frequently use specialized inks that match the substrate while also controlling dryness with consistent climate settings.
Across these industries, the core practices remain the same: maintain environment, optimize machine settings, and pick supplies tailored to the job at hand.
What Is My Personal Checklist Before Each Print Run?
Drawing from years of trial and error, I’ve developed a pre-print checklist that mitigates dryness issues:
| Step | Action | Reason |
|---|---|---|
| 1 | Verify Environment | Ensure temperature/humidity is within target range |
| 2 | Prepare Ink Mixture | Accurate ratio of solvent, retarder, and hardener if necessary |
| 3 | Check Pad Condition | Replace worn or damaged pads to maintain consistent transfer |
| 4 | Calibrate Printer Settings | Cycle speed, dwell time, and doctor blade alignment |
| 5 | Run Test Prints | Confirm dryness level and transfer quality before mass production |
By following these steps, I catch potential problems like overly fast ink drying or a misaligned pad printing machine before they escalate into major production delays.
Reflecting on Real-World Successes and Failures
When I first began, I underestimated how important dryness control was. One specific job required a large batch of promotional pens. About halfway through, I noticed the ink was not transferring evenly. It turned out that my overhead fan, combined with a heat wave, had dried out the open ink cup. The entire batch needed reprinting. That costly lesson taught me to pay attention to climate details and to keep the cup sealed whenever possible.
On the flip side, a success story came from setting up a dedicated printing station for a client in the cosmetics industry. We installed a sealed-cup pad printer, maintained the temperature at 22°C, and kept humidity at around 50%. By methodically adjusting the ratio of retarder and using high-quality pads, we achieved near-zero dryness issues. Productivity soared, and the client was pleased with the consistent color coverage.
As a result, I often tell newcomers not to overlook the basics. Even an expensive automatic pad printing machine will fail if environmental factors and the wrong supplies sabotage the ink.
Final Thoughts Before the Conclusion
Balancing all the variables—environment, machine settings, supplies, and operator skill—can seem overwhelming at first. However, once you grasp how these components interconnect, controlling ink dryness becomes more straightforward.
It’s also worth noting that consistent documentation is your friend. By recording data for each run—like temperature, humidity, dwell time, and ink ratios—you can quickly spot patterns. If dryness issues pop up regularly at a certain temperature or after a certain time, you know exactly where to investigate.
That continuous refinement process is what transforms pad printing from a trial-and-error approach into a precise, repeatable system. Whether you operate a manual setup or a top-of-the-line automatic pad printing machine, these fundamentals remain the key to preventing ink dryness and preserving the quality of every print.
Conclusion
Ink drying issues stem from temperature, humidity, equipment settings, and supply choices. By controlling these variables and adopting consistent practices, you reduce downtime and ensure vibrant, accurate prints every time.