Can you print on rubber parts with a pad printing machine, and what makes it difficult? Yes — pad printing is well suited to rubber components because the soft silicone pad conforms to curved and compressible surfaces, but rubber printing fails most often from surface blooming, mold-release residue, and ink cracking on flex, not from low surface energy alone; the fix is surface preparation, a rubber-compatible ink, and a stable fixture.
Rubber parts are everywhere in industry: seals, gaskets, O-rings, dampers, keypads, and molded bushings. For manufacturers in Germany, the UK, and Australia supplying these components, adding logos, part numbers, or traceability codes is a routine but tricky requirement. This guide explains why rubber behaves differently from plastic or silicone, the specific challenges you will hit, and the machine and process setup that delivers durable marks.
Why Rubber Parts Are Challenging to Print
Rubber is not one material but a family — natural rubber (NR), nitrile (NBR), EPDM, SBR, and fluorocarbon (FKM) each print differently. What they share is a set of properties that complicate marking:
– Surface blooming: Vulcanized rubber often contains sulfur, waxes, and plasticizers that migrate to the surface over time. This waxy layer prevents ink from wetting and bonding. – Mold-release and contamination: Release agents used in molding leave a film that must be removed before printing. – Compressibility: Soft rubber deforms under pressure, so the part can shift or the image can distort during transfer. – Flexibility: A mark that is rigid will crack when the part stretches or flexes in service.
The biggest enemy of rubber printing is surface blooming and contamination rather than low surface energy — cleaning and surface condition usually matter more than the press itself.
Common Rubber Materials and Their Print Behavior
Different rubber compounds need different approaches. The table below summarizes typical behavior; exact results depend on the compound and any post-cure or coating.
| Material | Surface Energy Tendency | Blooming Risk | Typical Print Approach |
|---|---|---|---|
| Natural Rubber (NR) | Moderate | Medium | Clean + rubber-compatible ink; light abrade if needed |
| Nitrile (NBR) | Moderate | Medium-High | Degrease; primer or plasma for oily compounds |
| EPDM | Low-Moderate | Low-Medium | Plasma or primer; mechanical-key ink |
| SBR | Moderate | Medium | Clean + two-part ink |
| FKM (Viton) | Low | Low | Plasma treatment + specialized ink |
| Silicone | Very Low | Low | Separate process — see pad printing on silicone products |
Key Printing Challenges
Ink does not stick or rubs off. Almost always caused by a contaminated or blooming surface. Even a thin wax layer is enough to defeat adhesion. Our guide on why pad printing ink does not stick covers the root causes in detail.
Ink cracks or flakes when the part flexes. A brittle ink on a stretching rubber part fails in service. The ink must stay flexible, which points to two-part or rubber-grade formulations rather than standard plastic inks.
Ghosting and registration drift. Because rubber compresses, an unstable part moves between cycles, producing double images or misalignment on multi-color work.
Uneven coverage on textured surfaces. Molded rubber often has a matte or textured finish that breaks up fine lines.
Solutions: Surface Preparation
Surface preparation is the single highest-leverage step for rubber:
– Cleaning: Wipe with isopropyl alcohol or a suitable degreaser to remove mold release and surface oil. Avoid silicone-based cleaners, which create their own barrier. – Deflashing and light abrading: Removing flash and lightly abrading gives the ink a mechanical key, especially on EPDM and FKM. – Plasma treatment: Raises surface energy and removes organic contamination without residue — useful for low-surface-energy compounds and for European and Australian buyers with strict material-compliance needs. – Primer / adhesion promoter: A reliable fallback for oily or difficult compounds, applied thinly and cured before printing.
A clean, decontaminated surface plus a rubber-compatible ink resolves the majority of rubber adhesion problems before any machine change is needed.
Choosing the Right Pad Printing Machine for Rubber Parts
The press choice follows the part, not the other way around:
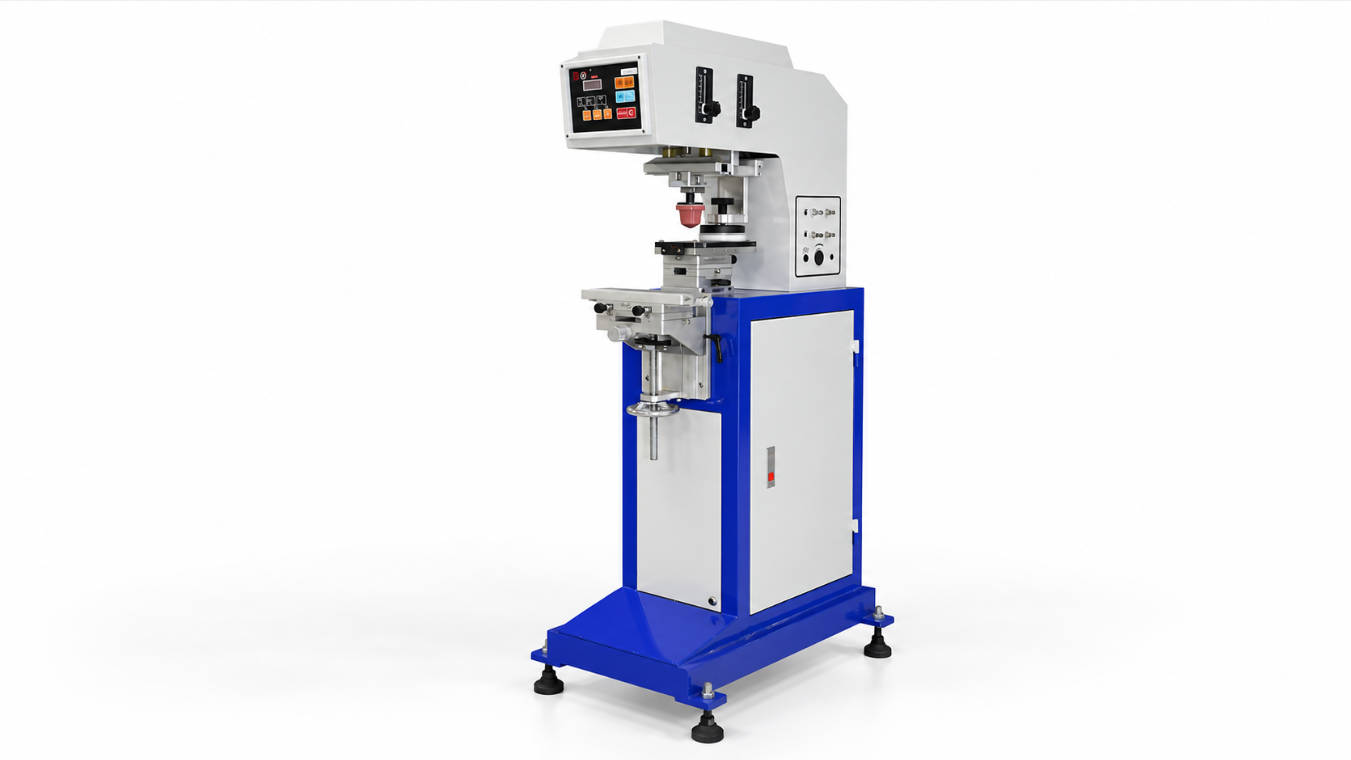
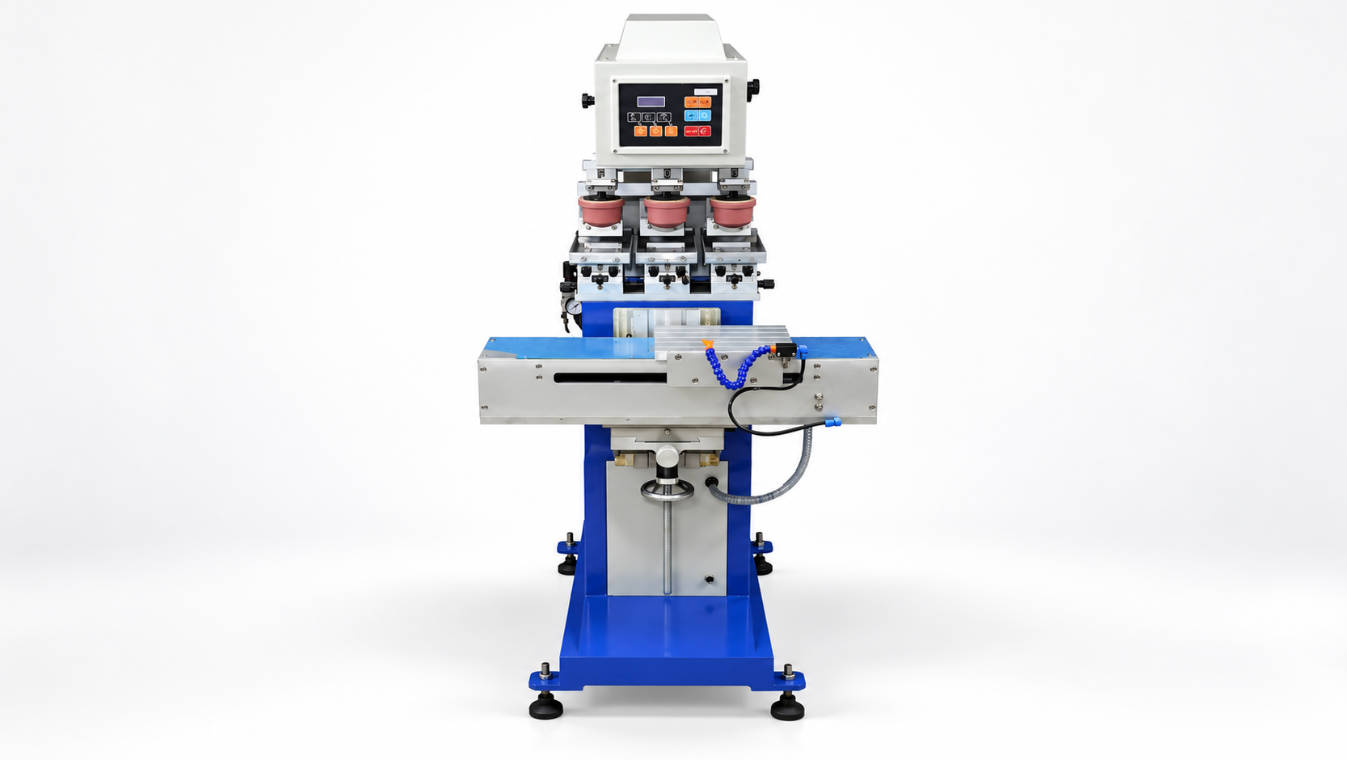
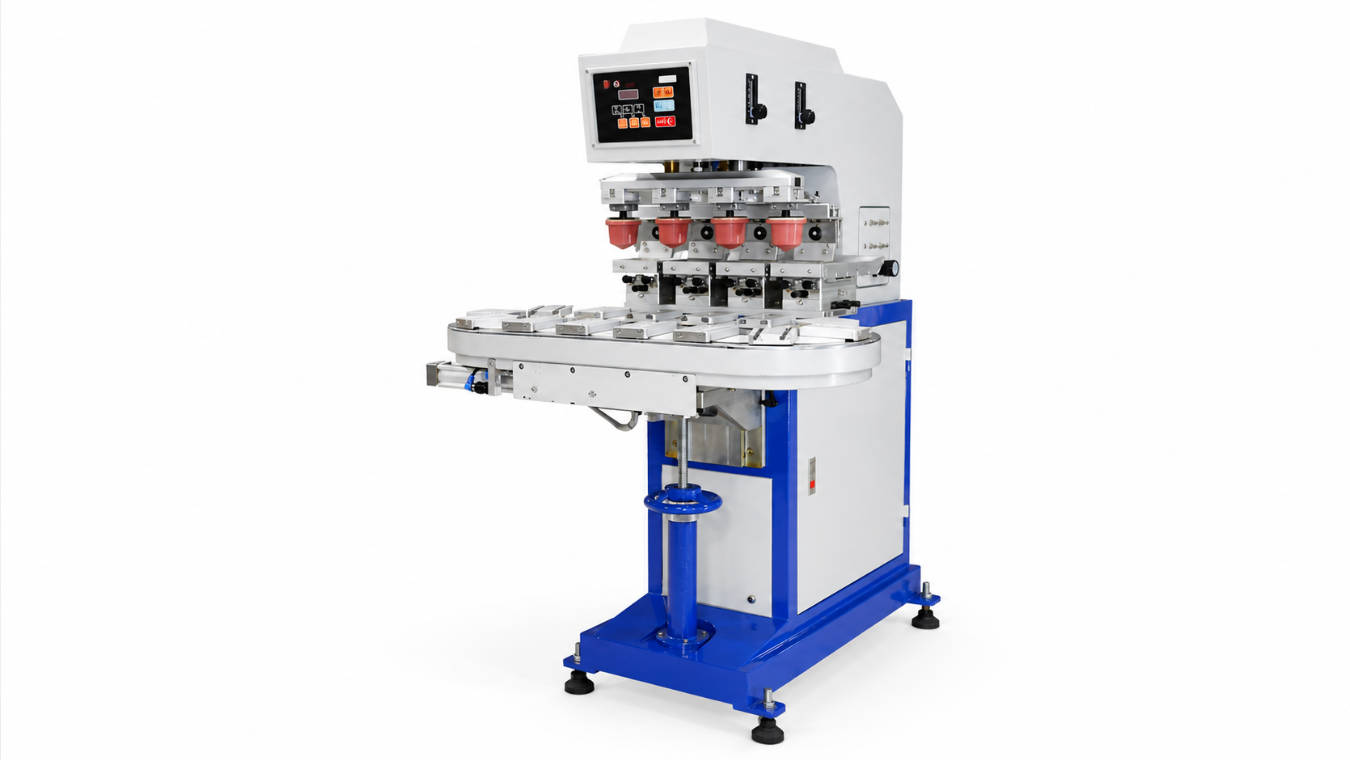
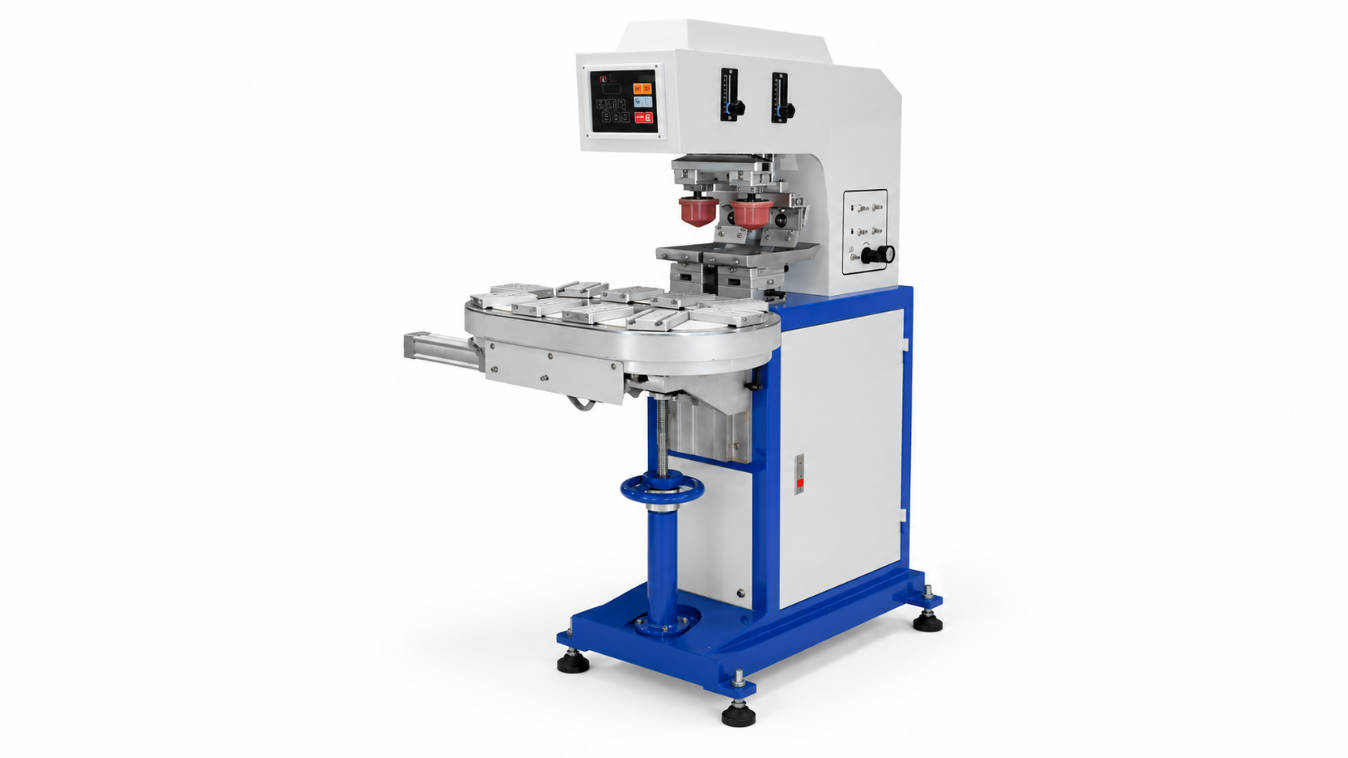
– Ink cup system: A sealed ink cup pad printer (closed ink cup) is recommended for rubber inks, which are sensitive to solvent loss during long runs. – Fixtures and holding: Rubber is compressible, so vacuum or purpose-built fixtures that support the part without over-compressing it are essential for repeatable registration. For unusual geometries, a custom pad printing machine with dedicated tooling is often the most dependable option. – Color count: Single-color logos and codes are simplest; multi-color designs need accurate registration and may suit a rotary or shuttle format. – Throughput: Manual benches handle sampling and low volume; semi-automatic or conveyorized lines suit contract manufacturers in Europe and Australia running thousands of seals or gaskets per shift.
For a broader selection framework, our guide on how to choose the right pad printing machine for your product covers matching press type to part geometry and volume.
Ink Selection for Rubber
Standard plastic inks generally do not survive on rubber. Look for:
– Two-part (reactively cured) inks that form a flexible, chemical bond. – Rubber-grade or mechanical-key inks designed for elastomers. – Compatibility with the compound — FKM and EPDM are less forgiving than NR or SBR.
For a comparison of ink families and when each is appropriate, see our breakdown of pad printing ink types including solvent-based, UV-curable, and silicone inks. Always validate with a tape test and a flex test on your actual compound before committing to production.
Pad and Fixture Considerations
The transfer pad and the fixture do more work on rubber than on rigid parts:
– Pad hardness: A medium pad usually conforms to curved rubber without bottoming out, while a pad that is too hard skips on compliant surfaces. – Fixture stability: Support the part so it does not compress or rotate during the print stroke. – Dwell and pressure: Slightly longer dwell helps the ink release onto a soft surface.
For background on transfer-pad selection, our silicone pad guide explains hardness, size, and shape logic that also applies when printing on rubber.
Common Mistakes in Rubber Pad Printing
– Skipping cleaning: Printing over mold release or bloom guarantees failure. – Using plastic ink on rubber: It will crack or peel when the part flexes. – Unstable fixtures: Compressible parts drift, causing ghosting and misregistration. – No adhesion check: Running a full batch before a tape/flex test risks scrapping the lot. – Ignoring compound differences: Treating NBR like silicone, or FKM like NR, leads to inconsistent results.
How to Choose a Supplier and What to Verify
When sourcing a pad printing machine for rubber parts, confirm the supplier supports the full process:
– Custom tooling: Can they build fixtures for your specific rubber geometry? A custom pad printing machine typically pays for itself by eliminating handling defects. – Process proof: Ask for a printed sample on your actual compound, cleaned and inked, with a tape and flex test result. – Ink and compliance guidance: A capable partner advises on rubber-compatible inks and material documentation for EU REACH and Australian requirements, which matter for automotive and industrial supply chains. – Total cost clarity: Understand what drives the pad printing machine price — fixtures, automation, and ink-cup size often matter more than the base press.
European and Australian buyers should also confirm spare-part availability (pads, ink-cup rings, clichés) for uninterrupted production.
FAQ
Can you pad print on all types of rubber? Most common rubbers — NR, NBR, EPDM, SBR, and FKM — can be pad printed with the right surface prep and ink. Results vary by compound, so a sample test on your material is the practical way to confirm.
Why does ink rub off rubber parts? Usually because of surface blooming, mold-release residue, or using a non-rubber ink. Thorough cleaning and a rubber-compatible, flexible ink resolve most cases.
What causes ink to crack on rubber? A rigid ink on a flexing part fails in service. Choose a two-part or rubber-grade flexible ink and verify with a flex test.
Do rubber parts need surface treatment like silicone? Often less than silicone, but oily or low-surface-energy compounds (EPDM, FKM) benefit from plasma or primer. Cleaning alone is sometimes enough for NR and SBR.
Is a closed ink cup better for rubber printing? For rubber inks, a sealed ink cup is usually preferred because it limits solvent evaporation and keeps ink viscosity stable during production runs.
How do I test if the print will last on my rubber part? A tape test checks adhesion, and a flex or stretch test checks cracking. For production, run both on your actual compound after the chosen surface preparation.
Conclusion
Pad printing rubber parts is reliable once you control the variables rubber introduces: decontaminate the surface to defeat blooming, pick a flexible rubber-compatible ink, stabilize the part with the right fixture, and choose a machine configuration — typically a closed ink cup system — that fits your volume. For European and Australian rubber component manufacturers, validating the full process with a cleaned, inked sample is the most practical way to de-risk production.
If you are evaluating a pad printing machine for rubber parts and need fixtures, ink advice, or a printed sample on your compound, contact our engineering team to discuss your part geometry and volume.
Related Reading
- Sealed Ink Cup for Pad Printing: A Complete Beginner’s Guide
- Pad printer and screen printing machine use different inks to produce
- Optimizing Pad Printing Machine Settings for Precise Registration
- How do pad printing machine operators ensure that the colour of the printed
- What Factors Influence the Choice of Pad Printing Machine Size