A pad printing machine for electronics should be selected based on part material, surface shape, logo size, marking precision, ink adhesion, fixture stability, color count, cleanliness, and production output. Electronic components and plastic housings often require small, accurate, and durable markings, so buyers need more than a general-purpose printer. They need a machine setup that can control position, ink transfer, and repeatability across real production conditions.
Pad printing is widely used for electronic parts because it can print on flat, curved, recessed, raised, and irregular plastic surfaces. It is suitable for keyboards, switches, buttons, connectors, plastic housings, control panels, remote controls, chargers, small electronic accessories, and consumer device components.
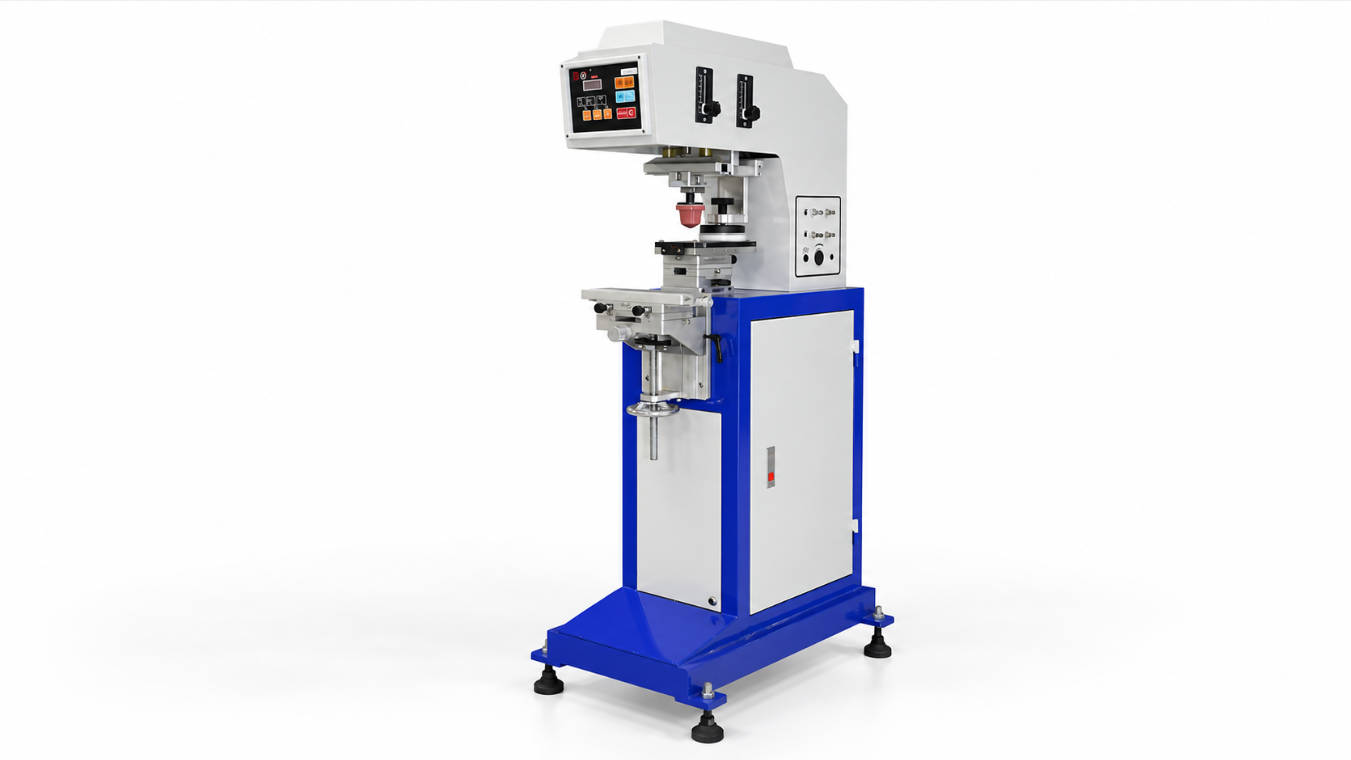
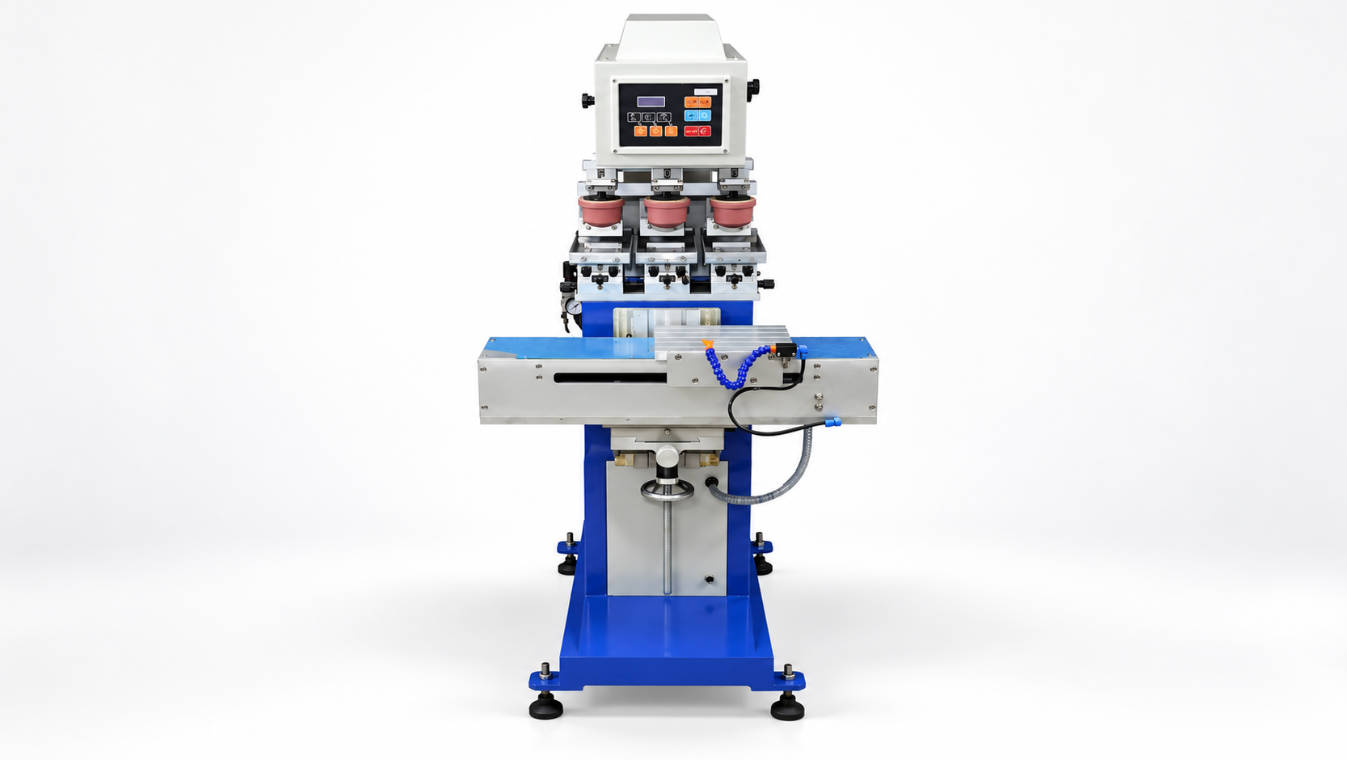
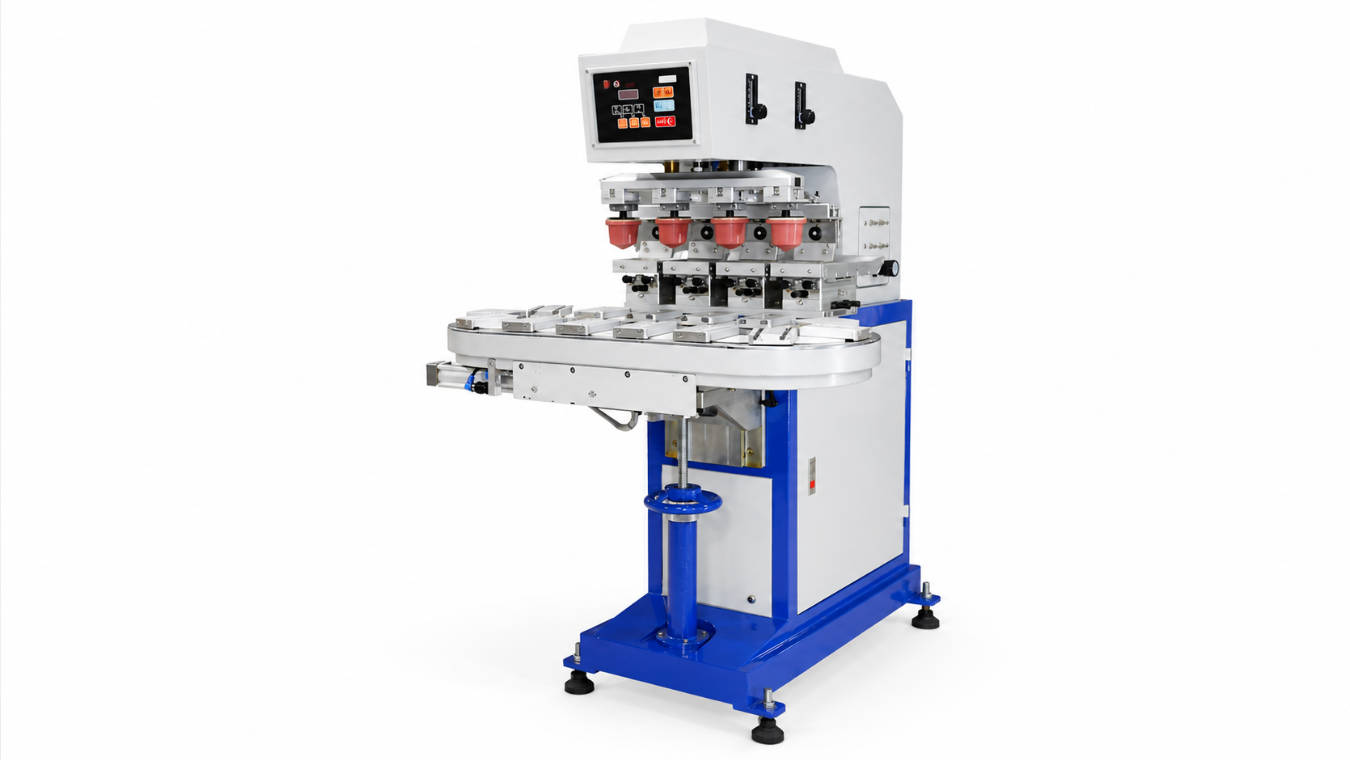
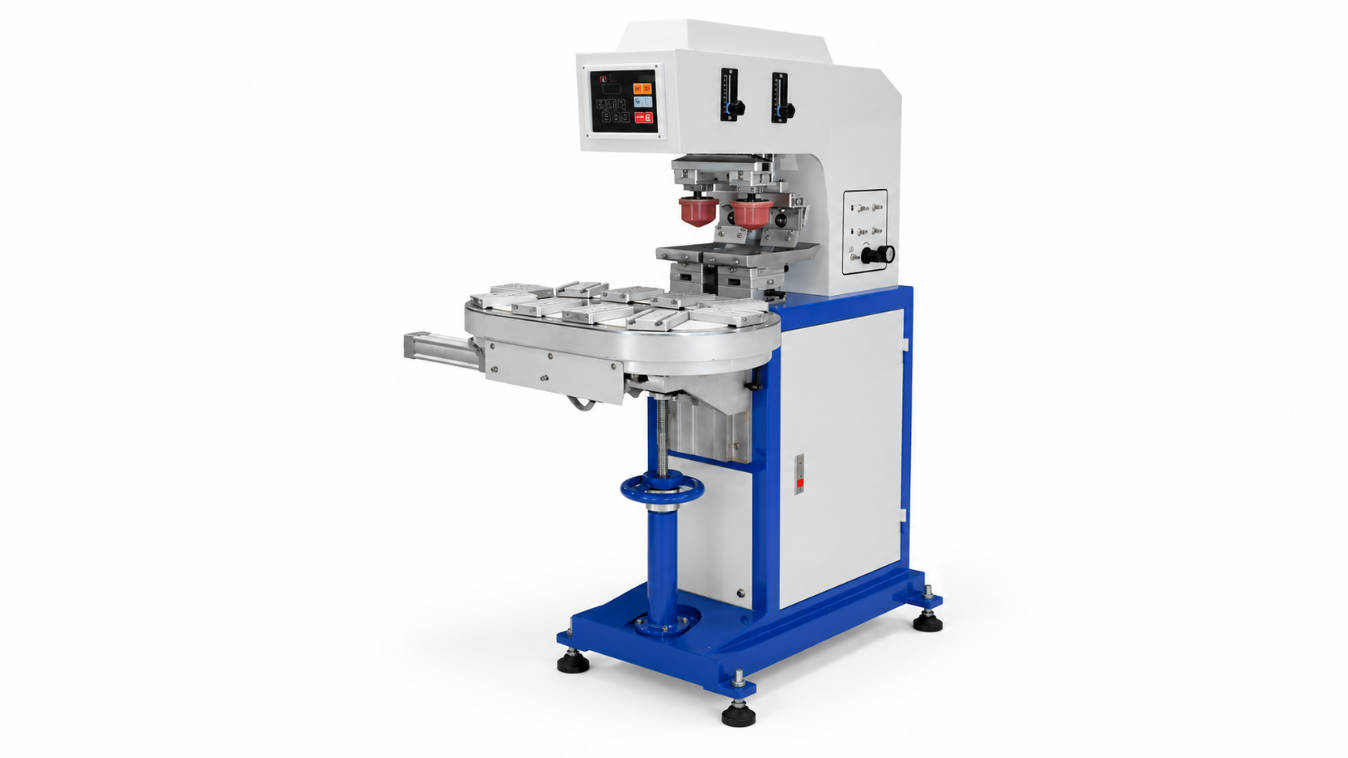
For buyers comparing equipment, ENGY provides pad printing machine solutions for one-color, multi-color, closed ink cup, open tray, semi-automatic, automatic, and customized product marking applications.
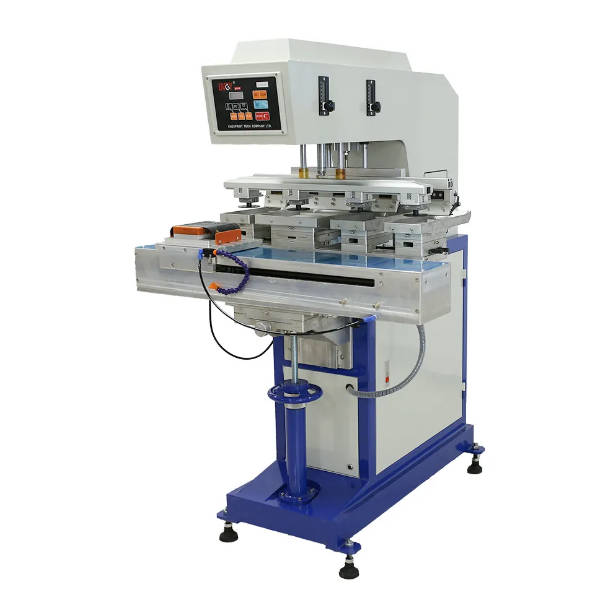
The Electronics Marking Problem: Small Parts, Tight Positions, High Appearance Standards
Electronic products often look simple from the outside, but their marking requirements can be demanding. A logo may be small, the surface may be curved, the part may be black or glossy, and the print position may need to stay consistent across thousands of pieces.
Typical electronics printing challenges include:
| Challenge | Why It Matters |
| Small logos and icons | Fine lines need clear plate, pad, and ink control |
| Plastic housings | Material and surface texture affect adhesion |
| Curved or recessed surfaces | Pad shape must match the part geometry |
| Keyboards and buttons | Position accuracy affects product appearance |
| Switches and control panels | Symbols must remain readable after handling |
| High-volume batches | Repeatability becomes more important than one good sample |
| Dark or glossy surfaces | Ink opacity and contrast must be checked |
| Mixed product models | Changeover time and fixture flexibility matter |
For electronic components, pad printing quality depends heavily on the complete printing setup, not only the machine model.
A stable result requires the correct relationship between product material, cliché plate, silicone pad, ink system, fixture, machine movement, and operator settings.
Where Pad Printing Is Used in Electronics Manufacturing
Pad printing can be used for both functional marking and decorative branding. Functional marks help users operate the product. Decorative marks improve brand identity and product appearance.
| Electronic Product Area | Common Printing Requirement |
| Plastic housings | Brand logo, model name, decorative mark |
| Keyboards and keycaps | Letters, numbers, icons, symbols |
| Switches and buttons | ON/OFF marks, direction icons, function symbols |
| Control panels | Warning symbols, instruction icons, function labels |
| Chargers and adapters | Logo, technical mark, safety symbol |
| Remote controls | Keypad symbols and button marks |
| Connectors and plugs | Orientation mark, part code, logo |
| Small electronic accessories | Brand name, model mark, decorative graphic |
Pad printing is especially useful when the electronic part is not flat enough for direct flat printing, but still requires a sharp and controlled image.
How Pad Printing Works on Electronic Components
Pad printing is an indirect transfer process. The artwork is etched into a plate, filled with ink, picked up by a silicone pad, and transferred onto the product surface.
The basic process is:
- Prepare the artwork and etch it into a printing plate.
- Fill the etched image with suitable ink.
- Remove excess ink from the plate surface.
- Let the ink surface reach the correct transfer condition.
- Pick up the image using a silicone pad.
- Transfer the image onto the electronic component or plastic housing.
- Dry, cure, inspect, and test the printed part.
For electronics, this process must be controlled carefully because many parts are small, textured, glossy, or position-sensitive. A slight part movement can cause a visible shift. A wrong pad shape can distort the logo. A poor ink match can cause weak adhesion.
Machine Selection Starts with the Part, Not the Printer
Many buyers start by asking for a machine price. For electronic component printing, this is not enough. The supplier must understand the part first.
Before selecting a pad printing machine for electronics, prepare:
| Information | Why It Is Needed |
| Product photos or samples | Shows shape, size, texture, and printing area |
| Plastic material | Determines ink and pretreatment needs |
| Logo or mark size | Determines plate, pad, and ink cup requirements |
| Print position | Affects fixture and pad movement |
| Number of colors | Determines machine configuration |
| Required output | Helps choose manual, semi-automatic, or automatic setup |
| Durability requirement | Affects ink and drying process |
| Surface finish | Glossy, matte, textured, coated, or painted surfaces behave differently |
| Current defect issue | Helps diagnose adhesion, distortion, or positioning problems |
The right machine recommendation should be based on the electronic part sample, not only the keyword “plastic housing printing.”
Plastic Material and Ink Adhesion
Electronic housings and components may use many plastics, including ABS, PC, PC/ABS, PP, PE, PVC, acrylic, nylon, and coated or painted plastic surfaces. Each material has different ink adhesion behavior.
| Material / Surface | Printing Consideration |
| ABS | Common for housings; often printable with suitable ink |
| PC | Requires compatible ink and drying control |
| PC/ABS | Common in electronics; testing is recommended |
| PP / PE | Low surface energy; pretreatment may be needed |
| Acrylic | Surface appearance and ink compatibility should be checked |
| Painted plastic | Ink bonds to the coating, not only the base material |
| Matte texture | Ink transfer may be easier, but edge sharpness should be checked |
| Glossy surface | Adhesion and smearing need careful testing |
For plastic housing printing, adhesion should be tested before mass production. A mark may look good immediately after printing but fail during handling, packaging, assembly, rubbing, or chemical wipe tests.
Common checks include:
- Tape adhesion test
- Finger rub test
- Abrasion check
- Alcohol wipe test when required
- Packaging friction check
- Heat or aging check when relevant
- Assembly handling check
For PP, PE, or difficult surfaces, pretreatment such as flame treatment, corona, ion, or plasma treatment may be considered after testing.
Closed Ink Cup or Open Tray for Electronics Printing?
For many electronic components, a closed ink cup pad printer is a practical choice because the printed image is usually small or medium-sized and the factory often values cleaner operation and stable ink behavior. However, open tray machines may still be useful for larger graphics or special print areas.
| Ink System | Suitable for Electronics When… | Main Advantage | Main Limitation |
| Closed ink cup | Logos, symbols, button marks, small to medium images | Cleaner operation and more contained ink system | Print area limited by ink cup and stroke |
| Open tray | Larger housing graphics or special wide artwork | More flexible for larger images | More exposed ink and more operator control required |
For keyboards, switches, buttons, connectors, and small housings, a closed ink cup system is often enough. For larger decorative marks on appliance panels or wide plastic covers, an open tray configuration may be reviewed.
Buyers can compare available electronic parts pad printing machine options based on print area, part size, and production output.
Precision Marking: Fixture Design Is Critical
Electronic parts often need precise marking placement. For example, a button icon must be centered, a housing logo must align with the product shape, and a connector mark must appear in the same location across the batch.
A fixture holds the product during printing. If the fixture is unstable, the machine cannot deliver consistent results.
A good electronics printing fixture should:
- Hold the part securely without damage
- Keep the print area at the correct angle
- Prevent shifting during pad contact
- Allow quick and repeatable loading
- Support multiple product versions when possible
- Avoid scratching glossy surfaces
- Maintain consistent height and orientation
For plastic housings, the fixture may need to support the inside of the part to prevent flexing. For small electronic components, the fixture may need tight positioning pockets. For buttons or keycaps, loading efficiency and orientation are important.
In electronics pad printing, fixture repeatability often determines whether the machine can move from sample approval to stable batch production.
Silicone Pad Selection for Buttons, Switches, and Housings
The silicone pad must match the product geometry and artwork. It transfers the image from the plate to the part, so pad shape and hardness directly affect print quality.
| Pad Factor | Impact on Electronics Printing |
| Pad shape | Controls contact with flat, curved, recessed, or raised areas |
| Pad hardness | Affects image distortion and transfer pressure |
| Pad size | Must cover the full logo or mark |
| Pad angle | Helps reduce trapped air and incomplete transfer |
| Pad surface condition | Worn pads can cause weak pickup or poor release |
For small icons on buttons, the pad must transfer fine details without stretching. For curved housings, the pad must contact the surface evenly. For recessed areas, the pad must reach the print zone without pressing too much on surrounding edges.
A supplier should select the pad after reviewing the actual part, not only the artwork file.
One-Color or Multi-Color Pad Printing for Electronics
Many electronic products use one-color marks, especially icons, logos, model names, and functional symbols. However, multi-color printing may be used for consumer electronics, gaming devices, decorative accessories, control panels, or branded housings.
| Color Requirement | Suggested Machine Direction |
| Single logo or symbol | One-color pad printing machine |
| Logo plus accent color | Two-color pad printer |
| Multi-color decorative panel | Four-color or customized machine |
| Repeated high-volume product | Semi-automatic or automatic configuration |
| Multiple product models | Flexible fixture and plate changeover |
Multi-color printing requires registration accuracy. If the product moves between colors, the final mark may look shifted or blurred. For electronics, this can be especially visible on buttons, logos, and control symbols.
Manual, Semi-Automatic, or Automatic Configuration?
The automation level should match production volume and product handling difficulty.
| Machine Type | Suitable Situation | Buyer Consideration |
| Manual pad printer | Samples, repair marks, small batches | Lower investment but operator-dependent |
| Semi-automatic pad printer | Regular production with manual loading | Good balance for many electronics factories |
| Automatic pad printer | High-volume repeated parts | Better for efficiency and consistency |
| Customized system | Special housings, multi-position printing, integrated handling | Requires engineering review |
For small components, automatic loading may improve efficiency, but not every part is easy to feed automatically. Lightweight, irregular, delicate, or mixed-orientation parts may need customized handling.
For plastic housings, semi-automatic loading is often practical because the part may be larger and needs careful placement.
Choosing by Application Type
Keyboards and Keycaps
Keycaps require clean symbols, repeatable centering, and ink durability. Buyers should check fixture loading efficiency, symbol clarity, ink abrasion resistance, and pad shape.
Buttons and Switches
Buttons and switches often have curved or raised surfaces. The pad must contact the surface without distorting the icon. Positioning accuracy is important because symbols are small and highly visible.
Plastic Housings
Plastic housing printing may involve larger logos, model names, and decorative marks. Buyers should confirm housing material, surface texture, logo size, and fixture support. Large housings may require more clearance and customized fixtures.
Connectors and Small Components
Small electronic components require accurate holding and stable orientation. The fixture must prevent movement, and the pad must transfer fine marks clearly.
Control Panels
Control panels may need symbols, warning marks, function labels, or multi-color graphics. Registration, readability, and ink durability are important.
Common Mistakes When Buying a Pad Printer for Electronics
Mistake 1: Buying Before Testing Adhesion
Different plastic housings may need different inks or pretreatment. Without adhesion testing, the printed logo may rub off during handling or assembly.
Mistake 2: Ignoring Static, Dust, and Surface Cleanliness
Electronic parts can attract dust or static. Contamination on the surface can affect ink transfer and appearance. Buyers should consider cleaning and handling before printing.
Mistake 3: Using a Generic Fixture
A general fixture may work for sampling but fail during batch production. Electronics printing needs stable, repeatable part positioning.
Mistake 4: Choosing the Wrong Ink System
A closed ink cup is practical for many small marks, but larger housing graphics may need open tray or custom movement. The print area should be confirmed before ordering.
Mistake 5: Only Checking One Printed Sample
A single good sample does not prove production stability. Buyers should check repeated cycles, loading consistency, drying behavior, and post-print handling.
How to Choose the Right Supplier
A reliable supplier should evaluate the electronic product, not only sell a standard machine. The supplier should understand part geometry, ink adhesion, pad selection, fixture design, plate making, color count, and production workflow.
Before choosing a supplier, check whether they can support:
- Product sample review
- Plastic material and surface evaluation
- Logo size and print area check
- Closed ink cup or open tray recommendation
- Pad and plate selection
- Fixture design guidance
- One-color or multi-color configuration
- Manual, semi-automatic, or automatic machine selection
- Printing test support
- Operator training and troubleshooting
ENGY provides pad printing machines for product marking across different applications and machine structures. Buyers can also visit the ENGY website to learn more about the company and printing equipment range.
Electronics Pad Printing Machine Selection Checklist
| Selection Item | What to Confirm |
| Product type | Keyboard, housing, button, switch, connector, panel, or accessory |
| Material | ABS, PC, PC/ABS, PP, PE, acrylic, painted plastic, or metal |
| Surface shape | Flat, curved, recessed, raised, textured, or glossy |
| Logo size | Width, height, line thickness, and fine text |
| Print position | Centered, edge, recessed area, side surface, or panel area |
| Ink adhesion | Required rub, tape, alcohol, or abrasion checks |
| Ink system | Closed ink cup, open tray, or customized setup |
| Color count | One-color, two-color, or multi-color printing |
| Fixture design | Stable holding and repeatable positioning |
| Output | Manual, semi-automatic, automatic, or customized line |
| Post-print process | Drying, curing, assembly, packaging, or inspection |
FAQ
1. What is a pad printing machine for electronics used for?
A pad printing machine for electronics is used to print logos, symbols, icons, model names, and functional marks on electronic components, buttons, switches, keyboards, control panels, and plastic housings.
2. Can pad printing be used on plastic electronic housings?
Yes, pad printing can be used on many plastic electronic housings. The result depends on material type, surface texture, ink selection, pad shape, fixture stability, and adhesion testing.
3. What is the best printer for electronic component marking?
A pad printer is often suitable for electronic component marking when the part is small, curved, recessed, or irregular. The best configuration depends on mark size, material, color count, precision requirement, and production volume.
4. Is a closed ink cup pad printer suitable for electronics?
Yes, a closed ink cup pad printer is often suitable for electronic parts because many logos and symbols are small or medium-sized, and the closed ink cup system supports cleaner operation and stable ink control.
5. How do you make pad printing durable on plastic housings?
Durable pad printing requires compatible ink, proper surface cleaning or pretreatment when needed, correct pad selection, stable fixtures, controlled drying or curing, and adhesion testing before mass production.
6. Can pad printing print small icons on buttons and switches?
Yes, pad printing can print small icons on buttons and switches when the plate quality, ink transfer, pad shape, fixture positioning, and artwork detail are properly controlled.
7. What information should I send before buying an electronic component printer?
Send product photos or samples, material information, logo size, printing position, number of colors, required output, surface finish, and durability requirements. This helps the supplier recommend the right machine and process.
Conclusion
Choosing a pad printing machine for electronic components and plastic housings requires careful evaluation of the product, not only the machine. Buyers should check material compatibility, surface shape, logo size, print position, ink adhesion, fixture repeatability, color count, and production output.
For many electronics applications, a closed ink cup pad printer is suitable for clean, repeatable, small to medium-sized marks. For larger housing graphics or special printing areas, an open tray or customized configuration may be considered. For high-volume components, semi-automatic or automatic handling can improve efficiency when the part shape supports it.
Before ordering, send product samples, material details, artwork, print position, and output requirements for technical review. ENGY can help evaluate your project and recommend a suitable pad printing machine for electronics.