Choosing a pad printing machine for plastic products should begin with the plastic—not the machine.
A pad printer may transfer the logo correctly and still produce an unacceptable result if the ink does not adhere to the substrate, the product moves inside the fixture, or the silicone pad cannot follow the surface geometry.
The correct plastic pad printing setup is a combination of substrate compatibility, surface condition, ink system, silicone pad, fixture and machine configuration.
That is why two plastic parts with the same 30 × 15 mm logo may require completely different printing processes.
One could be a rigid ABS housing with an accessible flat surface.
Another could be a polypropylene cap with a curved printing area and relatively difficult ink adhesion.
The artwork is the same. The production problem is not.
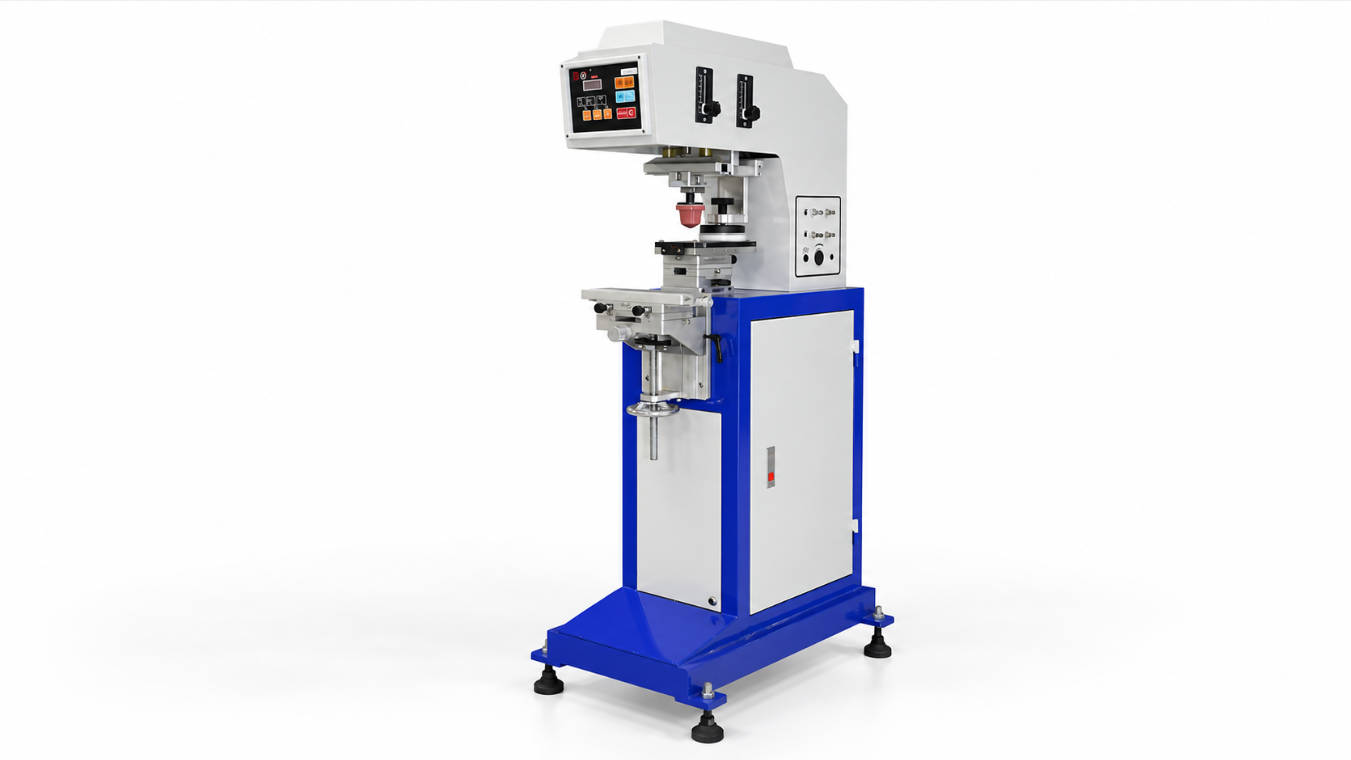
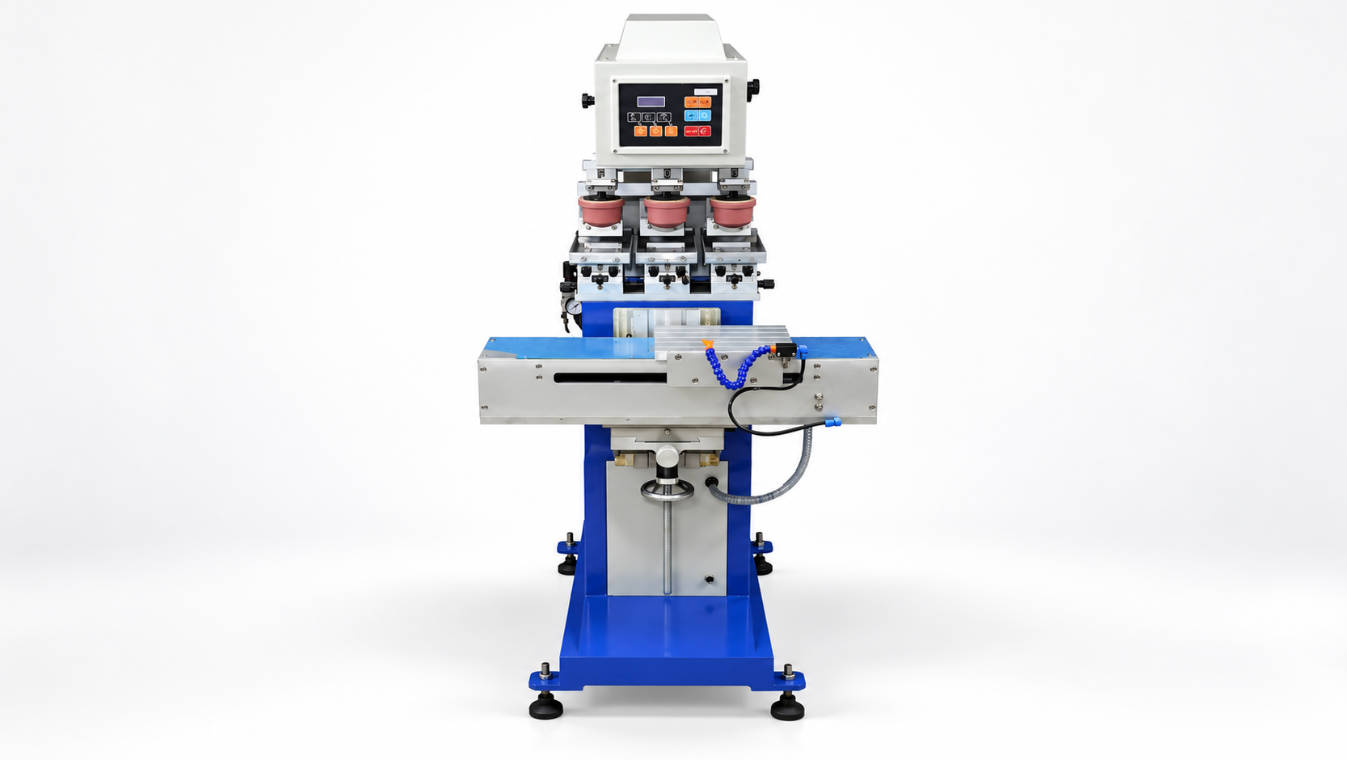
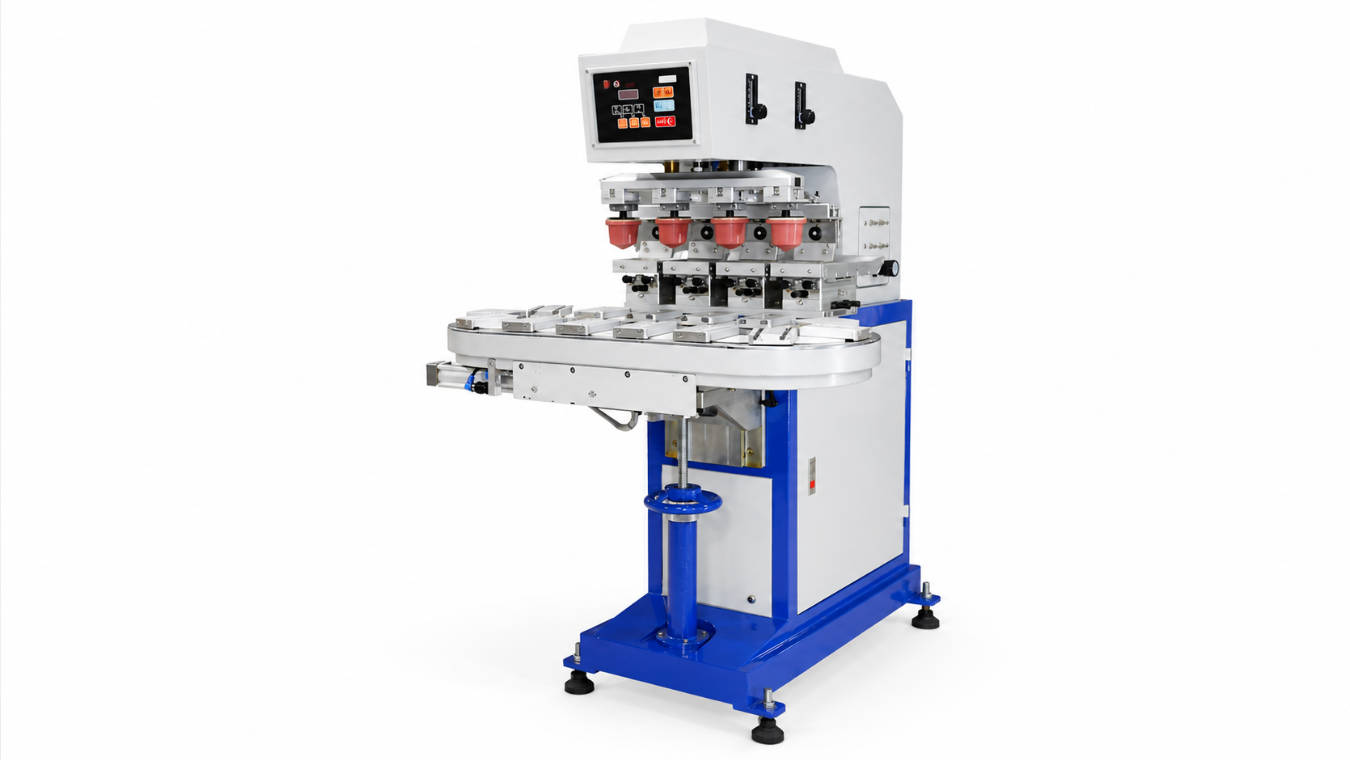
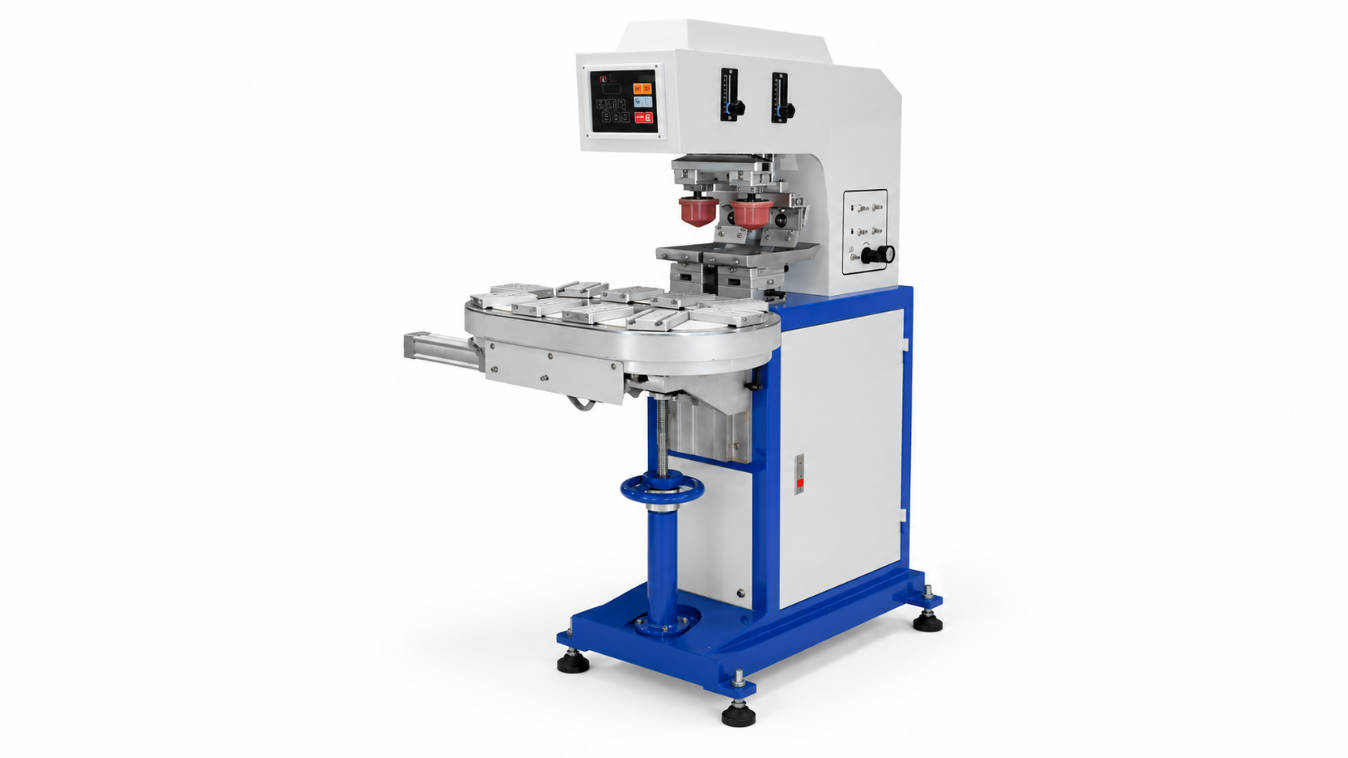
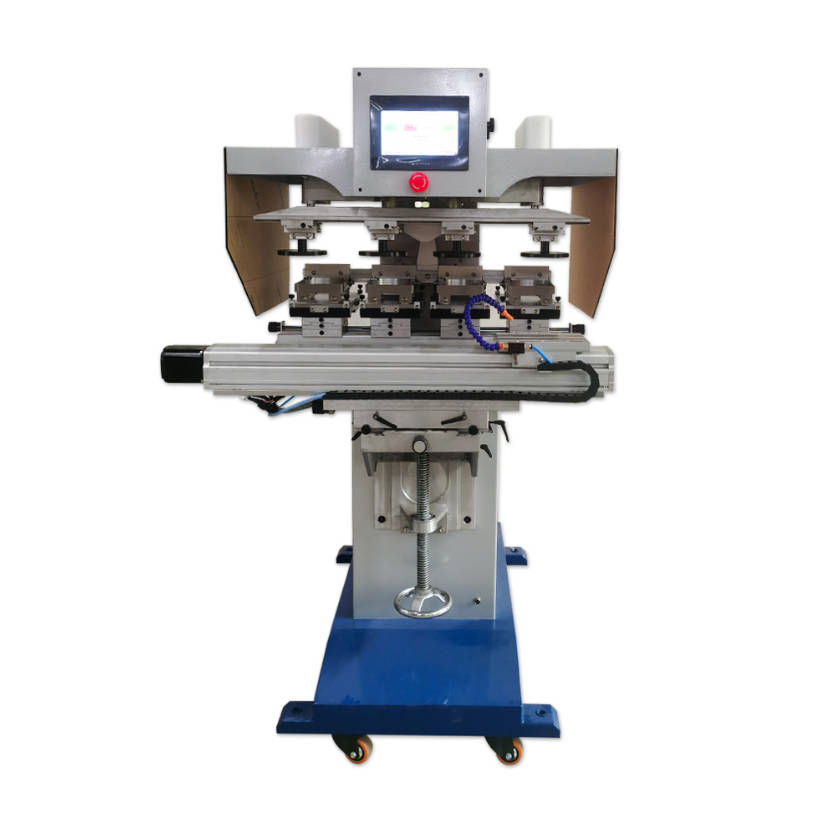
ENGY’s pad printing machines for industrial product decoration are configured for different product shapes, print areas, color requirements and ink systems, including closed-ink-cup and open-tray designs. ENGY also notes that product material affects ink selection, while customized fixtures are used to stabilize different product geometries.
For plastic products, a useful selection sequence is:
Plastic Material → Surface Condition → Ink Adhesion → Pretreatment → Artwork → Product Shape → Silicone Pad → Fixture → Machine
Starting in this order prevents many avoidable equipment-selection mistakes.
First Question: What Plastic Are You Actually Printing?
“Plastic” is not one material.
Industrial plastic products may be made from:
- ABS
- PC
- PP
- PE
- PVC
- PA / nylon
- POM
- acrylic
- TPU
- TPE
- blends and filled engineering plastics
Each may behave differently during printing.
Even products made from nominally the same polymer can have different surface characteristics because of:
- fillers
- additives
- pigments
- surface coatings
- mold-release agents
- recycled content
- production conditions
For that reason, a supplier should not select ink from a product description such as:
Plastic housing
A much more useful specification is:
Injection-molded ABS housing, black color, logo size 40 × 12 mm.
Or:
PP bottle cap with one-color logo.
Knowing the exact resin type is one of the first steps in evaluating pad printing ink adhesion.
A Practical Plastic Material Screening Table
The following table is a process-planning guide rather than a universal ink specification.
| Plastic Material | General Pad Printing Consideration | What Should Be Checked |
| ABS | Commonly printable with suitable ink | Ink compatibility, mold release, surface cleanliness |
| PC | Often suitable | Ink solvent compatibility and surface condition |
| Acrylic | Commonly printable | Surface finish and suitable ink |
| PVC | Often printable | Plasticizer content and ink compatibility |
| PA / Nylon | Application dependent | Moisture, additives and adhesion testing |
| PP | Often requires additional adhesion attention | Surface energy and possible pretreatment |
| PE | Often requires additional adhesion attention | Surface treatment and ink selection |
| POM | Can be difficult to bond | Pretreatment and adhesion testing |
| TPU / TPE | Highly formulation dependent | Flexibility, migration and ink compatibility |
| Coated plastic | Coating controls print behavior | Test the coating, not only the base polymer |
ENGY specifically identifies polypropylene as an example where pretreatment may be required to improve ink adhesion and recommends selecting ink according to the substrate rather than assuming one ink works for every material.
The key lesson is simple:
Do not order a pad printing machine first and solve ink adhesion afterward. Confirm that the complete printing process works on the actual plastic sample.
The Hidden Variable: Surface Condition
Even if you know the plastic grade, surface condition can still determine whether the print succeeds.
Injection-molded parts may contain residues or surface conditions created by:
- mold-release agents
- oil
- dust
- handling contamination
- additives migrating to the surface
- previous coatings
- polishing
- texture
A freshly molded plastic component and the same component after weeks of storage may not behave identically.
This is why production testing should use parts that represent the actual manufacturing process.
Before Printing, Ask:
- Has mold-release agent been used?
- Is the product painted or coated?
- Is the printing surface textured?
- Is the surface glossy or matte?
- Has the part been handled extensively?
- Is cleaning required before printing?
- Is pretreatment already used elsewhere in production?
If adhesion is unstable, changing the machine model usually does not solve the problem.
The substrate preparation and ink system should be reviewed first.
When Does Plastic Need Pretreatment?
Some plastics accept suitable pad printing inks relatively easily.
Others can be much more difficult because the ink does not wet or bond effectively to the surface.
Pretreatment may therefore be considered before printing.
Depending on the material and production setup, possible approaches can include:
- flame treatment
- corona or electrical surface treatment
- plasma-type treatment
- application-specific primers
- controlled cleaning
ENGY states that certain plastics may require pretreatment and that specialized pad printing configurations can integrate treatment processes where the application requires them. (ENGYPRINT)
However, pretreatment should not be added automatically.
A better workflow is:
Test untreated material
↓
Evaluate adhesion
↓
Review suitable ink
↓
Introduce pretreatment if required
↓
Retest
This prevents unnecessary process complexity.
Do Not Judge Ink Adhesion Immediately After Printing
A logo that looks good ten seconds after printing may still fail in service.
Depending on the product requirement, the printed sample may need evaluation after sufficient drying or curing.
Possible checks include:
- visual image quality
- adhesion
- abrasion resistance
- scratch resistance
- handling resistance
- chemical resistance where relevant
The exact test depends on how the product will be used.
For example, the durability requirement for a decorative promotional part may differ from that for a frequently handled control component.
The acceptable ink system should be defined by the required end-use performance, not only by how the logo looks immediately after printing.
Now Look at the Product Shape
Once material compatibility is under control, product geometry becomes the next selection gate.
Pad printing is especially useful for plastic parts because the silicone pad can deform during transfer and reach surfaces that are difficult for direct flat printing methods.
ENGY identifies flat, round, curved, recessed, raised and other irregular surfaces as typical pad printing applications.
Plastic parts commonly include:
- bottle caps
- buttons
- housings
- switches
- knobs
- toys
- cosmetic components
- electronic enclosures
- molded connectors
- appliance components
- cylindrical parts
But “pad printing can print curved products” does not mean every curved product uses the same setup.
Surface Geometry Changes the Silicone Pad Requirement
The silicone pad is the flexible transfer element between the cliché and the product.
Its job sounds simple:
- Pick up the image
- Move to the product
- Compress
- Release the ink
In practice, pad geometry strongly affects image transfer.
A Flatter Plastic Surface
This normally gives the pad relatively easy access.
Selection can focus on:
- artwork size
- detail
- available machine space
- suitable pad stiffness
A Curved Surface
The pad must roll over the curve without creating excessive image distortion.
A Recessed Area
The pad may need a narrower or more pronounced geometry so surrounding product features do not block access.
A Raised or Complex Product
The pad must contact the intended print area without colliding with nearby geometry.
ENGY notes that silicone pad shape and hardness should be selected according to product contour and application requirements.
Pad hardness should not be selected from plastic material alone; product shape, logo detail, pad deformation and machine clearance all matter.
Hard Pad or Soft Pad?
There is no universal rule that harder or softer is better.
A harder pad may offer advantages when:
- fine image definition is important
- distortion must be controlled
- product geometry allows good contact
A softer pad may conform more easily to some irregular surfaces.
But excessive softness can lead to:
- greater deformation
- image distortion
- unstable compression behavior
And excessive hardness can make it harder for the pad to conform to difficult geometry.
A useful rule is:
Use the firmest pad that can still conform properly to the required surface without creating print defects.
Actual sample testing is preferable to choosing hardness only from a catalog description.
Fixture Design: The Part Must Return to the Same Position Every Cycle
For plastic product printing, the fixture is often underestimated.
If the part shifts by even a small amount, the logo shifts with it.
The fixture should control:
- X position
- Y position
- height
- rotation
- loading orientation
For a simple molded housing, a fixture may use the product’s existing edges as locating references.
A round cap may require a shaped nest.
An asymmetrical component may need locating pins or mechanical stops.
ENGY states that fixtures should be made around actual product samples and notes that materials such as acrylic, wood or metal may be used depending on application requirements. (ENGYPRINT)
Fixture Complexity by Product Type
| Plastic Product | Likely Fixture Direction |
| Flat molded cover | Simple locating nest |
| Bottle cap | Circular locating fixture |
| Cylindrical housing | Contoured support |
| Flexible plastic part | Additional support or clamping |
| Cosmetic shell | Soft-contact fixture to avoid scratching |
| Multiple product models | Adjustable or interchangeable fixture |
| Multi-side printing | Rotating/indexing fixture |
| Several parts per cycle | Multi-cavity fixture |
A good fixture improves repeatability more effectively than trying to correct poor positioning through machine adjustment.
Logo Size Determines the Ink System and Cliché Requirement
After the material and product geometry are understood, evaluate the artwork.
Provide the final dimensions:
Logo width × logo height
For example:
- 18 × 8 mm
- 40 × 15 mm
- 60 × 25 mm
- 120 × 80 mm
The print area influences:
- cliché dimensions
- ink cup diameter
- open-tray requirements
- silicone pad size
- machine stroke
ENGY’s current Pad Printing Machine B Series includes both closed-ink-cup and open-tray configurations designed around different printing requirements.
Closed Ink Cup or Open Tray for Plastic Products?
Both systems can print plastic components.
The choice depends more on print area, production requirements and machine configuration than on the fact that the substrate is plastic.
Closed Ink Cup System
A closed ink cup keeps the ink largely enclosed inside the cup assembly.
The cup moves across the cliché while its ring removes excess ink.
This type of configuration is commonly selected where buyers value:
- cleaner ink handling
- controlled ink exposure
- repetitive production
- compact to medium image areas
The selected cup still has to match:
- artwork dimensions
- cliché width
- machine stroke
Open Tray System
An open-tray configuration uses an open ink reservoir and a doctor blade.
ENGY’s equipment range includes open-tray machines intended for different plate and image-size requirements, including larger artwork configurations.
Selection Rule
| Requirement | Likely Direction |
| Small/medium logo | Closed cup can be considered |
| Repetitive production | Closed cup can be practical |
| Large cliché requirement | Open tray may be considered |
| Larger artwork | Evaluate open tray |
| Special machine layout | Compare both configurations |
| Exact choice uncertain | Test using actual artwork and product |
Choose the ink system from the artwork and production process—not simply from whether the product is plastic.
One Color or Multiple Colors?
Plastic product branding can range from simple identification codes to complex decorative graphics.
One Color
Typical examples:
- product number
- warning symbol
- brand logo
- button marking
A one-color pad printing machine keeps product handling relatively simple.
Two Colors
Now registration becomes more important.
The product must remain in a predictable position while the second color is applied.
Possible equipment requirements can include:
- shuttle movement
- additional ink system
- multiple clichés
- more precise fixtures
Multi-Color Printing
Several colors increase the importance of:
- product indexing
- fixture repeatability
- machine sequence
- production flow
ENGY’s range includes one-color and multi-color machines with shuttle and conveyor-based configurations.
For buyers printing multi-color plastic products, the critical question is not only:
How many colors?
Also ask:
Are those colors registered within one logo, or are they independent graphics in different positions?
The answer can change the machine architecture.
Small Plastic Part Does Not Always Mean Small Machine
Suppose the printed logo measures only 20 × 10 mm.
The product could still be:
- tall
- long
- difficult to clamp
- recessed
- surrounded by walls
- printed on several sides
Machine selection therefore needs both:
Artwork dimensions
and
Complete product dimensions
ENGY recommends providing product size, logo size and printing position before selecting a machine configuration.
A technically useful RFQ should include:
Product: 180 × 120 × 90 mm
Material: ABS
Logo: 25 × 12 mm
Print position: recessed area on upper surface
This communicates much more than:
Small plastic logo printing.
When Does Automation Make Sense for Plastic Parts?
Plastic components are often produced in large quantities, especially when they come directly from injection molding or assembly operations.
At higher volumes, printing itself may not be the bottleneck.
Product handling may be.
A manual cycle might look like:
Pick part → orient → load fixture → print → unload → collect
For thousands of repeated parts, those handling steps can dominate labor time.
ENGY notes that automatic systems can incorporate feeding, conveyors and other product-handling mechanisms for small components and repetitive production.
Automation can be considered when:
- parts are highly repetitive
- orientation is consistent
- daily production is high
- manual loading limits throughput
- several printing stations are required
- the printing process is already stable
However:
Do not automate a printing process before ink adhesion, pad transfer and fixture positioning have already been proven.
Automation makes a stable process faster. It does not automatically repair an unstable process.
Eight Plastic Pad Printing Problems and What They Usually Point To
This is often more useful than comparing machine specifications.
| Printing Problem | Check First |
| Ink peels easily | Material, surface energy, ink and pretreatment |
| Logo position changes | Fixture and product orientation |
| Part of image is missing | Pad geometry, pressure and product contour |
| Image is distorted | Pad hardness, compression and artwork |
| Fine text becomes unclear | Cliché, pad, ink condition and setup |
| Ink smears | Ink condition, drying and transfer timing |
| Production is too slow | Loading, fixture change and automation |
| Different batches print differently | Surface condition, mold release, material variation |
This diagnostic approach also helps buyers avoid purchasing additional equipment to solve a chemistry or tooling problem.
A Better Machine Selection Path for Different Plastic Products
ABS Electronics Housing
Typical requirement:
- rigid molded component
- one- or two-color logo
- small/medium artwork
- repeatable geometry
Start by evaluating:
Ink compatibility → fixture → print area → color count
A standard one-color or multi-color machine may be sufficient depending on the artwork.
PP Bottle Cap
Typical challenges:
- small round product
- potentially more difficult adhesion
- high production quantities
Selection path:
Surface treatment test → ink → circular fixture → pad → machine → possible automatic feeding
Here, adhesion testing should happen before committing to full automation.
Cosmetic Plastic Component
Potential requirements:
- cosmetic surface
- tight logo positioning
- no fixture scratches
- fine graphics
Selection path:
Surface coating → ink → soft-contact fixture → pad shape → print quality testing
Fixture design can be as important as the machine.
Flexible TPE Component
Potential challenges:
- product deformation
- flexible surface
- formulation-dependent adhesion
Selection path:
Material test → ink → fixture support → pad hardness → curing/drying evaluation
A generic “plastic pad printer” recommendation is insufficient.
Large Molded Plastic Housing
Potential challenge:
- logo is small but product is physically large
Selection path:
Product dimensions → print location → fixture size → machine working clearance
Do not choose equipment from logo size alone.
What Should You Send Before Requesting a Plastic Pad Printer Quote?
The best quotation starts with the actual product.
Product Information
Send:
- product photo
- physical sample where possible
- length × width × height
- plastic type
- surface treatment/coating information
- molded texture if relevant
Artwork Information
Send:
- vector artwork
- final width × height
- number of colors
- registration requirement
Printing Position
Mark exactly where the image appears.
This is particularly important for:
- curved surfaces
- recesses
- edges
- side walls
Production Requirement
State:
- pieces per batch
- approximate daily volume
- number of SKUs
- manual or automatic loading preference
- expected future production growth
A supplier can then evaluate the complete process:
Material → Ink → Pretreatment → Pad → Fixture → Machine → Automation
rather than guessing from the phrase “plastic product.”
Before Ordering: Ask for a Sample Printing Evaluation
For plastic products, a sample test is particularly valuable.
ENGY recommends sample evaluation before final equipment selection because testing can confirm ink adhesion, fixture positioning, pad transfer and actual image quality on the customer’s product.
A meaningful sample evaluation should answer:
Adhesion
Does the ink remain attached after appropriate drying or curing?
Image Transfer
Does the pad reproduce the full artwork?
Position
Does the fixture locate each part consistently?
Geometry
Can the pad reach the entire print surface?
Production
Can the part be loaded and removed efficiently?
If any of these fail, modify the process before final machine configuration.
Do Not Compare Plastic Pad Printing Machines Only by Price
Two quotations can use the same machine description and still represent very different production solutions.
Compare whether each includes:
- appropriate machine size
- correct ink system
- cliché
- suitable silicone pad
- product fixture
- sample testing
- multi-color positioning
- automation where required
A lower-cost machine that cannot produce reliable adhesion or cannot hold the product accurately is not the lower-cost production solution.
Technical compatibility should be confirmed before equipment price becomes the deciding factor.
FAQ
Is pad printing suitable for plastic products?
Yes. Pad printing is widely used for plastic parts because the flexible silicone pad can transfer logos and markings onto flat, curved, recessed and irregular surfaces. Material and ink compatibility still need to be verified.
Which plastics can be pad printed?
Many plastics can be pad printed, including ABS, PC, acrylic, PVC, PP, PE and engineering plastics. The required ink and surface preparation depend on the specific resin formulation and product surface.
Does PP plastic need pretreatment before pad printing?
PP frequently requires additional attention to surface adhesion, and pretreatment may be necessary depending on the ink and material surface. Actual samples should be tested before production.
Does polyethylene need pretreatment for pad printing?
PE can be difficult for inks to wet and bond reliably, so pretreatment may be considered. The exact process should be confirmed through material-specific adhesion testing.
Which pad hardness should I use for plastic products?
Pad hardness depends more on product geometry, logo details and required deformation than on the word “plastic.” Curved or recessed parts and fine-detail printing may require different pad characteristics.
Can a pad printing machine print curved plastic parts?
Yes. Pad printing is particularly useful for curved, round, recessed and irregular product geometries because the silicone pad deforms during image transfer.
Do plastic products need a custom fixture?
Many do. A fixture keeps the part in the same position during every printing cycle. Irregular, round, flexible or multi-side products usually require more specialized positioning.
Should I use a closed ink cup or open tray for plastic printing?
The decision depends mainly on artwork size, cliché requirements and production configuration rather than plastic material alone. Closed cups are commonly used for compact repetitive printing, while open-tray configurations may support larger plate and artwork requirements.
Can pad printing be automated for plastic parts?
Yes. Automatic feeding, conveyors and product-handling systems can be considered for stable, repetitive, higher-volume applications.
What should I send when requesting a pad printing machine for plastic parts?
Provide the product photo, product dimensions, exact plastic material, print location, artwork dimensions, number of colors and target production quantity.
Conclusion: Choose the Process Before the Machine
Selecting a pad printing machine for plastic products is not simply a question of choosing one color, two colors or a larger machine.
Start with the plastic.
Ask:
What resin is it?
Then:
Will the ink adhere?
Then:
Does the surface require treatment?
Only after those questions are answered should you finalize:
- silicone pad
- fixture
- cliché
- ink cup or open tray
- machine size
- color configuration
- automation
For an easy-to-print rigid plastic housing, the process may be straightforward.
For PP, PE, POM, flexible materials, coated components or products with mold-release residue, adhesion testing becomes much more important.
For curved or recessed products, pad geometry and fixture design can dominate machine selection.
For repetitive high-volume parts, automation may eventually become the main productivity question.
The right plastic pad printing machine is therefore the machine built around a proven material-and-printing process—not the machine selected from product size or price alone.
To compare one-color, multi-color, closed-ink-cup and open-tray equipment, review ENGY’s Pad Printing Machine B Series.
For broader pad printing solutions for plastic products, provide the product material, actual sample, logo dimensions, print position and required production volume before requesting a machine recommendation.