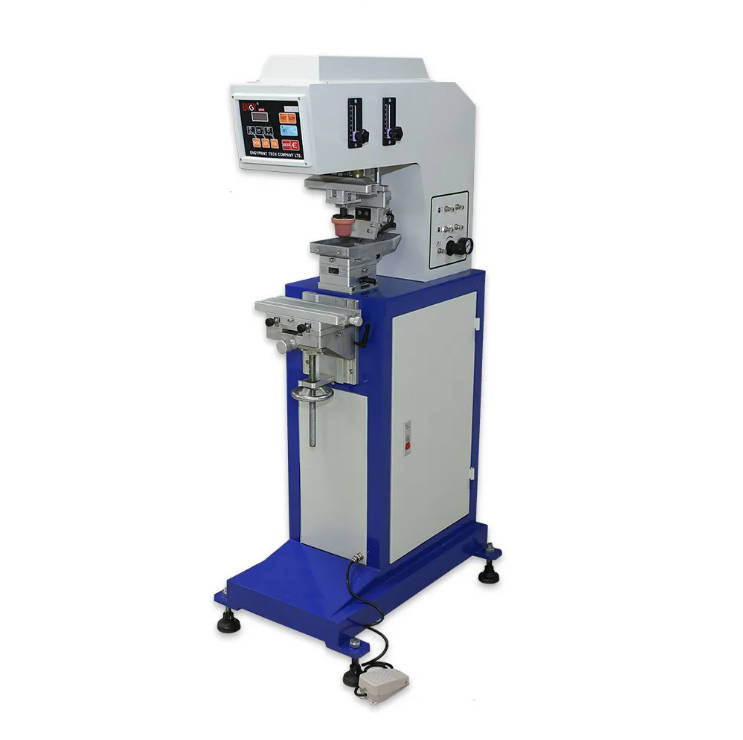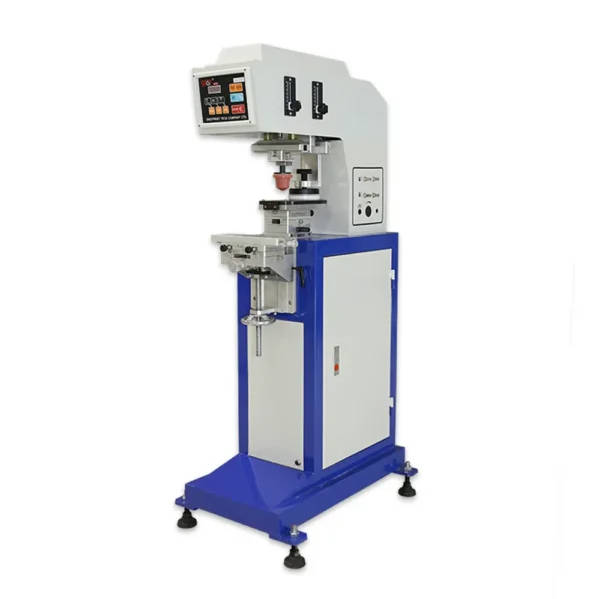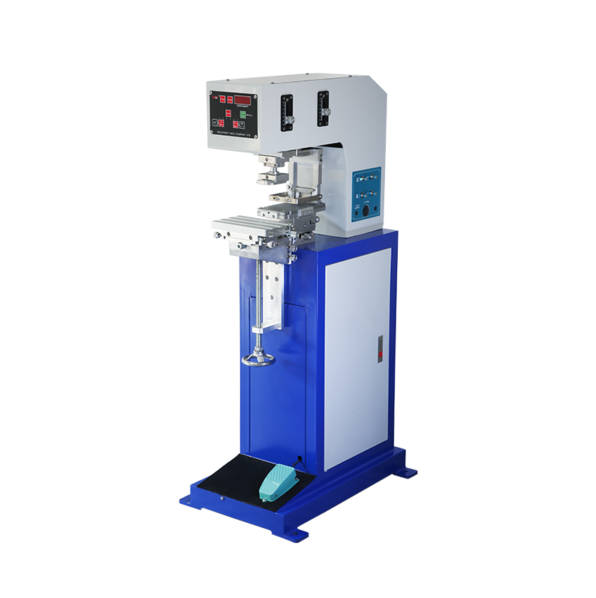
Sometimes, I see smudged prints or inconsistent colors when I run my pad printer. This leads to wasted materials and frustrated clients. I once felt stuck, not knowing what caused the mess. But I discovered strategies that truly solve these printing headaches.
The best way to resolve dirty ink or uneven printing is by controlling ink viscosity, checking pad condition, and calibrating your pad printing machine correctly. Regular cleaning, the right pad printing supplies, and a stable environment also prevent smudges, ensuring a clearer and more consistent print.
I remember a time when I had to deliver a large order of branded gadgets. The prints looked messy. I had to find answers fast. This made me dive deeper into pad printing equipment, automation, and maintenance techniques.
[Table of Contents]
- Why does ink become dirty or prints look uneven in pad printing?
- What factors affect the consistency of a pad printing machine?
- How can I maintain a clean pad printing environment?
- Why should I consider automation for consistent pad printing?
- Is there a best approach to choosing pad printing supplies?
- Are there effective troubleshooting tips for daily pad printing?
- Conclusion
Why does ink become dirty or prints look uneven in pad printing?
I often ask why ink gets messy or prints turn blotchy. It usually involves ink consistency, pad surface issues, or external environmental factors. These combined elements can cause annoying smears and uneven distribution.
In most cases, smudges and uneven prints happen when the pad picks up too much ink or when the ink is not set at the right viscosity. Humidity and dust also disrupt consistent transfer. Keeping your pad printing machine and workspace in check helps reduce errors.
Now, I want to explore each cause more critically. I also share personal insights from my experience with pad printing equipment. When things went wrong for me, it was usually a combination of multiple factors.
Ink Viscosity and Formula
The first thing I check is the thickness of the ink. Ink that is too thick can cling to the pad too strongly, causing smears and poor release. When it is too thin, the image looks faint or inconsistent.
Using a precise method for mixing the ink is critical. I rely on measuring tools to maintain a consistent ratio of solvent and hardener. If I deviate, the final result suffers.
Condition of the Pad
Next, a worn or contaminated silicone pad can create uneven prints. Small tears or dirt can cause incomplete contact or smudges. Replacing a damaged pad is crucial for clear prints.
Sometimes, I’ve tried to “revive” a pad by cleaning it thoroughly. This only works for mild contamination. For major tears, a new pad is best.
Environmental Factors
Temperature and humidity can affect how ink dries on the pad. In a humid environment, ink might stay tacky longer, transferring badly onto the substrate. In dry conditions, the pad might release ink too quickly.
| Environmental Factor | Effect on Printing |
|---|---|
| High Humidity | Increases smearing, slower ink drying |
| Low Humidity | Faster ink release, risk of incomplete transfer |
| High Temperature | Ink may thicken quicker, faster drying in the cup |
| Low Temperature | Ink becomes more viscous, risk of blotches |
I keep an eye on these environmental details because they can drastically alter the performance of the pad printer.
What factors affect the consistency of a pad printing machine?
My journey with pad printing has shown me that machine consistency depends on stable mechanical movement, reliable ink distribution, and the correct selection of pad printing supplies. Adjustments here shape the outcome.
Consistency relies on several factors: the precise alignment of the pad, the correct pressure, and the condition of the pad printing machine’s moving parts. Poor maintenance or misaligned plates can produce uneven prints. Regular checks keep the machine running smoothly.
Let’s dive deeper into these aspects of consistency. I remember when I first attempted a large run with my automatic pad printing machine. I quickly learned how minor mechanical shifts affect each print cycle.
Mechanical Precision and Calibration
In pad printing, mechanical accuracy is everything. If the pad or cliché is off by even a fraction of a millimeter, it can ruin the design. I calibrate my equipment using alignment tools that reference the machine’s base.
When an automatic pad printing machine moves quickly through multiple cycles, small errors can add up. This is why I recommend scheduled calibration.
Pad Printer Maintenance Routine
I’ve discovered that a consistent routine prevents unwanted breakdowns. This includes lubricating moving parts, checking bolts for tightness, and inspecting the pad printing equipment for wear and tear.
A simple daily checklist helps keep me on track. I also keep extra pad printing supplies on hand in case of sudden failures.
Role of Correct Pressure
I adjust pressure so the pad makes clean contact with the substrate without over-compression. Too much force squeezes ink out or distorts the design. Too little pressure leads to incomplete transfer.
Testing several prints with different pressure settings helps me find a sweet spot.
How can I maintain a clean pad printing environment?
My workspace often collects dust, ink splatter, and debris. This can damage the delicate surfaces of a pad printer. Regular cleaning and organization help me keep prints neat and consistent.
The easiest way to maintain cleanliness is to schedule daily cleanup of the workstation, store pad printing supplies in sealed containers, and ensure proper ventilation. Controlling dust and maintaining stable temperatures limit the possibility of smears caused by airborne particles.
Let’s explore the specific steps for a clean environment. I remember struggling in a cramped room, where ink fumes lingered and dust landed on freshly printed items. I resolved this by systematically tackling each potential contamination source.
Regular Cleaning Schedule
I set a simple daily routine: wipe down machines, remove any leftover ink, and empty trash bins. Once a week, I perform a more thorough check, cleaning the pad plate and the surroundings with recommended solvents.
Proper Storage of Pad Printing Equipment
After I finish a run, I store all pad printing supplies in labeled cabinets. I close ink containers tightly to prevent evaporation or contamination. This reduces dust settling on open supplies.
Ventilation and Air Quality
Good ventilation helps remove fumes and keeps the room comfortable. I sometimes use a small air purifier to reduce airborne particles. This is especially helpful when running multiple pad printers in the same space.
Why should I consider automation for consistent pad printing?
At first, I hesitated about switching to an automatic pad printing machine. But I realized that automation reduces human errors and guarantees consistent, repeatable results, especially for large production runs.
Automated pad printing equipment improves accuracy by controlling cycle times, pad pressure, and ink pickup with minimal operator intervention. This consistency ensures higher-quality prints. If you want to reduce rework and increase efficiency, automation can bring tangible benefits.
Let’s dig deeper. My leap to an automatic pad printing machine came when I had to print thousands of parts under tight deadlines. Manual operation was slower and risked more variation. Automation drastically improved my throughput.
Reduced Operator Fatigue
In manual printing, the operator must handle each component, align it, and manage the pad cycle. Over time, fatigue causes errors. An automatic pad printer eliminates repetitive motion for me and keeps performance steady.
Enhanced Speed and Throughput
Automated solutions handle more prints in less time. They also maintain uniform cycles. My productivity soared once I integrated a PLC-controlled system that managed speed, drying time, and even color changes seamlessly.
Consistent Quality
With automation, I set the parameters once and rely on the machine to replicate that process indefinitely. This keeps the pad printing machine results uniform, which is vital for clients demanding identical branding on high volumes of products.
Is there a best approach to choosing pad printing supplies?
When it comes to pad printer accessories, I focus on quality and reliability. The right pad printing supplies influence the print outcome, from inks and pads to cleaning solvents.
The best approach is to select supplies that match your substrate and production goals. Use reputable brands for ink, silicone pads, and cleaning solutions. Test small batches to confirm compatibility. Consistent inventory ensures a stable printing process.

Now, I’ll explore how I evaluate pad printing equipment and consumables. Early in my career, I picked cheaper inks or pads to cut costs. The results were not great. I changed my approach over time.
Ink Selection and Compatibility
I always check if the ink adheres well to the specific substrate, whether it’s plastic, metal, or glass. Different inks have unique properties. If the product is a toy, I might need non-toxic ink.
Testing on a sample piece before ordering in bulk saves a lot of trouble.
Quality of Silicone Pads
Silicone grade and durometer level matter a lot. I choose pads that transfer ink cleanly without too much residual buildup. Some shapes are better for curved surfaces, while others are ideal for flat objects.
Cleaning and Maintenance Supplies
I avoid using harsh chemicals that can damage the pad or the plate. Dedicated pad cleaning solutions remove excess ink. Meanwhile, mild solvents help me maintain the longevity of the pad printing machine parts.
Are there effective troubleshooting tips for daily pad printing?
Every morning, I have a quick checklist for my pad printer. Consistent troubleshooting keeps major problems away. Daily checks also help me spot issues before they escalate.
The most important daily tips include checking ink levels, verifying pad condition, and ensuring the substrate is free of dust. If you spot any irregularities, adjust the pressure or replace the pad. Small, frequent interventions prevent larger disruptions.
I’ll share some typical scenarios. When I see blurred images, I immediately check ink viscosity. If I see partial prints, I confirm pad pressure. Small, proactive changes maintain high production quality.
Daily Machine Warm-up
I run a few test prints to see if my settings from the previous day are still accurate. Room temperature can vary, affecting how the ink flows. This warm-up helps me fine-tune parameters.
Quick Maintenance Checklist
- Wipe the pad and plate clean.
- Inspect for any ink residue in the cup or ring.
- Check the alignment of the substrate fixture.
- Lubricate key moving parts if needed.
Doing this ensures that the pad printing machine stays in top shape day after day.
Documentation of Settings
I learned to keep a simple log of the pressure, ink ratio, and environment details for each run. This helps me see patterns and replicate success. If I switch to an automatic pad printing machine, I also note the PLC settings.
How do I improve efficiency with advanced pad printing equipment?
As I gained more experience, I explored ways to scale production. Investing in advanced pad printing equipment, like servo-driven machines or fully automated transfer systems, helped me meet bulk orders with minimal downtime.
My personal tip is to balance cost with volume needs. If I print large quantities regularly, advanced equipment pays for itself quickly.
By evaluating production demands and analyzing cost per unit, I found that an automatic pad printing machine with multiple color stations can be a game-changer.
Conclusion
Clean prints come from controlling ink variables, maintaining the pad, and optimizing your pad printing machine. With a proper routine and the right supplies, achieving flawless results is simpler than it seems.


