Look at the climate-control panel, steering-wheel switches, window controls, or center-console buttons in an older car. You may notice that some symbols still look sharp while others have faded, become glossy, cracked, or almost disappeared.
Why?
The answer depends on how the button was manufactured.
Car button symbols can be created using several processes, including pad printing, laser etching, coatings, molding, and combinations of these methods. Surface-printed symbols can gradually wear through repeated contact, while many backlit buttons use a coated translucent part with a laser-created symbol rather than a conventional printed icon.
This distinction explains why two buttons in the same vehicle can age very differently.
A frequently pressed fan-speed button may lose its visible symbol while a rarely used switch remains almost new. On another vehicle, the symbol itself may remain visible but the black coating around it becomes shiny or worn.
For automotive manufacturers, producing these small icons involves much more than simply putting white ink on black plastic.
The process must consider:
- button material;
- surface geometry;
- daylight appearance;
- nighttime illumination;
- abrasion;
- skin oils and sweat;
- cleaning chemicals;
- heat;
- UV exposure;
- production volume.
Understanding these factors explains both how automotive button graphics are manufactured and why they sometimes fail.
Not Every Car Button Symbol Is Printed
This is the first important point.
When people see a white fan icon on a black button, they naturally assume white ink was printed onto the black surface.
Sometimes that is exactly what happened.
But many illuminated automotive controls use a different construction.
A typical backlit button may start with a translucent plastic component. An opaque coating is applied over the surface, and a laser removes selected areas of that coating to create the symbol.
When the interior light is off, the graphic appears as a normal icon.
When the backlight turns on, light passes through the exposed symbol.
So there are broadly two different questions:
Surface Graphic
A logo, character, warning mark, or icon is applied onto the surface.
Pad printing is highly suitable for this type of application.
Backlit Graphic
The icon must transmit light at night.
This often requires a coating and selective removal process, such as laser etching, or another multilayer manufacturing structure.
Some automotive components may also combine printing, coatings, and laser processing in the same product.
The manufacturing method is determined by what the button needs to do—not simply by what the symbol looks like.
How Pad Printing Creates Symbols on Car Buttons
Pad printing is widely used for small graphics on molded automotive components because the surfaces are rarely perfectly flat.
The process uses four main elements:
- an engraved printing plate, called a cliché;
- printing ink;
- a flexible silicone pad;
- a fixture that holds the component.
The image is etched into the cliché.
Ink fills the image.
The silicone pad picks up the ink and transfers it onto the button.
Because silicone deforms during contact, the pad can print on:
- slightly curved buttons;
- convex switches;
- recessed controls;
- gear-shift components;
- steering-wheel controls;
- irregular plastic parts.
This makes pad printing especially useful for small automotive symbols where accurate positioning and clean edges are important.
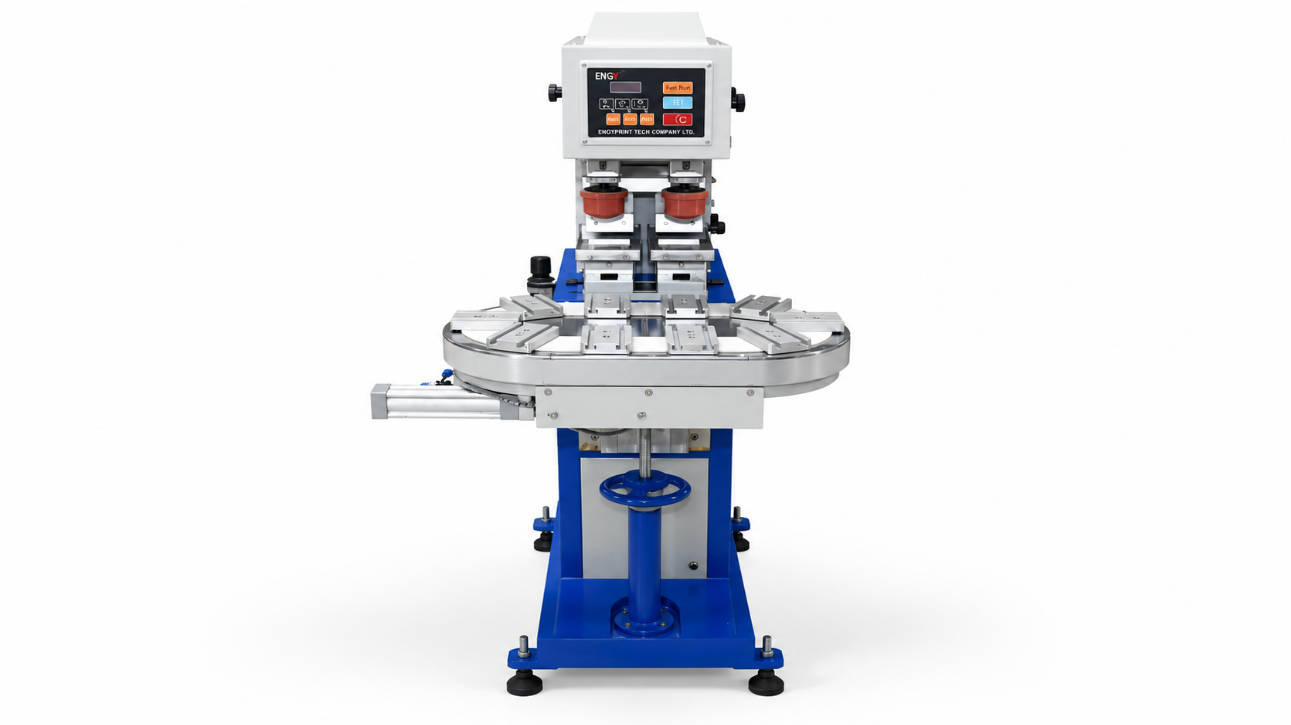
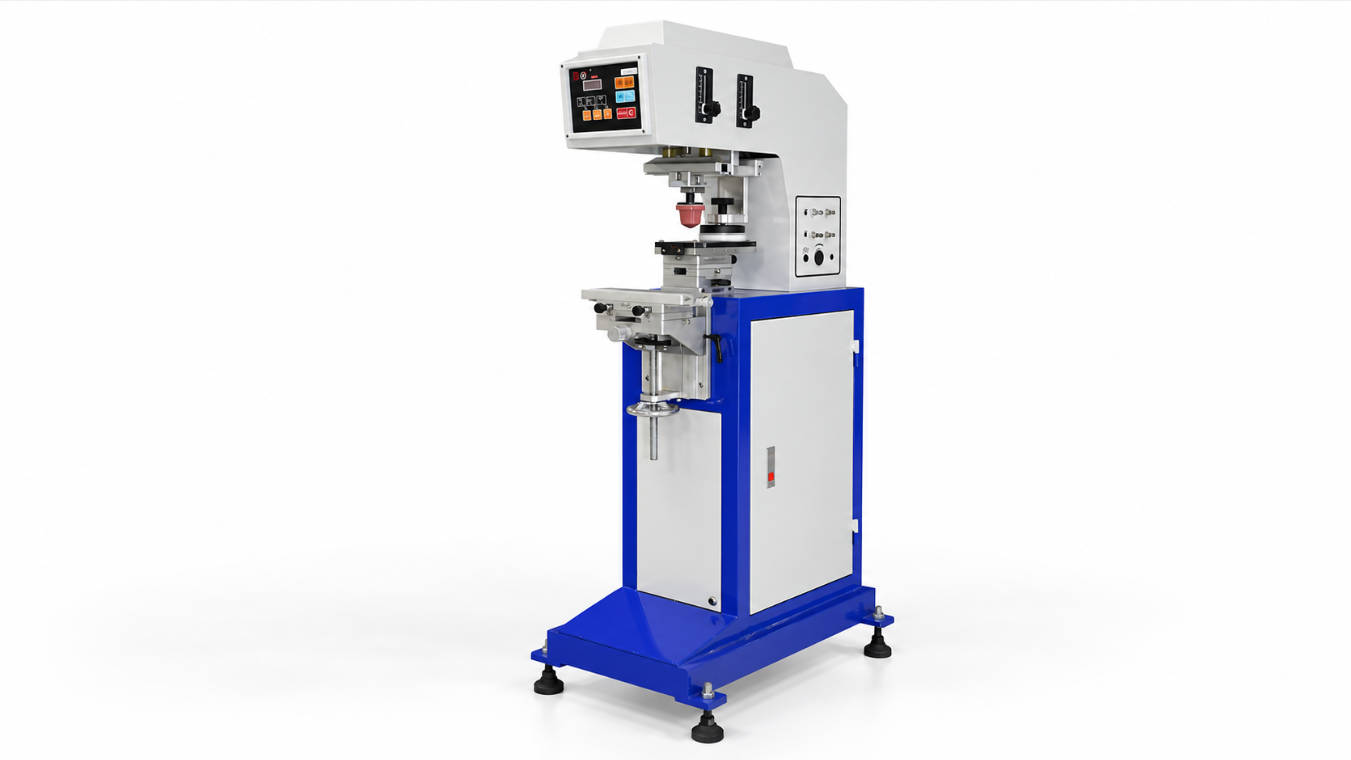
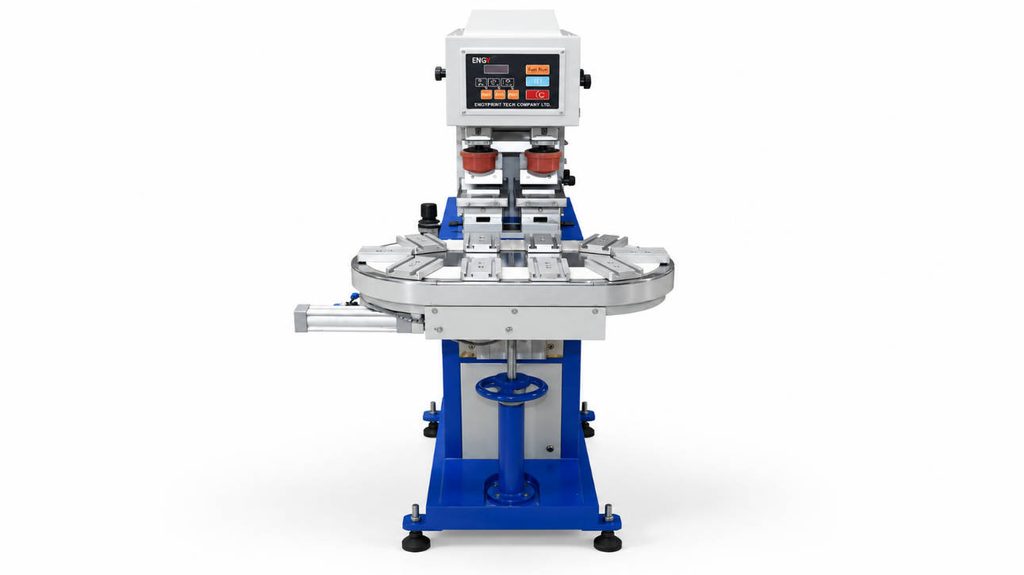
ENGY’s automotive pad printing machine guide covers applications including dashboard buttons, interior controls, warning symbols, and other automotive components.
Why Use Pad Printing Instead of a Sticker?
A sticker sounds easier.
For many automotive controls, however, it introduces several disadvantages.
A sticker:
- has visible edges;
- can lift;
- may not conform well to small curved surfaces;
- can feel different from the surrounding button;
- adds another component to assembly.
Pad printing deposits the graphic directly onto the component surface.
It is therefore useful when manufacturers want a small, integrated symbol without adding a separate label.
It also provides flexibility.
One molded switch design can potentially receive different:
- symbols;
- languages;
- model names;
- colors
without redesigning the entire injection mold.
That can be valuable when one component platform is used across different vehicle models or markets.
How Backlit Car Buttons Are Made
Backlit buttons have an additional requirement:
The symbol must remain visible when the vehicle interior is dark.
A common manufacturing concept starts with a plastic component that can transmit light.
The surface is then coated with an opaque layer.
A laser selectively removes the coating where the symbol should appear.
The result is a light-transmitting window shaped like:
- a fan;
- arrow;
- temperature symbol;
- seat icon;
- lock icon;
- window symbol;
- text.
When illumination comes from behind the button, light passes through the exposed area.
This process is particularly useful for controls such as:
- climate-control buttons;
- steering-wheel controls;
- audio controls;
- center-console switches;
- door controls.
Why Paint Thickness Matters
If a backlit button uses a coating system, coating consistency affects appearance.
Too much variation can create:
- uneven nighttime illumination;
- inconsistent symbol brightness;
- visible differences between buttons.
That is why backlit-button manufacturing is both an optical and surface-finishing process.
Pad Printing vs Laser Etching for Car Buttons
The two processes are sometimes discussed as competitors, but they often solve different problems.
| Factor | Pad Printing | Laser Etching |
|---|---|---|
| Basic principle | Transfers ink onto surface | Selectively removes or modifies material/coating |
| Colored graphics | Strong capability | Limited by material/coating system |
| Small detailed symbols | Yes | Yes |
| Curved components | Suitable with correct pad | Depends on laser setup and geometry |
| Backlit symbols | Possible as part of a combined process | Common for coating removal |
| Artwork changes | Cliché must be changed | Digital laser file can be changed |
| Surface layer | Adds ink | Removes/modifies existing layer |
| Multi-color decorative graphics | Strong capability | Usually requires additional process |
| Automotive buttons | Common application | Common for backlit controls |
The choice therefore depends on what the symbol needs to accomplish.
A colored logo or non-backlit instruction may be well suited to pad printing.
A symbol that must allow light through a dark coating may favor laser processing.
A complex component may use both.
Why Do Car Button Symbols Wear Off?
Now we reach the question most car owners actually care about.
Several mechanisms can make a button appear worn.
1. Repeated Finger Abrasion
Every button press creates physical contact.
One press causes almost no visible change.
Thousands of presses are different.
Frequently used controls experience repeated rubbing from:
- fingertips;
- fingernails;
- gloves;
- rings;
- other objects.
If the graphic is surface printed, this repeated mechanical contact can gradually abrade the ink film.
A surface-applied automotive symbol is most vulnerable where fingers repeatedly contact the same small area.
That is why wear often appears first on high-use controls.
2. Skin Oils and Sweat
Human hands constantly leave small amounts of:
- oil;
- moisture;
- sweat;
- cosmetics;
- lotions.
These remain on interior surfaces.
Over time, they can interact with coatings and printed films.
The effect varies depending on the exact material and ink system.
This is also why one driver’s vehicle may show more button wear than another vehicle of similar age.
Usage conditions differ.
3. Hand Sanitizer and Cleaning Chemicals
Modern car interiors are frequently cleaned using:
- alcohol-based cleaners;
- interior detailing products;
- disinfectants;
- household cleaners.
These chemicals can be far more aggressive than normal finger contact.
A printed graphic or coating may resist normal use but perform poorly when repeatedly exposed to an unsuitable cleaning solvent.
An automotive decoration system therefore needs chemical resistance appropriate to its real environment.
4. Heat Inside the Vehicle
Automotive interiors experience significant temperature changes.
A dashboard button can spend years cycling between:
- cold conditions;
- normal operating temperature;
- high cabin temperatures when parked in sunlight.
Repeated thermal stress can affect:
- plastic;
- coatings;
- ink;
- adhesion.
This is one reason automotive decoration requires more demanding material selection than a simple indoor promotional product.
5. UV Exposure
Sunlight entering through vehicle windows exposes interior components to UV radiation.
Over long periods, this can contribute to:
- fading;
- color change;
- coating degradation;
- material aging.
Buttons close to windows or strongly illuminated dashboard areas may receive more exposure.
6. Poor Ink-to-Plastic Adhesion
Sometimes the problem is not long-term wear.
The ink was never strongly bonded in the first place.
Possible causes include:
- wrong ink;
- contaminated plastic;
- mold-release residue;
- incorrect pretreatment;
- incorrect hardener ratio;
- incomplete curing.
If the adhesion is weak, the graphic can fail much earlier than expected.
ENGY’s pad printing ink guide explains why ink chemistry must be matched to the actual substrate and required resistance.
Sometimes the Symbol Is Not Wearing Off—the Coating Is
This is especially important with backlit controls.
Imagine a translucent button covered with an opaque black coating.
A laser removes part of that coating to create the fan symbol.
After years of use, the finger repeatedly rubs the surrounding black coating.
Eventually, the coating begins to thin.
The result might look like:
- a larger illuminated area;
- white patches;
- glowing spots around the icon;
- a completely worn button surface.
In that situation, the original symbol itself may not be an ink layer wearing away.
The failure can be the surrounding coating being removed and exposing the light-transmitting material underneath.
This explains why some worn automotive buttons look bright white when illuminated at night.
Why Does the Same Button Wear in the Same Spot?
Human behavior is extremely repetitive.
Drivers often press a particular switch using the same finger and almost exactly the same contact point.
For example:
- temperature up/down;
- fan speed;
- window switches;
- steering-wheel volume;
- start/stop functions.
This concentrates abrasion on a very small area.
The wear may therefore create a recognizable finger-shaped patch rather than uniform fading across the button.
Why Do Steering Wheel Buttons Wear Faster?
Not all vehicles behave the same way, but steering-wheel buttons can face particularly demanding conditions.
They may experience:
- frequent use;
- skin oils;
- sweat;
- hand cream;
- cleaning chemicals;
- direct sunlight;
- continuous hand contact around the surrounding area.
A dashboard switch that is pressed twice per month sees a very different service environment.
So the lifetime of a button graphic depends not only on its printing process but also on how the driver uses the vehicle.
Can Car Button Symbols Be Made More Durable?
Yes, but manufacturers need to engineer the complete surface system.
Important factors include:
Correct Substrate
Common automotive buttons may use different engineering plastics depending on mechanical, optical, and aesthetic requirements.
The exact material needs to be known.
Compatible Ink
The ink resin must bond to the substrate and meet the required:
- abrasion resistance;
- chemical resistance;
- heat resistance;
- appearance.
Surface Preparation
Mold-release agents, fingerprints, oils, and other contamination can reduce adhesion.
Cleaning or surface treatment may be necessary.
Correct Curing
An ink that looks dry may not yet have developed its final mechanical resistance.
Protective Coating
In some applications, an additional coating can reduce direct abrasion of the graphic.
Proper Symbol Position
Placing the icon directly under the highest-contact region may increase wear.
Industrial design and manufacturing sometimes need to be considered together.
How Do Manufacturers Test Automotive Button Durability?
Simply printing a good-looking sample is not enough.
Automotive components may be evaluated against conditions representative of their final use.
Tests can include:
Abrasion Testing
The symbol is repeatedly rubbed under controlled conditions.
This helps evaluate long-term finger contact.
Chemical Resistance
The surface may be exposed to relevant substances such as:
- cleaners;
- alcohol-containing products;
- oils;
- lotions.
Adhesion Testing
This evaluates how strongly the ink or coating remains attached to the substrate.
Temperature and Environmental Testing
Components may be exposed to different temperatures and environmental conditions.
UV / Light Aging
This helps evaluate how the decoration changes under prolonged light exposure.
The exact validation program depends on the vehicle manufacturer, component requirements, and destination market.
The correct durability target should come from the component specification, not from a generic claim that an ink is “automotive grade.”
Why Fixture Accuracy Matters for Tiny Automotive Icons
A symbol may only be several millimeters wide.
A small positioning error becomes immediately visible.
Consider a two-color control symbol.
If the component shifts between printing operations:
- the colors may overlap;
- borders may appear uneven;
- the icon may sit off-center.
A fixture therefore needs to:
- locate every part consistently;
- prevent movement;
- allow efficient loading;
- maintain repeatability over production runs.
For automotive buttons with curved or recessed surfaces, pad geometry is also important.
Pad Shape Matters More Than Most Buyers Expect
The silicone pad is what physically transfers the image.
It needs to:
- contact the complete graphic;
- release the ink correctly;
- avoid trapping air;
- avoid excessive distortion.
A very soft or poorly shaped pad can distort fine symbols.
A pad that is too small may fail to cover the complete graphic.
For unusual automotive controls, a customized pad profile may be more effective than trying to force a standard pad to work.
One Button or Thousands per Hour?
The printing process changes dramatically depending on production volume.
For prototypes or small batches, an operator may manually load individual components.
For mass automotive production, the project may require:
- multiple fixtures;
- automatic feeding;
- conveyor systems;
- robotic handling;
- automatic unloading;
- multi-part printing during one cycle;
- vision-assisted positioning.
This is where the printing question changes from:
“How do we print this icon?”
to:
“How do we print this icon consistently on every component at the required production rate?”
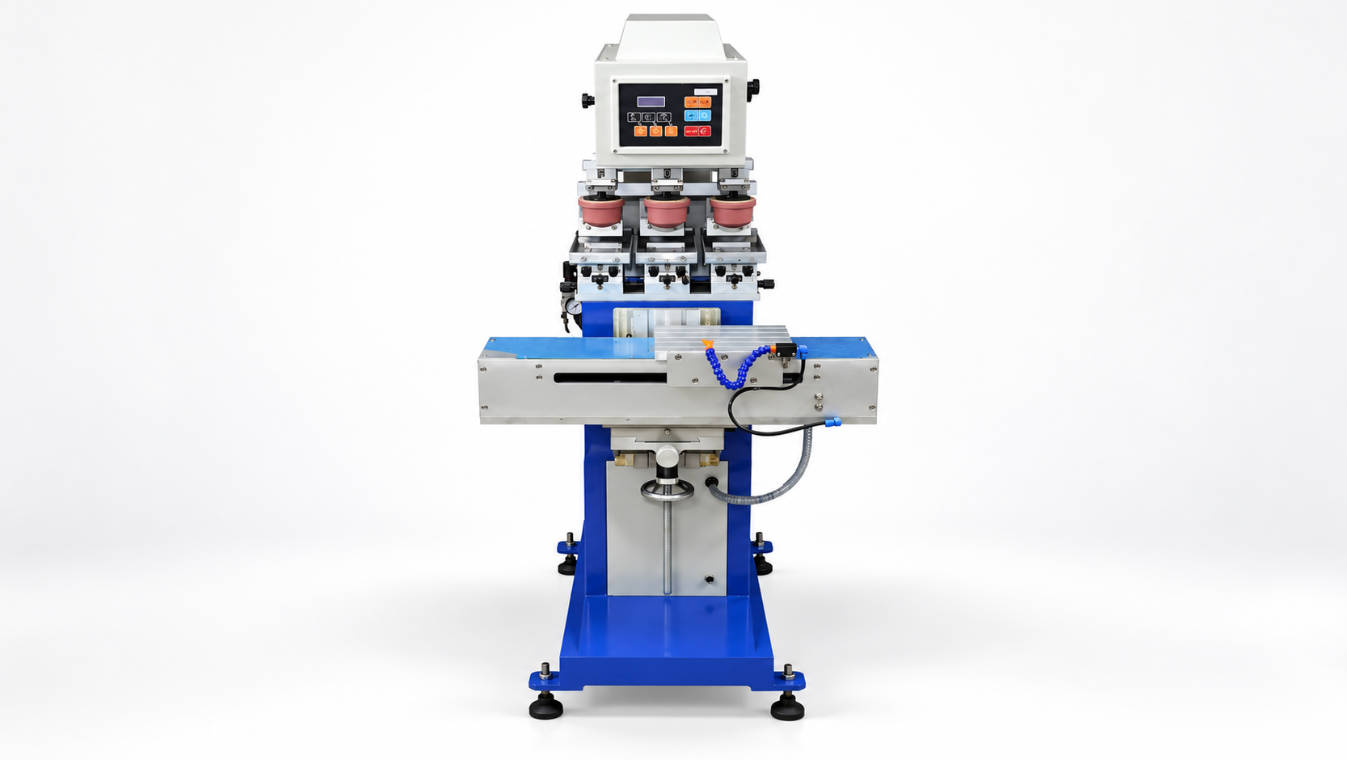
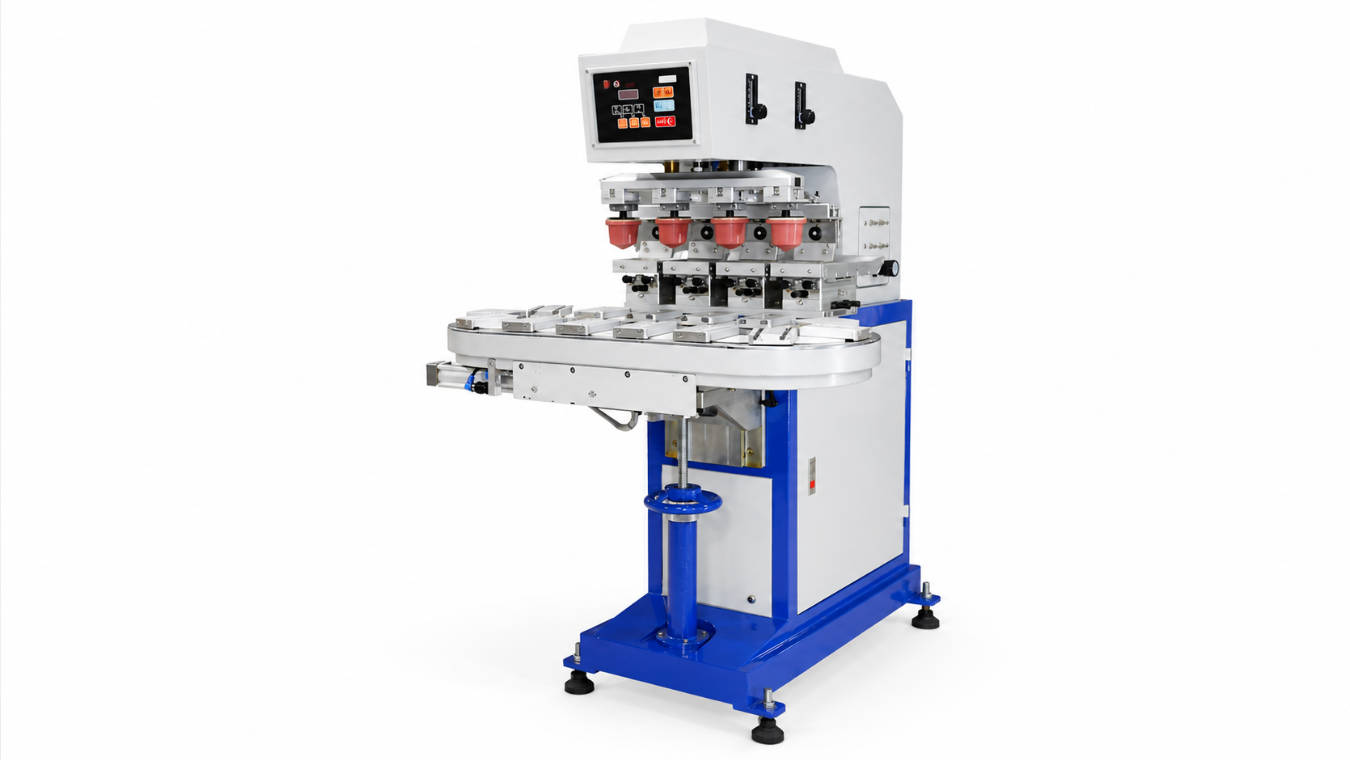
ENGY’s pad printing machine range includes standard and automated configurations using conveyors, servo control, PLC systems, multiple fixtures, and customized product handling.
When Does an Automotive Project Need a Custom Pad Printing Machine?
A standard machine can handle many straightforward button-printing applications.
Customization becomes more relevant when:
- several components must be printed simultaneously;
- multiple colors are required;
- the printing area is difficult to reach;
- products require automatic orientation;
- production capacity is high;
- surface pretreatment needs to be integrated;
- automatic loading and unloading are required.
ENGY’s customized pad printing machine solutions are intended for projects where a standard machine cannot meet the required printing position, production speed, feeding method, or automation process.
For automotive suppliers, this can be especially important because machine repeatability and process control become more critical as production volume increases.
What Should an Automotive Supplier Provide Before Selecting a Printer?
Do not begin with only:
“We need to print a car button.”
Provide the engineering information behind the application.
| Information | Why It Matters |
|---|---|
| Product dimensions | Determines machine and fixture size |
| Plastic material | Determines ink and pretreatment |
| Surface coating | Changes adhesion requirements |
| Symbol dimensions | Determines cliché and pad |
| Symbol location | Determines machine movement |
| Number of colors | Determines machine configuration |
| Backlit or non-backlit | Determines manufacturing process |
| Production target | Determines automation |
| Abrasion requirement | Defines durability validation |
| Chemical exposure | Influences ink selection |
| Environmental specification | Influences process validation |
| Physical samples | Allows actual printing trials |
If the component is backlit, the supplier should also know whether the project requires:
- printing;
- laser processing;
- coating;
- or a combined production process.
Do Not Choose the Process From the Appearance Alone
Two car buttons may look nearly identical during the daytime.
One may use a surface-printed symbol.
Another may use a laser-created symbol in a painted backlit structure.
Their manufacturing processes and wear mechanisms are therefore different.
That is why reverse-engineering a process only from a photograph can be misleading.
For a new component, manufacturers should work backward from the product requirement:
Does it need backlighting?Does it need color?How much abrasion will it experience?What plastic is it made from?How many pieces are required?Does the artwork change between models?
Those questions determine the manufacturing solution.
FAQ
How are car button symbols printed?
Car button symbols can be produced using pad printing, laser etching, coatings, molding, or combinations of these methods. Pad printing is commonly used for small surface graphics, while many backlit buttons use a coated translucent component with a laser-created icon.
Why do car button symbols wear off?
Frequent finger abrasion, skin oils, sweat, cleaning chemicals, heat, UV exposure, weak adhesion, and incomplete curing can all contribute to visible wear.
Are dashboard button symbols pad printed?
Some are. Pad printing is suitable for small graphics and symbols on curved or irregular automotive plastic parts. Other dashboard controls, particularly backlit buttons, may use laser etching and multilayer coating processes.
How are backlit car buttons made?
A common method uses a light-transmitting plastic button covered by an opaque coating. A laser removes selected coating areas to form the symbol so light can pass through it from behind.
Why does a worn car button glow white?
On some backlit controls, repeated abrasion removes the opaque surface coating and exposes the translucent material underneath. When the backlight turns on, these worn areas allow additional light through.
Is pad printing durable enough for automotive buttons?
It can be when the ink, plastic, pretreatment, curing process, and durability requirements are properly matched. Automotive components should be tested for their actual abrasion and environmental conditions.
Is laser etching better than pad printing for car buttons?
They serve different purposes. Laser etching is particularly useful for backlit symbols and coating removal, while pad printing provides greater flexibility for colored surface graphics and decoration.
What ink is used for automotive pad printing?
The ink needs to be compatible with the specific automotive plastic or coating and satisfy the required adhesion, abrasion, chemical, heat, and environmental resistance. There is no single universal automotive pad printing ink.
Can a pad printer print steering wheel button symbols?
Yes. Pad printing can be suitable for small steering-wheel icons, provided the component geometry, ink, pad shape, fixture, and durability requirements match the process.
What type of machine is used for automotive button printing?
The equipment can range from a standard one-color pad printer to an automated multi-fixture production system. Selection depends on symbol size, colors, component geometry, production volume, loading method, and required process control.
Conclusion
So, how are car button symbols printed?
There is no single manufacturing method.
Non-backlit logos and functional symbols may be pad printed directly onto molded automotive components.
Backlit controls often use a translucent substrate, surface coating, and selectively created light-transmitting symbols.
Other components may combine several processes.
This also explains why button wear looks different from one vehicle to another.
A surface-printed icon may gradually fade as the ink film is abraded.
A backlit button may appear to “lose its symbol” because the surrounding opaque coating has worn away.
What drivers see as a disappearing car-button symbol is ultimately a materials and surface-engineering problem involving friction, ink or coating adhesion, chemicals, heat, UV exposure, and years of repeated use.
For automotive manufacturers, the correct process should therefore be selected around the component’s real function.
If the project requires small colored icons, irregular surfaces, several product models, or high-volume automated printing, pad printing can provide a practical production solution.
But the printer alone does not determine durability.
The plastic, surface preparation, ink, silicone pad, fixture, curing process, validation method, and automation strategy all need to work together.