A custom pad printing machine becomes necessary when the printing challenge is no longer only about transferring ink onto the product.
The real issue may be how the part is held, oriented, loaded, indexed, pretreated, printed in several colors, inspected or unloaded.
If a standard pad printer can achieve the required print area, colors and positioning with a simple custom fixture, there is usually no reason to customize the entire machine. Full machine customization becomes more relevant when product handling, registration, production speed or process integration cannot be achieved reliably on a standard platform.
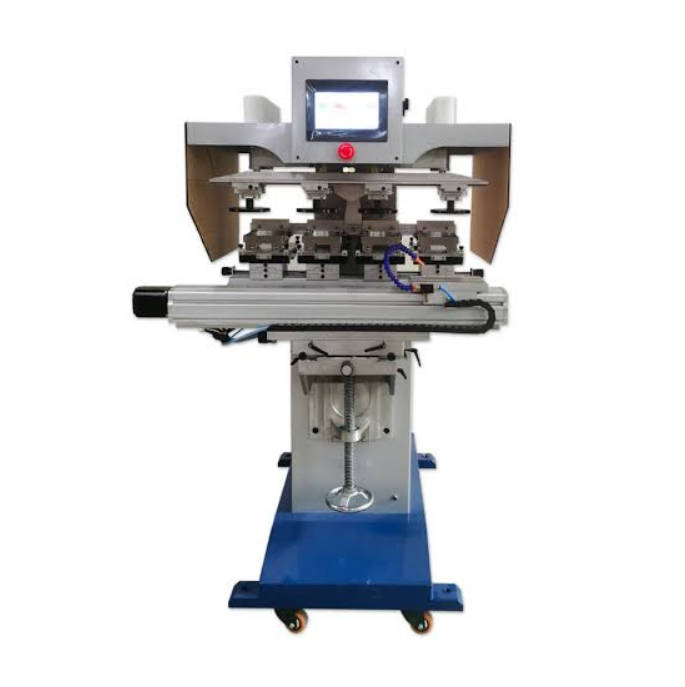
This creates three possible equipment levels:
| Application | More Appropriate Direction |
| Simple product, manual loading, one print position | Standard pad printer |
| Unusual product shape but simple printing cycle | Standard printer + custom fixture |
| Multiple positions, colors or special movement | Modified pad printing machine |
| High-volume continuous production | Automated/custom pad printing system |
| Automatic feeding, positioning and unloading | Customized automation |
| Pretreatment + printing + drying + inspection | Integrated production cell |
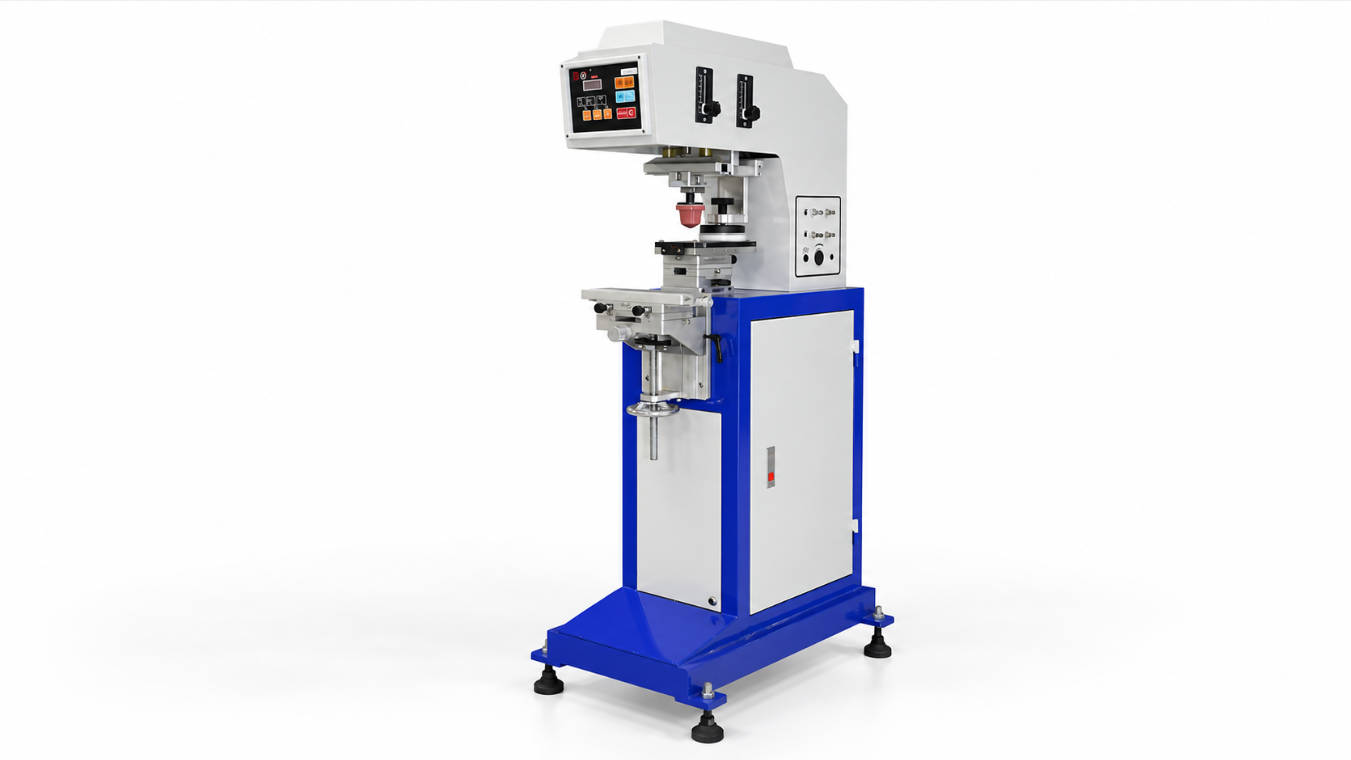
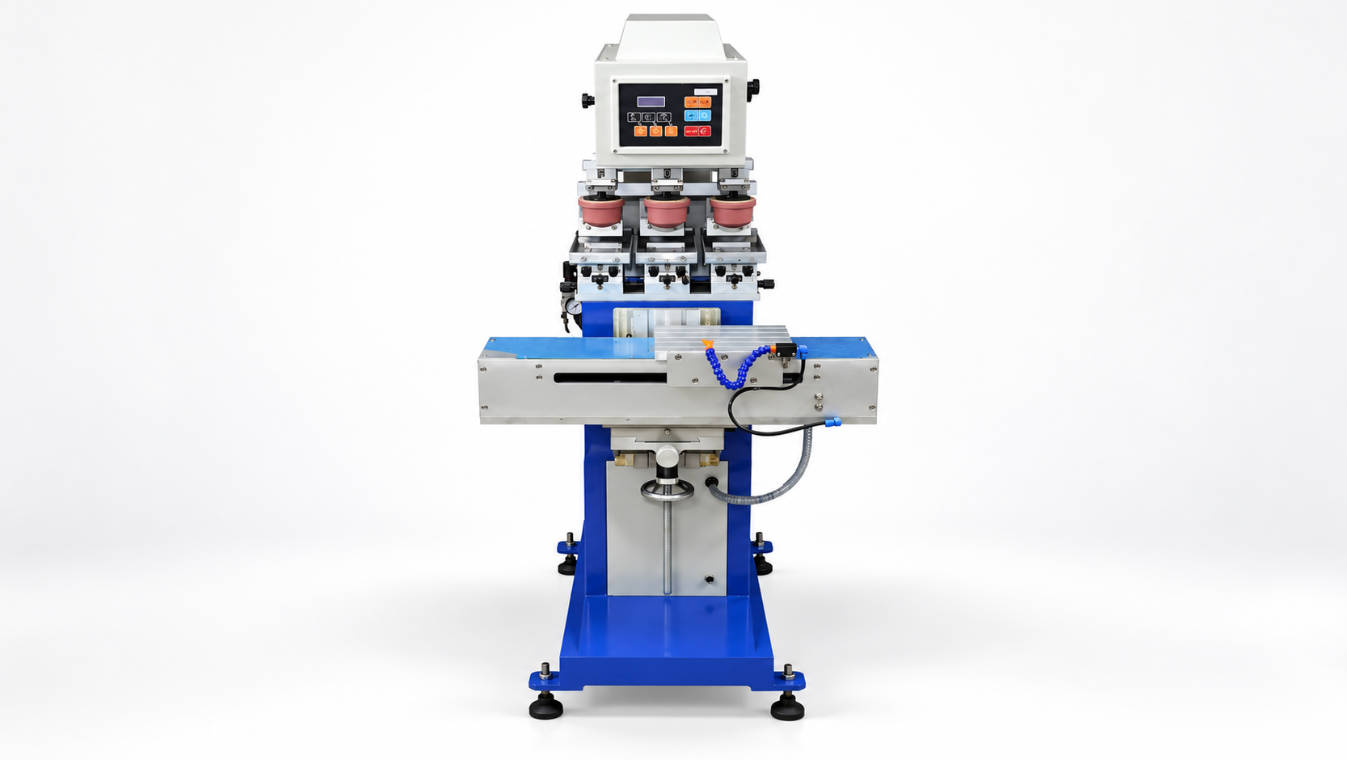
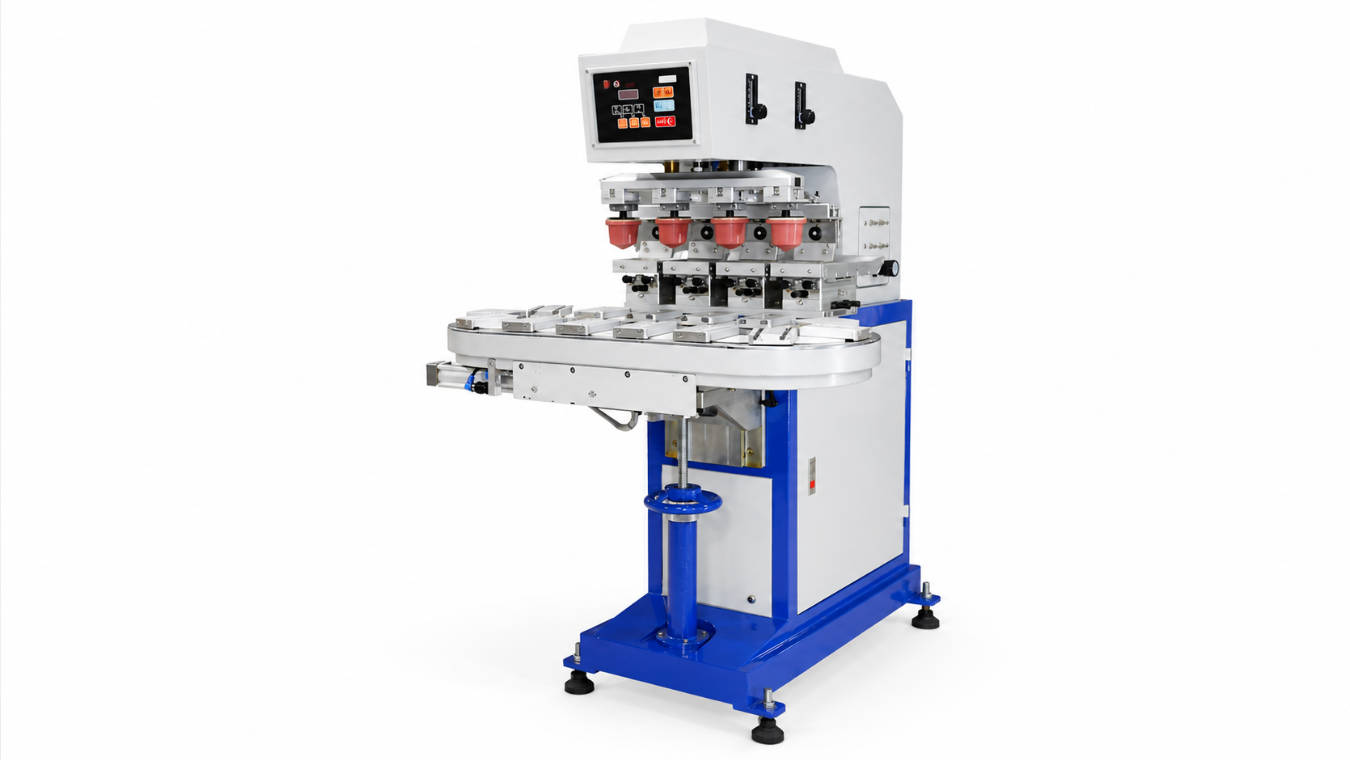
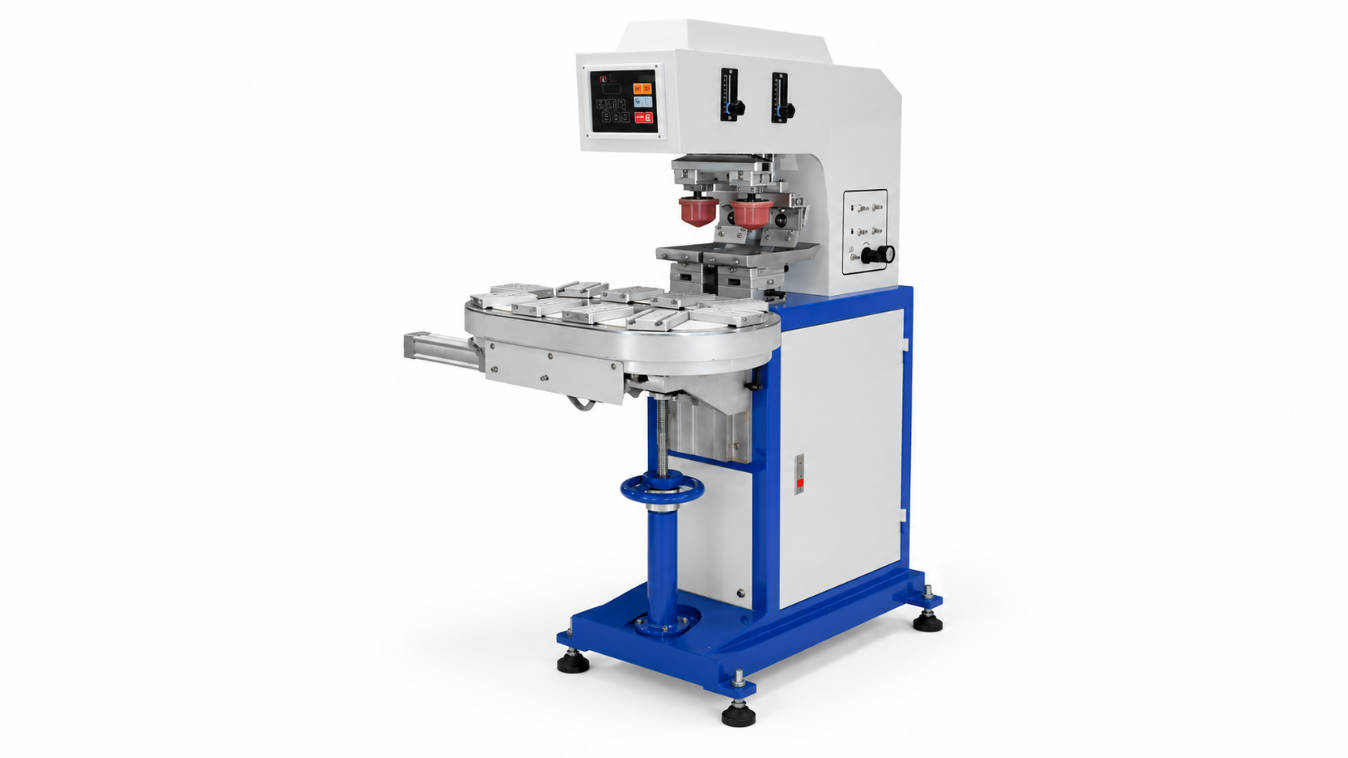
ENGY currently offers one-color through multi-color machines, semi-automatic and fully automatic configurations, as well as standard and customized machines. Its pad printing range also includes conveyor and shuttle configurations.
The objective therefore should not be to buy the most customized machine possible.
It should be to determine the minimum level of customization required to make the production process stable, repeatable and economically practical.
The Product Usually Tells You Whether Customization Is Necessary
Instead of beginning with machine specifications, begin with the physical product.
Place the product on a table and ask:
- Does it sit in one repeatable position?
- Can an operator locate it quickly?
- Is the print area always at the same height?
- Is the print surface flat, curved or deeply recessed?
- Does the part need to rotate between prints?
- Are multiple sides printed?
- Are several colors registered to each other?
- Can the part be loaded in the wrong orientation?
- Is manual handling slower than the printing cycle?
- Does the material require treatment before printing?
Each “yes” to the more complex conditions increases the possibility that fixture design, indexing or automation will become part of the machine specification.
Trigger #1: The Product Cannot Be Located Reliably by a Simple Fixture
Pad printing can decorate products with complex surfaces because the flexible silicone pad transfers the image from the cliché to the substrate.
But the silicone pad does not solve poor product positioning.
If each workpiece moves slightly inside the fixture, the printed image moves with it.
ENGY notes that tailored fixtures are used to hold products stable during the pad printing process and asks buyers to provide product size, logo size and printing location when evaluating an application.
A Standard Fixture Is Often Enough When:
- the part has a stable bottom surface
- it has a clear mechanical locating point
- loading orientation is obvious
- only one surface is printed
- tolerance requirements are moderate
- the operator can load it repeatedly
A More Customized Fixture May Be Required When:
- the product is irregular
- the part is soft or flexible
- the component has no stable reference surface
- cosmetic surfaces cannot be scratched
- several product sizes share one machine
- the print location is close to an edge
- the component must be positioned at an angle
- multiple sides must be exposed sequentially
Fixtures may use nests, pins, clamps, vacuum holding or another product-specific locating concept depending on the workpiece.
For many “special products,” the correct solution is not a custom pad printer at all—it is a well-designed product fixture installed on a suitable standard machine.
That distinction can substantially simplify the project.
Buyers can first compare ENGY’s pad printing machine configurations before deciding whether additional automation is necessary.
Trigger #2: One Product Needs Several Print Positions
Consider a plastic housing that requires:
- a logo on the front
- a warning symbol on the side
- a model number on the rear
A standard machine can theoretically perform all three prints if an operator repeatedly removes, rotates and reloads the component.
But that may create three practical problems:
- Longer cycle time
- Greater operator dependence
- More positioning variation
At this point, a custom machine may use an indexing mechanism or multiple fixtures to present each printing surface to the pad in sequence.
Possible Product Movement Strategies
The system may:
- rotate the component
- slide it between positions
- index a rotary table
- move the fixture along a conveyor
- transfer the product between stations
The correct architecture depends on product shape, number of printing positions and throughput target.
This is a good example of why custom equipment design should start with the production sequence rather than the machine catalog.
Trigger #3: Multi-Color Registration Becomes Difficult Manually
Printing one color and printing several colors are different production problems.
For a simple two-color graphic, a shuttle or multi-color standard machine may already be sufficient.
ENGY’s current range includes multi-color pad printers using shuttle and conveyor configurations, including four-color and six-color machines.
Customization becomes more relevant when:
- several colors require tight registration
- the part must move between print stations
- artwork positions differ by color
- drying time is required between colors
- a part must rotate during the color sequence
- several pads use different approach angles
- manual repositioning creates excessive variation
In these situations, the challenge is no longer simply adding another ink cup.
The system must control how the workpiece moves from Color 1 to Color 2 and still returns to a predictable reference position.
For multi-color applications, fixture repeatability and part-transfer accuracy can be as important as the pad printing mechanism itself.
Trigger #4: Manual Loading Becomes the Production Bottleneck
Suppose the printing cycle itself is relatively fast, but the operator must:
- Pick up a small component
- Check its orientation
- Place it into a narrow fixture
- Start the machine
- Remove the printed part
- Place it into a collection tray
If manual handling consumes more time than printing, simply buying a faster pad printer may produce very little improvement.
This is where automatic feeding becomes commercially relevant.
ENGY states that its customized automation experience includes feeding systems, pick-and-place robotics, conveyors, offload systems, camera positioning and vibrating plates for small parts.
Automatic Feeding May Make Sense When:
- production volume is high
- products have consistent dimensions
- product orientation can be mechanically controlled
- labor is heavily involved in repetitive loading
- machine cycle time is shorter than manual loading time
- several machines depend on one operator
- production requires continuous flow
Possible feeding concepts can include:
- vibratory bowl feeding
- linear feeders
- conveyor feeding
- pick-and-place loading
- tray feeding
- robotic loading
The appropriate solution depends strongly on the component.
A bottle cap, electrical terminal and large appliance housing require completely different handling methods even if the printed logo is similar.
Trigger #5: A Conveyor Is Needed to Connect Printing with Production Flow
A conveyor should not be added merely because it makes the machine appear more automated.
It becomes valuable when the product needs to move continuously between operations.
For example:
Feeding → Pretreatment → Printing → Drying → Inspection → Unloading
ENGY lists conveyor-equipped pad printers in its current product range and describes conveyors as one of the elements that can be incorporated into customized automated systems.
A conveyor can support:
- continuous part flow
- several printing stations
- manual loading with automatic indexing
- integration with robots
- downstream drying
- product collection
- connection with other manufacturing operations
However, a conveyor is not automatically more productive.
If operators still need significant time to orient every workpiece on the conveyor, the actual bottleneck remains manual loading.
The complete cycle should therefore be evaluated before selecting the transport mechanism.
Trigger #6: Product Orientation Cannot Be Controlled Mechanically
Some parts are difficult to orient using a fixture alone.
Examples may include components with:
- subtle orientation features
- multiple similar sides
- randomly loaded orientation
- small dimensional variation
- printing positions linked to another product feature
In these cases, camera positioning or vision-assisted handling may be considered.
ENGY specifically lists camera positioning among the technologies it has integrated into customized automation systems.
A camera system may be used to determine:
- whether a part is present
- whether it is facing the correct direction
- where a reference feature is located
- whether a robot should rotate the part
- whether the product is ready for the next operation
But vision should solve a real positioning problem.
If a mechanical nest can locate the product reliably for a fraction of the complexity, mechanical tooling may be the more appropriate solution.
Trigger #7: Printing Requires Pretreatment or Drying in the Same Cell
Sometimes the printing process works, but the product material creates another problem.
Certain plastics may require surface pretreatment before ink application.
ENGY states that specialized pad printer configurations can incorporate systems such as flame treatment or electric ion treatment for certain plastics, hot-air systems for faster drying and pad-cleaning systems.
A production cell might therefore follow a sequence such as:
Load → Surface treatment → Position → Print → Dry → Unload
Integration can reduce:
- separate handling steps
- work-in-process inventory
- operator movement
- risk of printing untreated parts
But every additional module also increases:
- machine complexity
- controls requirements
- maintenance points
- setup requirements
This is why integration should be based on process necessity rather than adding every available option.
Standard, Modified or Fully Custom? Use This Decision Table
| Requirement | Standard Machine | Modified Standard Machine | Custom Automated Machine |
| One simple print position | ✓ | ||
| Manual loading acceptable | ✓ | ||
| Simple custom fixture | ✓ | ✓ | |
| One or two colors | ✓ | ✓ | |
| Irregular fixture geometry | ✓ | ✓ | |
| Several print positions | ✓ | ✓ | |
| Product rotation | ✓ | ✓ | |
| Conveyor transport | ✓ | ✓ | |
| Automatic loading | ✓ | ||
| Pick-and-place | ✓ | ||
| Camera positioning | ✓ | ||
| Automatic unloading | ✓ | ||
| Pretreatment integration | ✓ | ✓ | |
| Drying station | ✓ | ✓ | |
| Multiple process stations | ✓ | ||
| Connection to production line | ✓ |
The middle column is especially important.
Many buyers assume the only choices are:
standard machine
or
completely custom machine
In practice, modified standard equipment can often provide the most practical balance between capability, cost, maintainability and delivery complexity.
How to Determine the Right Level of Automation
The strongest reason for automation is not simply “high production volume.”
The better question is:
Which repeated manual operation is currently limiting output or consistency?
Break the existing process into individual steps.
| Process Step | Current Method | Possible Customization |
| Product supply | Operator picks from box | Feeder or tray system |
| Orientation | Operator checks manually | Mechanical orientation or camera |
| Loading | Manual placement | Robot/pick-and-place |
| Positioning | Basic fixture | Precision custom fixture |
| Pretreatment | Separate operation | Integrated treatment station |
| Printing | Standard pad printer | Multi-station printing |
| Color transfer | Manual repositioning | Shuttle/indexing system |
| Drying | Waiting between steps | Hot-air or drying station |
| Inspection | Operator visual check | Camera inspection where justified |
| Unloading | Manual removal | Automatic offload |
| Collection | Manual stacking | Conveyor/bin/robot handling |
This approach prevents “automation for automation’s sake.”
If product loading represents only a small portion of the total cycle, automating it may provide little return.
If loading and orientation consume most of the operator’s time, it may become the first process worth redesigning.
Build the Custom Machine Around the Part Journey
A useful way to define customized equipment is to draw the journey of one product through the machine.
For example:
Step 1 — Product enters
Small plastic components arrive through a feeder.
Step 2 — Orientation
The system confirms which side faces upward.
Step 3 — Loading
The component is transferred into a dedicated fixture.
Step 4 — Pretreatment
The printing surface receives the required treatment where applicable.
Step 5 — First print
Color 1 is transferred.
Step 6 — Indexing
The fixture moves to another station.
Step 7 — Second print
Color 2 is applied.
Step 8 — Drying
The printed component passes through a drying stage.
Step 9 — Unloading
The finished component exits the printing cell.
Once this sequence is clear, the equipment requirements become much easier to define.
The machine is no longer described vaguely as:
“We need an automatic custom pad printer.”
Instead, the specification becomes:
“We need an automated system that feeds, orients, fixture-loads, prints two colors, dries and unloads this component.”
That is a much more useful starting point for engineering.
When a Standard Pad Printing Machine Is Still the Better Choice
Customization is not automatically an upgrade.
A standard industrial pad printing machine may still be the more appropriate investment when:
- production volume is moderate
- the product is easy to load
- only one print position is required
- a simple fixture solves positioning
- frequent product changeovers are expected
- operators need high flexibility
- future product designs are uncertain
- automation would be underutilized
Standard equipment also tends to simplify:
- operator training
- spare-parts management
- maintenance
- troubleshooting
- future product changeover
Custom automation becomes most valuable when the production requirement is stable enough to justify engineering equipment around it.
Do Not Automate an Unstable Printing Process
Before automating a pad printing operation, verify that the manual or semi-automatic process already works reliably.
This means confirming:
- ink adhesion
- cliché specification
- pad shape
- print area
- image location
- ink formulation
- drying conditions
- surface treatment
- fixture concept
If a manual process cannot repeatedly produce an acceptable print, automating that process may simply reproduce the same problem faster.
First prove the printing process; then automate the handling around it.
Sampling is therefore particularly valuable before committing to customized equipment.
ENGY states that it provides sampling service before delivery as well as operation training and engineering consultation for customers.
What Should You Send to a Custom Pad Printing Machine Supplier?
Do not begin an RFQ with machine specifications alone.
Begin with the product.
Product Information
Provide:
- physical product samples if possible
- product dimensions
- product weight
- substrate material
- product photographs
- CAD files when available
- acceptable clamping surfaces
Printing Information
Provide:
- artwork file
- print dimensions
- print location
- number of colors
- number of printing positions
- registration requirements
- required print quality
- adhesion requirements
Production Information
Provide:
- target parts per hour or shift
- current output
- loading method
- required automation level
- number of operators
- changeover frequency
- number of SKUs
- working hours per day
Factory Integration Information
Provide:
- available installation space
- upstream equipment
- downstream equipment
- conveyor height when relevant
- electrical requirements
- compressed-air availability
- preferred loading direction
- safety requirements
Existing Problem
This is often the most useful information.
Explain why the current process is inadequate:
- loading is too slow
- registration moves
- operator places parts incorrectly
- product is difficult to hold
- color changes require too much handling
- print position varies
- labor requirement is too high
- existing equipment cannot integrate with the production line
The supplier can then design around the actual bottleneck rather than guessing what “custom” means.
What Should Be Confirmed Before Machine Approval?
For a customized machine, acceptance should be based on the actual product and production process rather than only checking whether the machine powers on.
A practical validation should review:
Printing Result
- image position
- print completeness
- color registration
- adhesion where applicable
- cosmetic appearance
Fixture Performance
- loading repeatability
- product stability
- removal convenience
- protection against scratching
Automation Sequence
- feeding
- orientation
- indexing
- printing
- unloading
- fault handling
Production Performance
- achievable cycle time
- continuous operation
- changeover procedure
- operator workload
Maintenance
- access to ink cups
- cliché replacement
- pad replacement
- fixture adjustment
- cleaning
- consumable replacement
A machine that performs one demonstration cycle successfully is not necessarily ready for industrial production.
The complete sequence needs to remain practical under repeated operation.
FAQ
When do I need a custom pad printing machine?
A custom pad printing machine is usually considered when a standard machine cannot reliably handle product positioning, multiple printing stations, automated loading, product rotation, conveyor transfer, pretreatment or other process requirements.
Can a standard pad printer print irregular products?
Often yes. Pad printing is suitable for many complex surfaces, and an irregular product may only require a properly designed custom fixture rather than a completely customized machine.
What is a custom fixture for pad printing?
A custom fixture is tooling designed around the product’s geometry to hold it in a consistent position during printing. It may use mechanical nests, locating pins, clamps or other positioning features.
When should I use an automatic pad printing machine?
Automation becomes more attractive when production volume is high, manual loading limits output, orientation is repetitive, labor requirements are significant or several process steps need to operate continuously.
Can a pad printing machine use a conveyor?
Yes. Conveyor configurations can move products between loading, printing and other stations. ENGY’s current product range includes conveyor-equipped multi-color pad printing machines.
Can pad printing be integrated with automatic loading?
Yes. Depending on the product, automated systems can use feeding equipment, pick-and-place mechanisms, conveyors or other handling systems. ENGY lists these among its customization capabilities.
Can a custom pad printer include camera positioning?
Camera positioning can be integrated when the application requires product orientation or location detection that cannot be handled reliably by mechanical positioning alone. ENGY lists camera positioning as one of its automation options.
Do I need a custom machine for multi-color pad printing?
Not necessarily. Standard multi-color machines may already meet many requirements. Customization becomes more relevant when colors require unusual part movement, several stations, automatic indexing or specialized registration.
Is a custom pad printing machine more expensive than a standard machine?
Generally, additional tooling, automation, controls and engineering increase the initial investment. The correct comparison should therefore consider labor, throughput, scrap, changeover and production stability rather than machine price alone.
What information is required to design customized pad printing equipment?
Provide the product sample or drawing, dimensions, material, artwork, print size, color count, printing positions, output target, loading method and required automation process.
Conclusion: Customize the Bottleneck, Not Everything
The decision to purchase a custom pad printing machine should begin with one question:
What prevents a standard pad printer from producing this product reliably and efficiently?
If the problem is only product positioning, start with a custom fixture.
If the problem involves repeated product movement, consider a shuttle, indexing mechanism or modified machine.
If loading, orientation, printing, drying and unloading must operate as one continuous process, a customized automated system may be justified.
The right custom pad printer is not the machine with the most automation. It is the system that removes the specific production constraints that a standard machine cannot solve.
Before requesting a quotation, document:
- your product
- printing positions
- artwork
- color requirements
- current process
- output target
- handling problems
- desired automation level
You can review ENGY’s Pad Printing Machine B Series for standard, multi-color and automated configurations, or visit the ENGY website to evaluate a pad printing solution around your product and production process.